

If you’re constantly looking for your lost car keys, there’s a solution to this problem. I’ve made plans for a simple DIY Mail and Key Organizer that you could build in an hour. Now you could have all of your keys in one organized location.
This key organizer also has few shelves for your mail or other small items. I’ve also made a shelf at the bottom for a small pot with a plant.
You also might be interested in the previous project that I’ve built: Wall Decor with Shelf.


Mail and Key Organizer PDF
$0.00
This PDF download includes Cut Diagrams, a List of Supplies, and 3D illustrations with detailed steps to build the project. Measurements are in imperial and not metric. Does NOT include SketchUp/CAD files.
Other Woodworking Projects
-
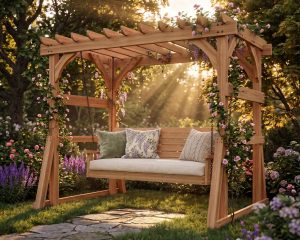
DIY Pergola and Porch Swing Bench Woodworking Plans PDF
$18.97 Add to cart Buy Now -
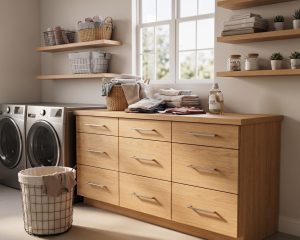
DIY Frameless Base Cabinet 21″ Wide with Three Drawers Slab Style
$12.97 Add to cart Buy Now -
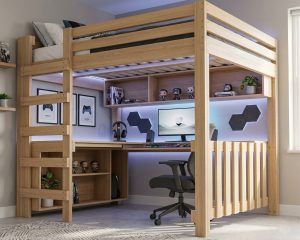
DIY Queen Size Loft Bed with Desk Plans
$18.97 Add to cart Buy Now -
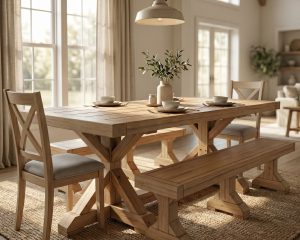
DIY Farmhouse Dining Set Woodworking Plans
$24.97 Add to cart Buy Now
Tools for this project
Material List
- 1x10x8′ (x1)
- Finish Nails
- 1 1/4″ Pocket hole screws
Note: Lumber dimensions are listed as nominal size. See lumber sizes for actual dimensions vs nominal.
Disclosure: Some of the links on this page as well as links in “tools for this project” and “material list” sections are affiliate links.
Dimensions

Cut List

Step 1 – Cut and Chamfer Board Edges
Using a table saw cut eight boards to 14″ x 3″. Then set the table saw blade to 45 degrees and chamfer each board on both sides.

Step 2 – Make Small Shelves for the Key Organizer
Cut two shelf boards to 5’x6′. One side of the shelf will be cut at 35 degrees.

Step 3 – Cut a Hole for the Flower Pot
Using a jig saw cut a 3″ hole in the middle of 8″ x 3 1/2″ board. This will be for a flower pot. You might cut a different hole size depending on your flower pot.

Step 4 – Attach Boards with Nail Gun
Paint or stain all the boards before attaching them together. Place both 2″x24″ boards on a flat surface, then using nail gun attach the 14″ boards with 1 1/4″ Brad Nails.


Step 5 – Place and Attach the Top Board
Attach the top 14″x5 1/2 board using Brad Nails.

Step 6 – Attach the Remaining Shelf Boards
Attach the remaining boards using a Nail Gun. You could also use a wood screw to hold it stronger. Screw in the cup hooks at the bottom for your keys. You’re done with a DIY Mail and Key Organizer.
