
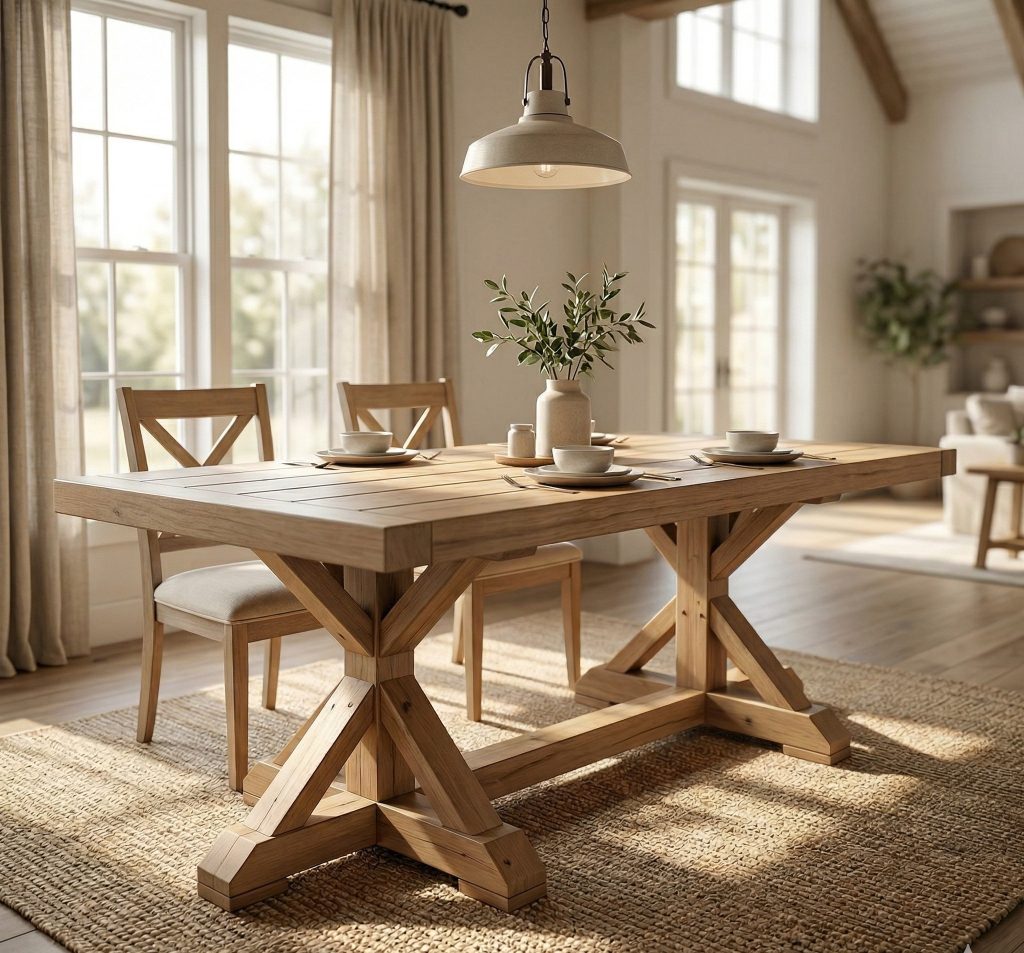
There’s something deeply satisfying about sitting down to a meal at a table you built with your own hands.
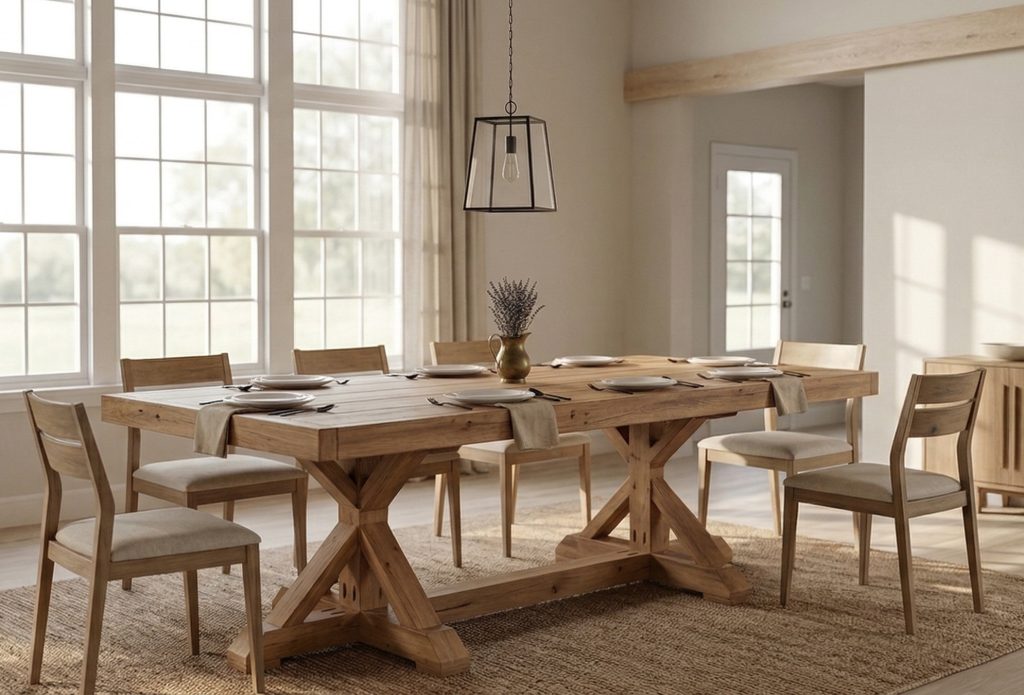
I built this farmhouse dining table over three years ago for my family, and it’s still holding strong — through homework sessions, holiday dinners, art projects, and everything in between. The scratches and dents it has collected over the years? Those aren’t flaws. On a solid wood table, they’re the whole point.
If you’ve been shopping for a farmhouse-style dining table, you already know the sticker shock. Retail prices for solid wood farmhouse tables can run anywhere from $800 to over $2,000. This DIY woodworking project gets you the same look, the same durability, and a table sized exactly how you want it — for around $150 in materials. It takes roughly 8 hours to build, works with basic tools you likely already own, and is approachable for intermediate woodworkers. If you’re comfortable making straight cuts and drilling pocket holes, you can build this.
The design uses standard construction lumber — 2×4s, 4×4s, and 1×8s — which keeps costs low without sacrificing structural integrity. The trestle-style base with diagonal bracing gives it that classic farmhouse character while keeping everything rock solid. The tabletop is glued and pocket-screwed together for a tight, seamless surface, and the whole thing gets finished with polyurethane for long-term protection. This isn’t a weekend craft project. It’s furniture built to last decades.
You could also find matching DIY farmhouse bench plans here.
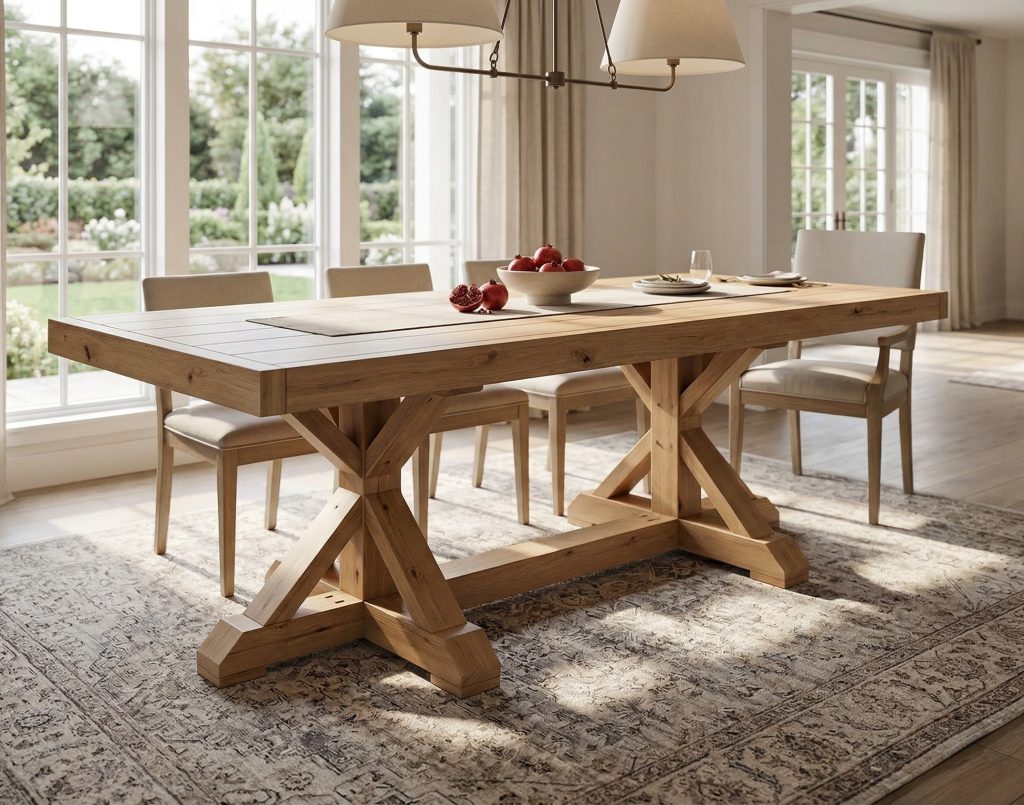
Download the PDF Plans Before You Start
Before you start cutting, grab the printable PDF plans — they include a complete cut diagram, illustrated 3D step-by-step instructions, and a full materials list, all formatted to print and take straight to the shop. At $12.97, it’s the easiest way to stay organized from the first cut to the final coat of stain. All measurements are imperial.
(The full plans are also embedded for free below if you’d like to follow along on screen.)
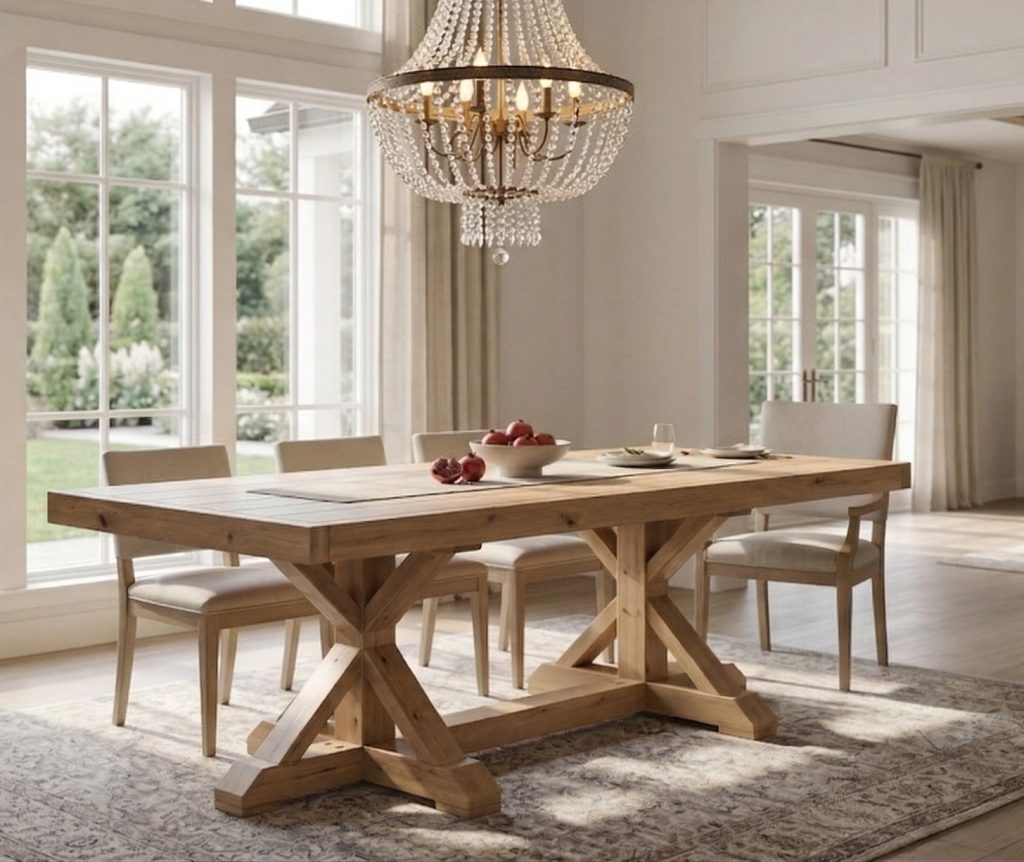
You also might be interested in another DIY dining table with cross legs or DIY Farmhouse Chair.
Time to Complete
8 hours
Total Table Cost
$150
Skill Level
Intermediate
Download Printable Plans in PDF
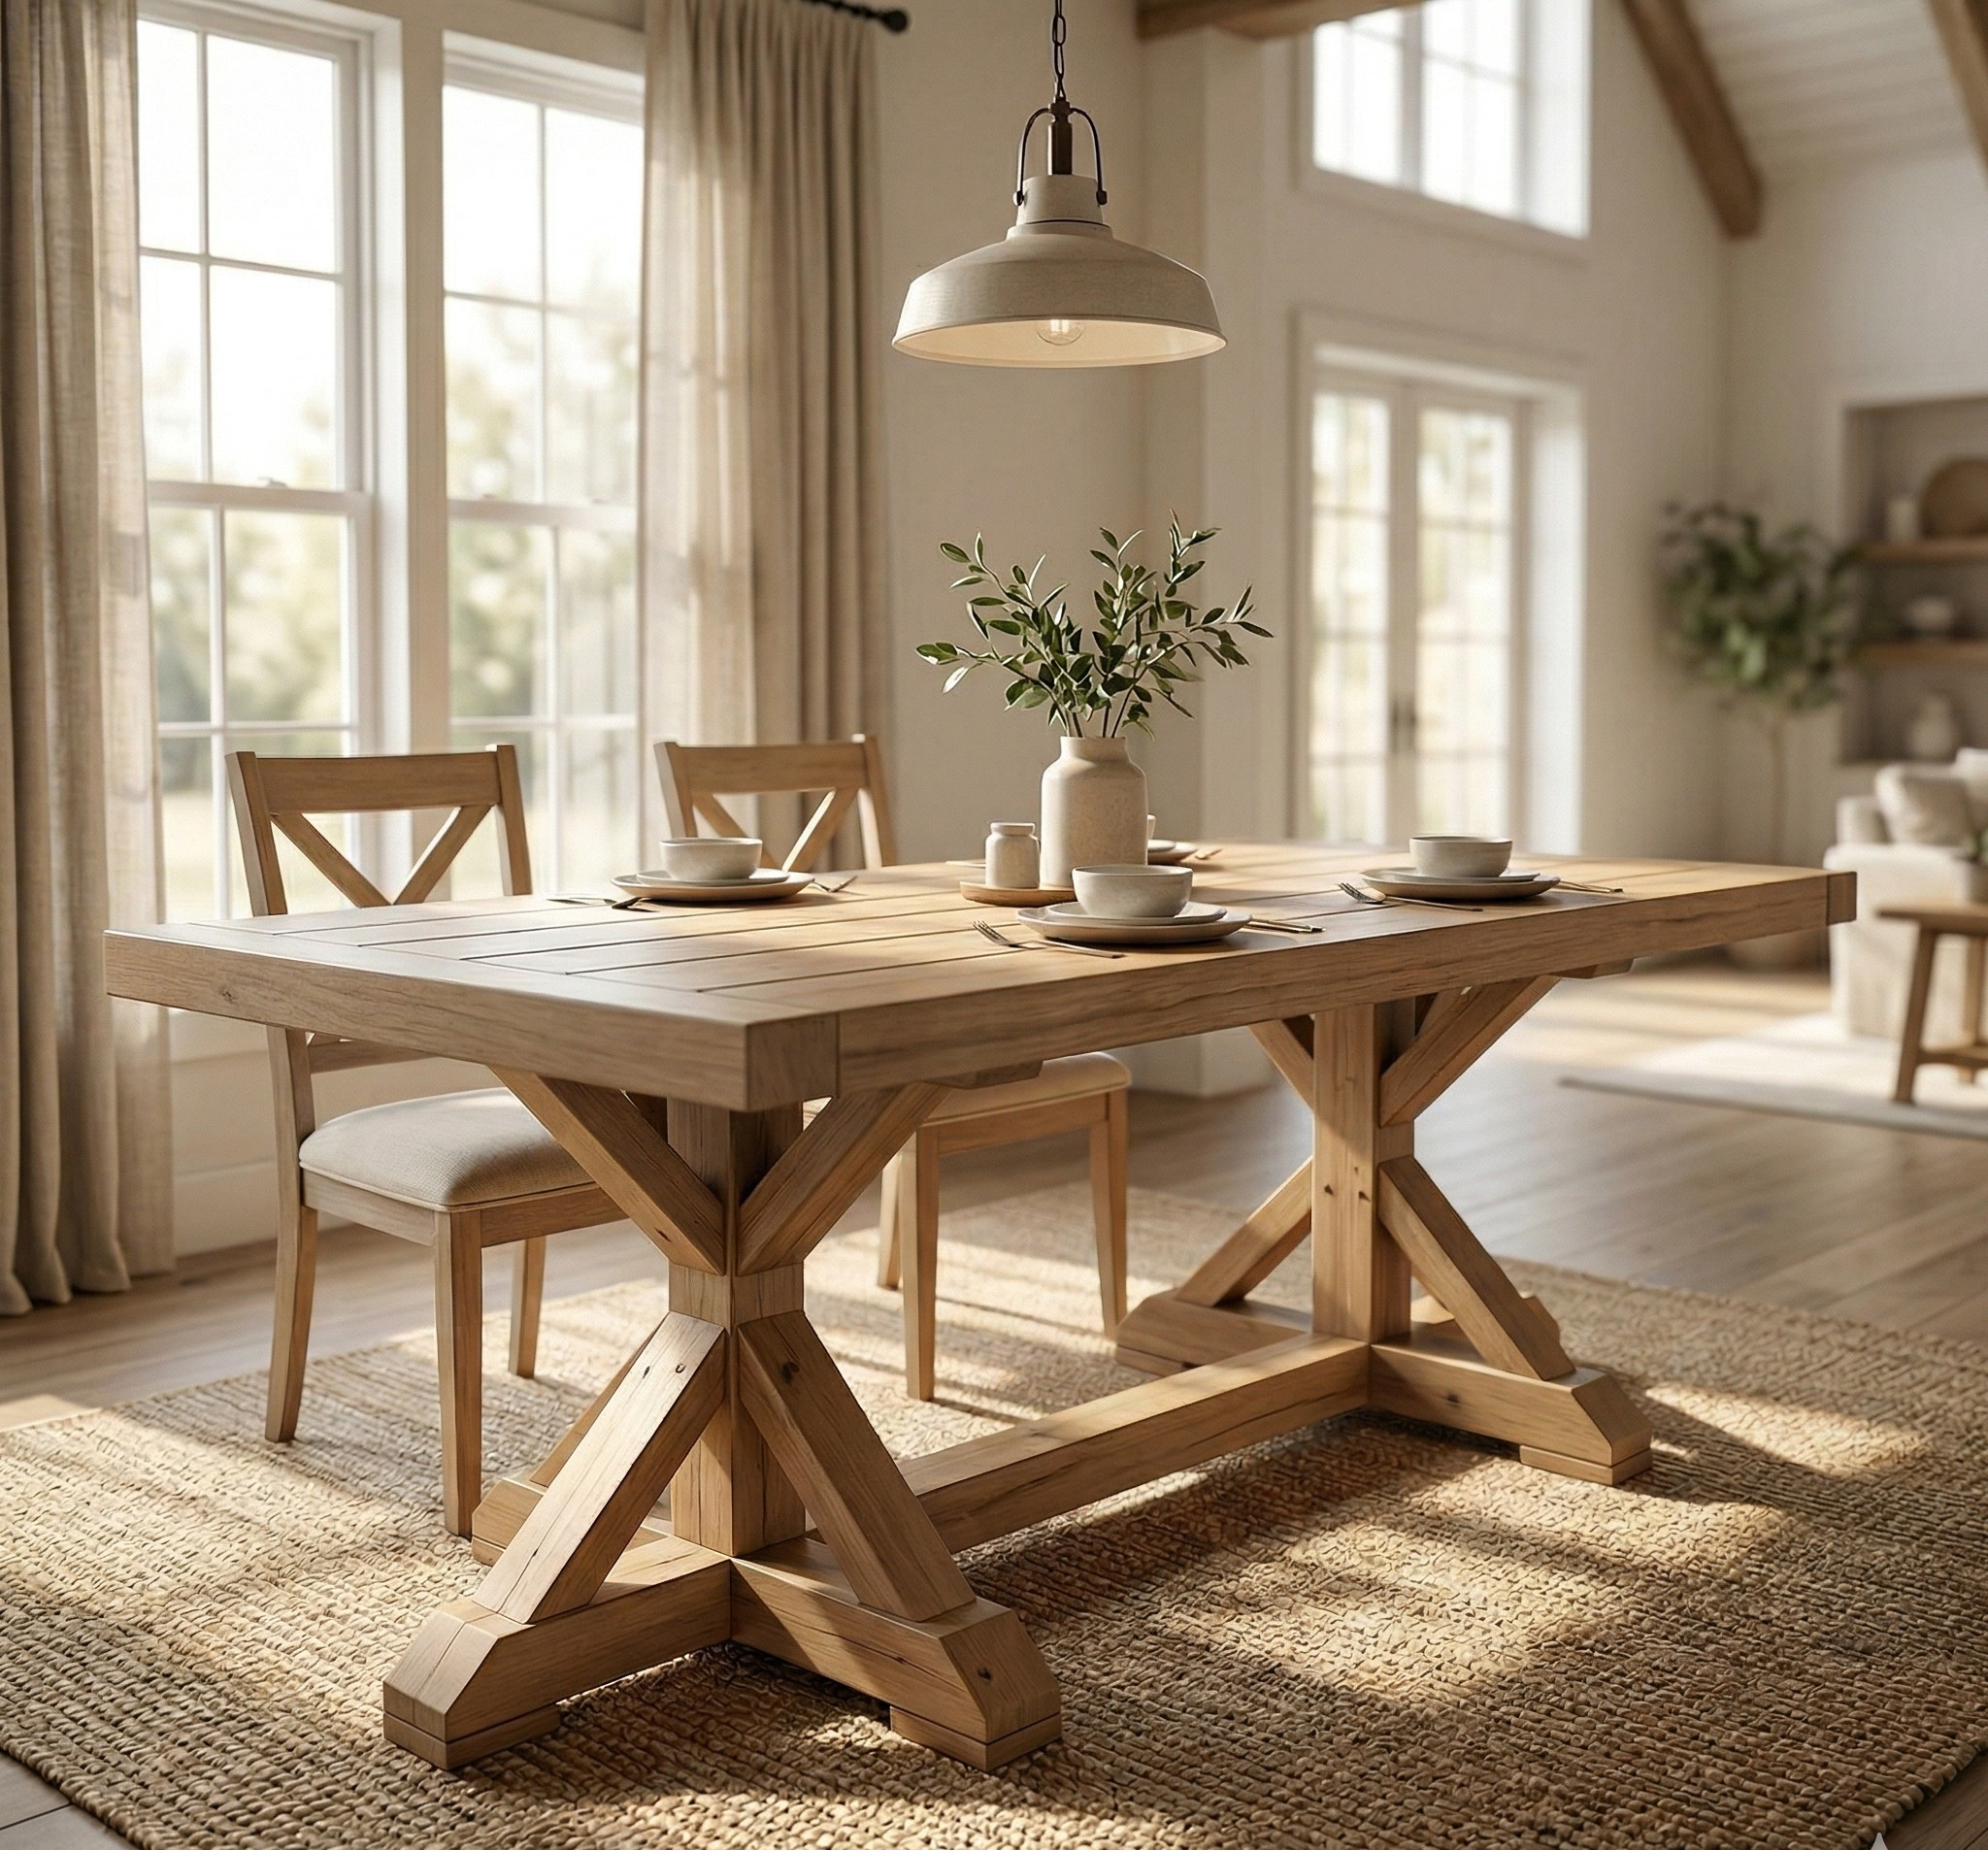
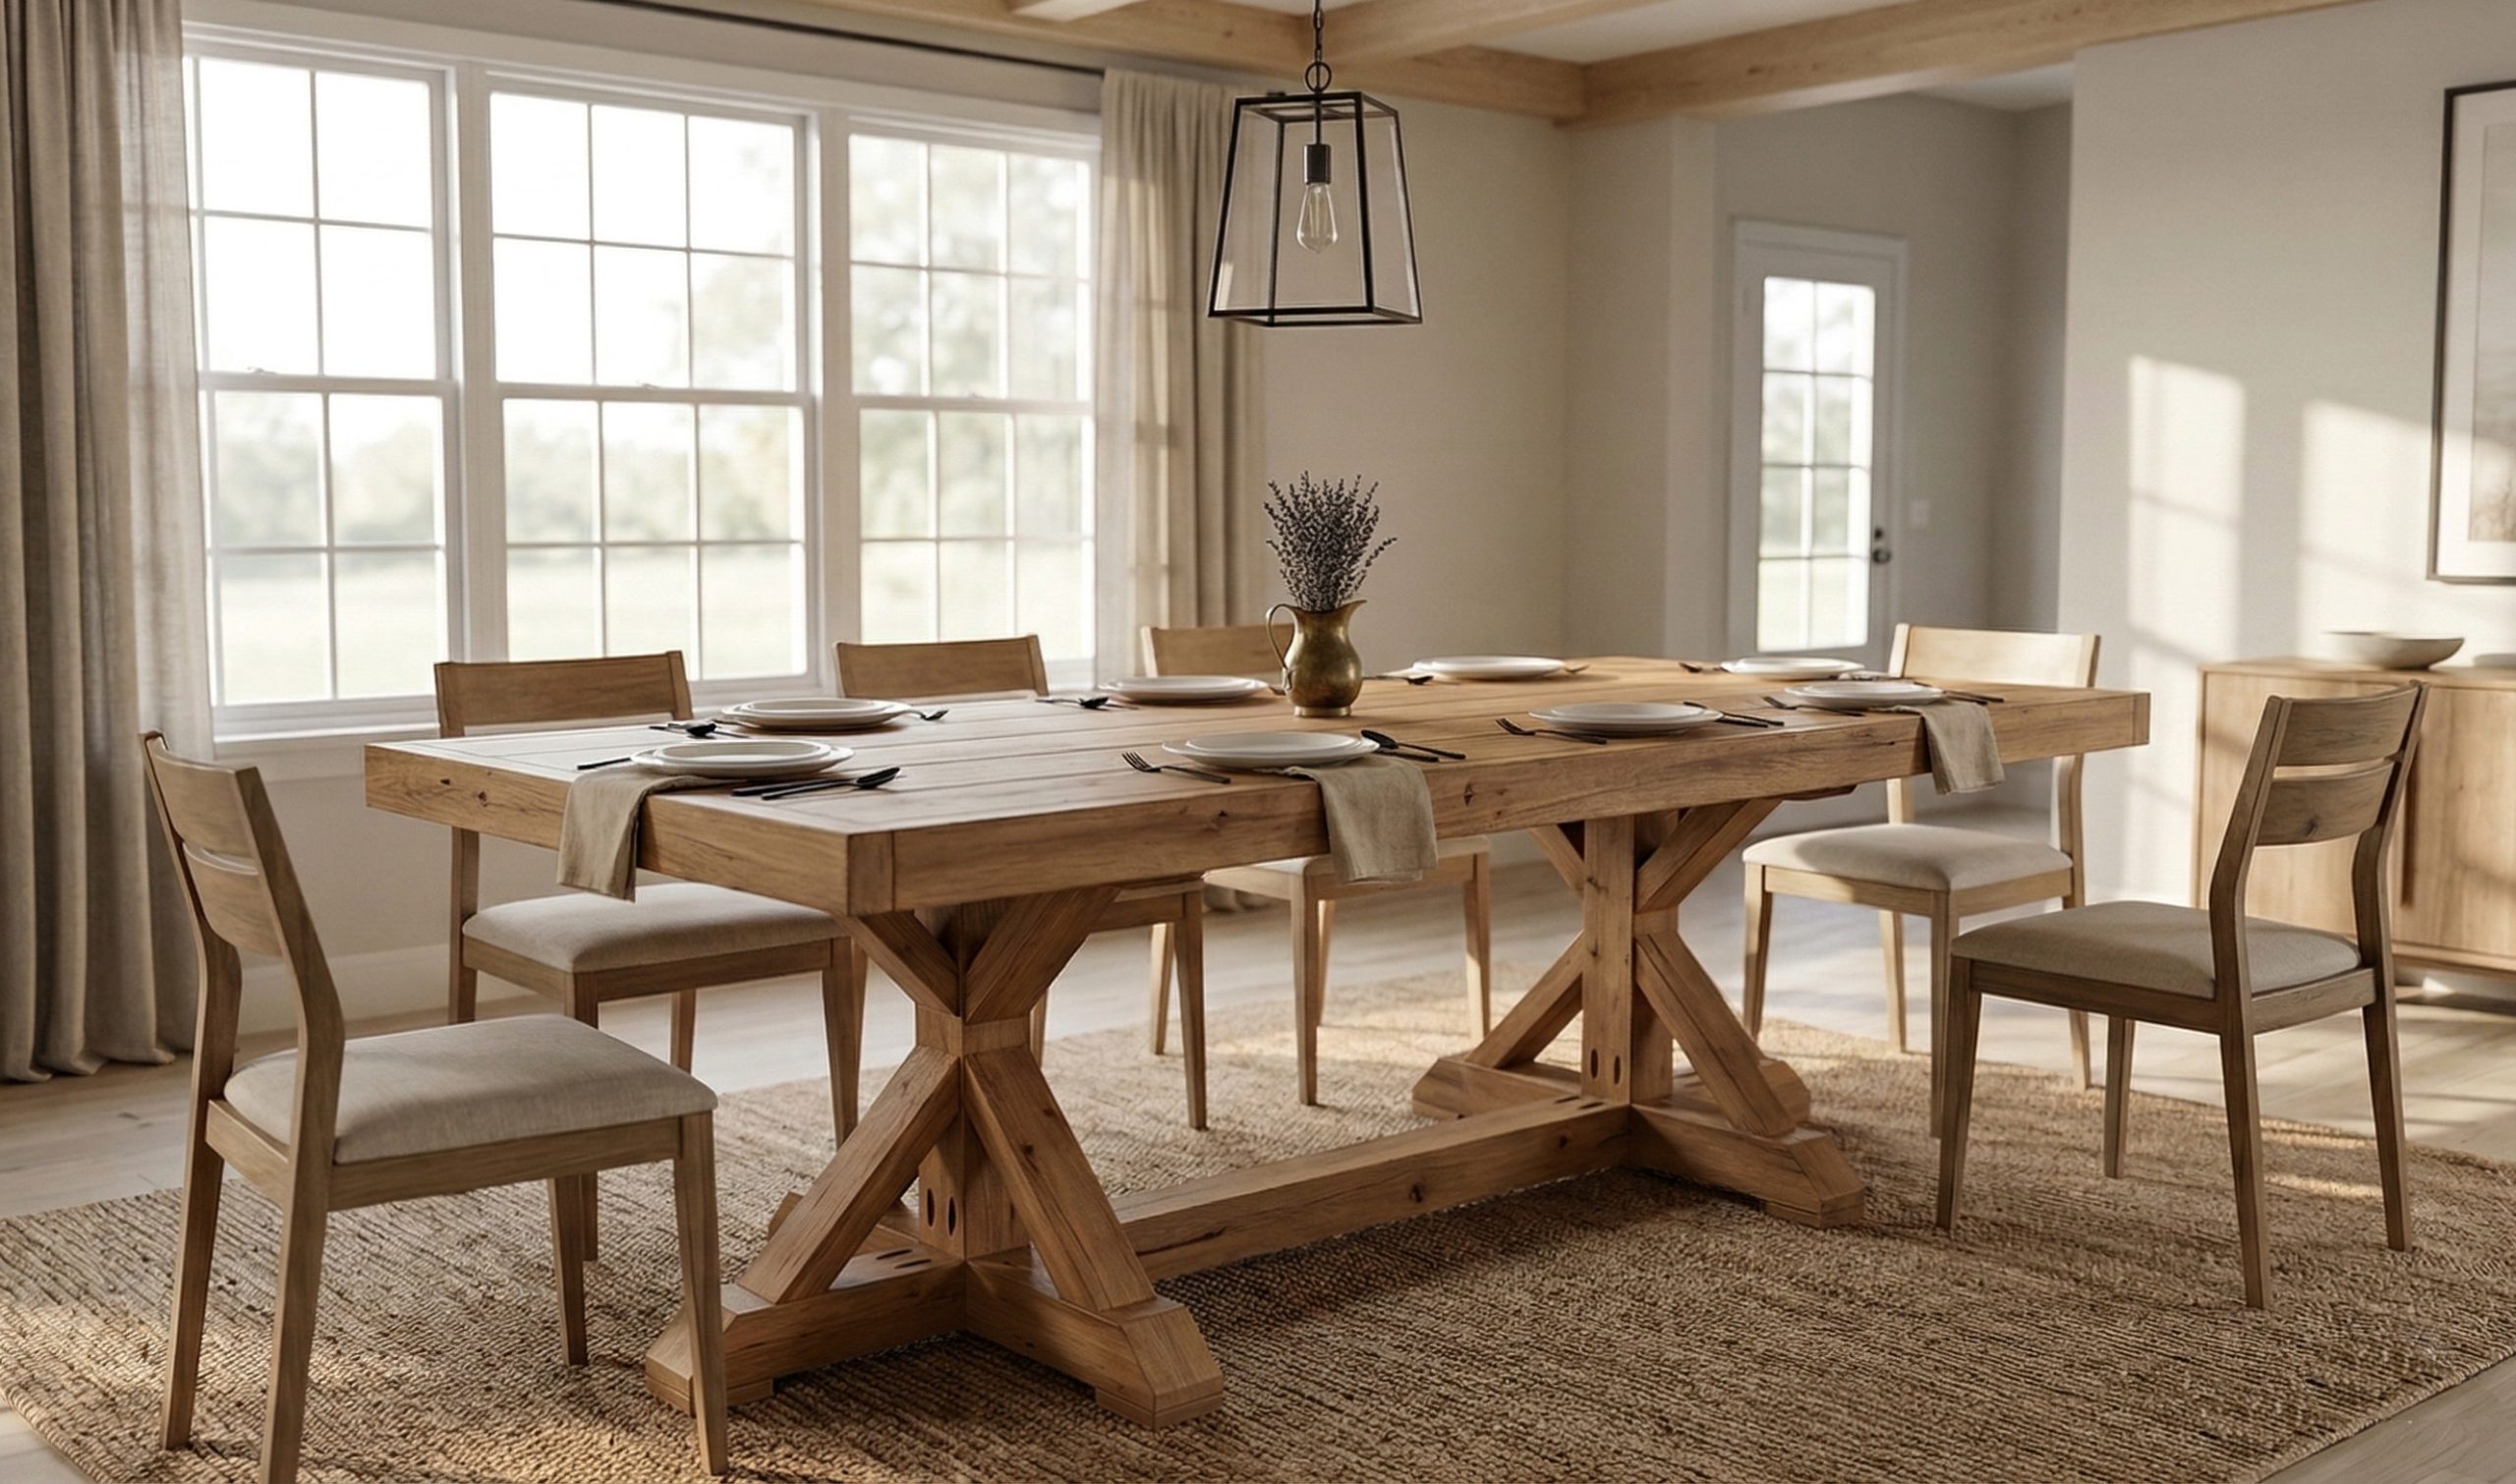
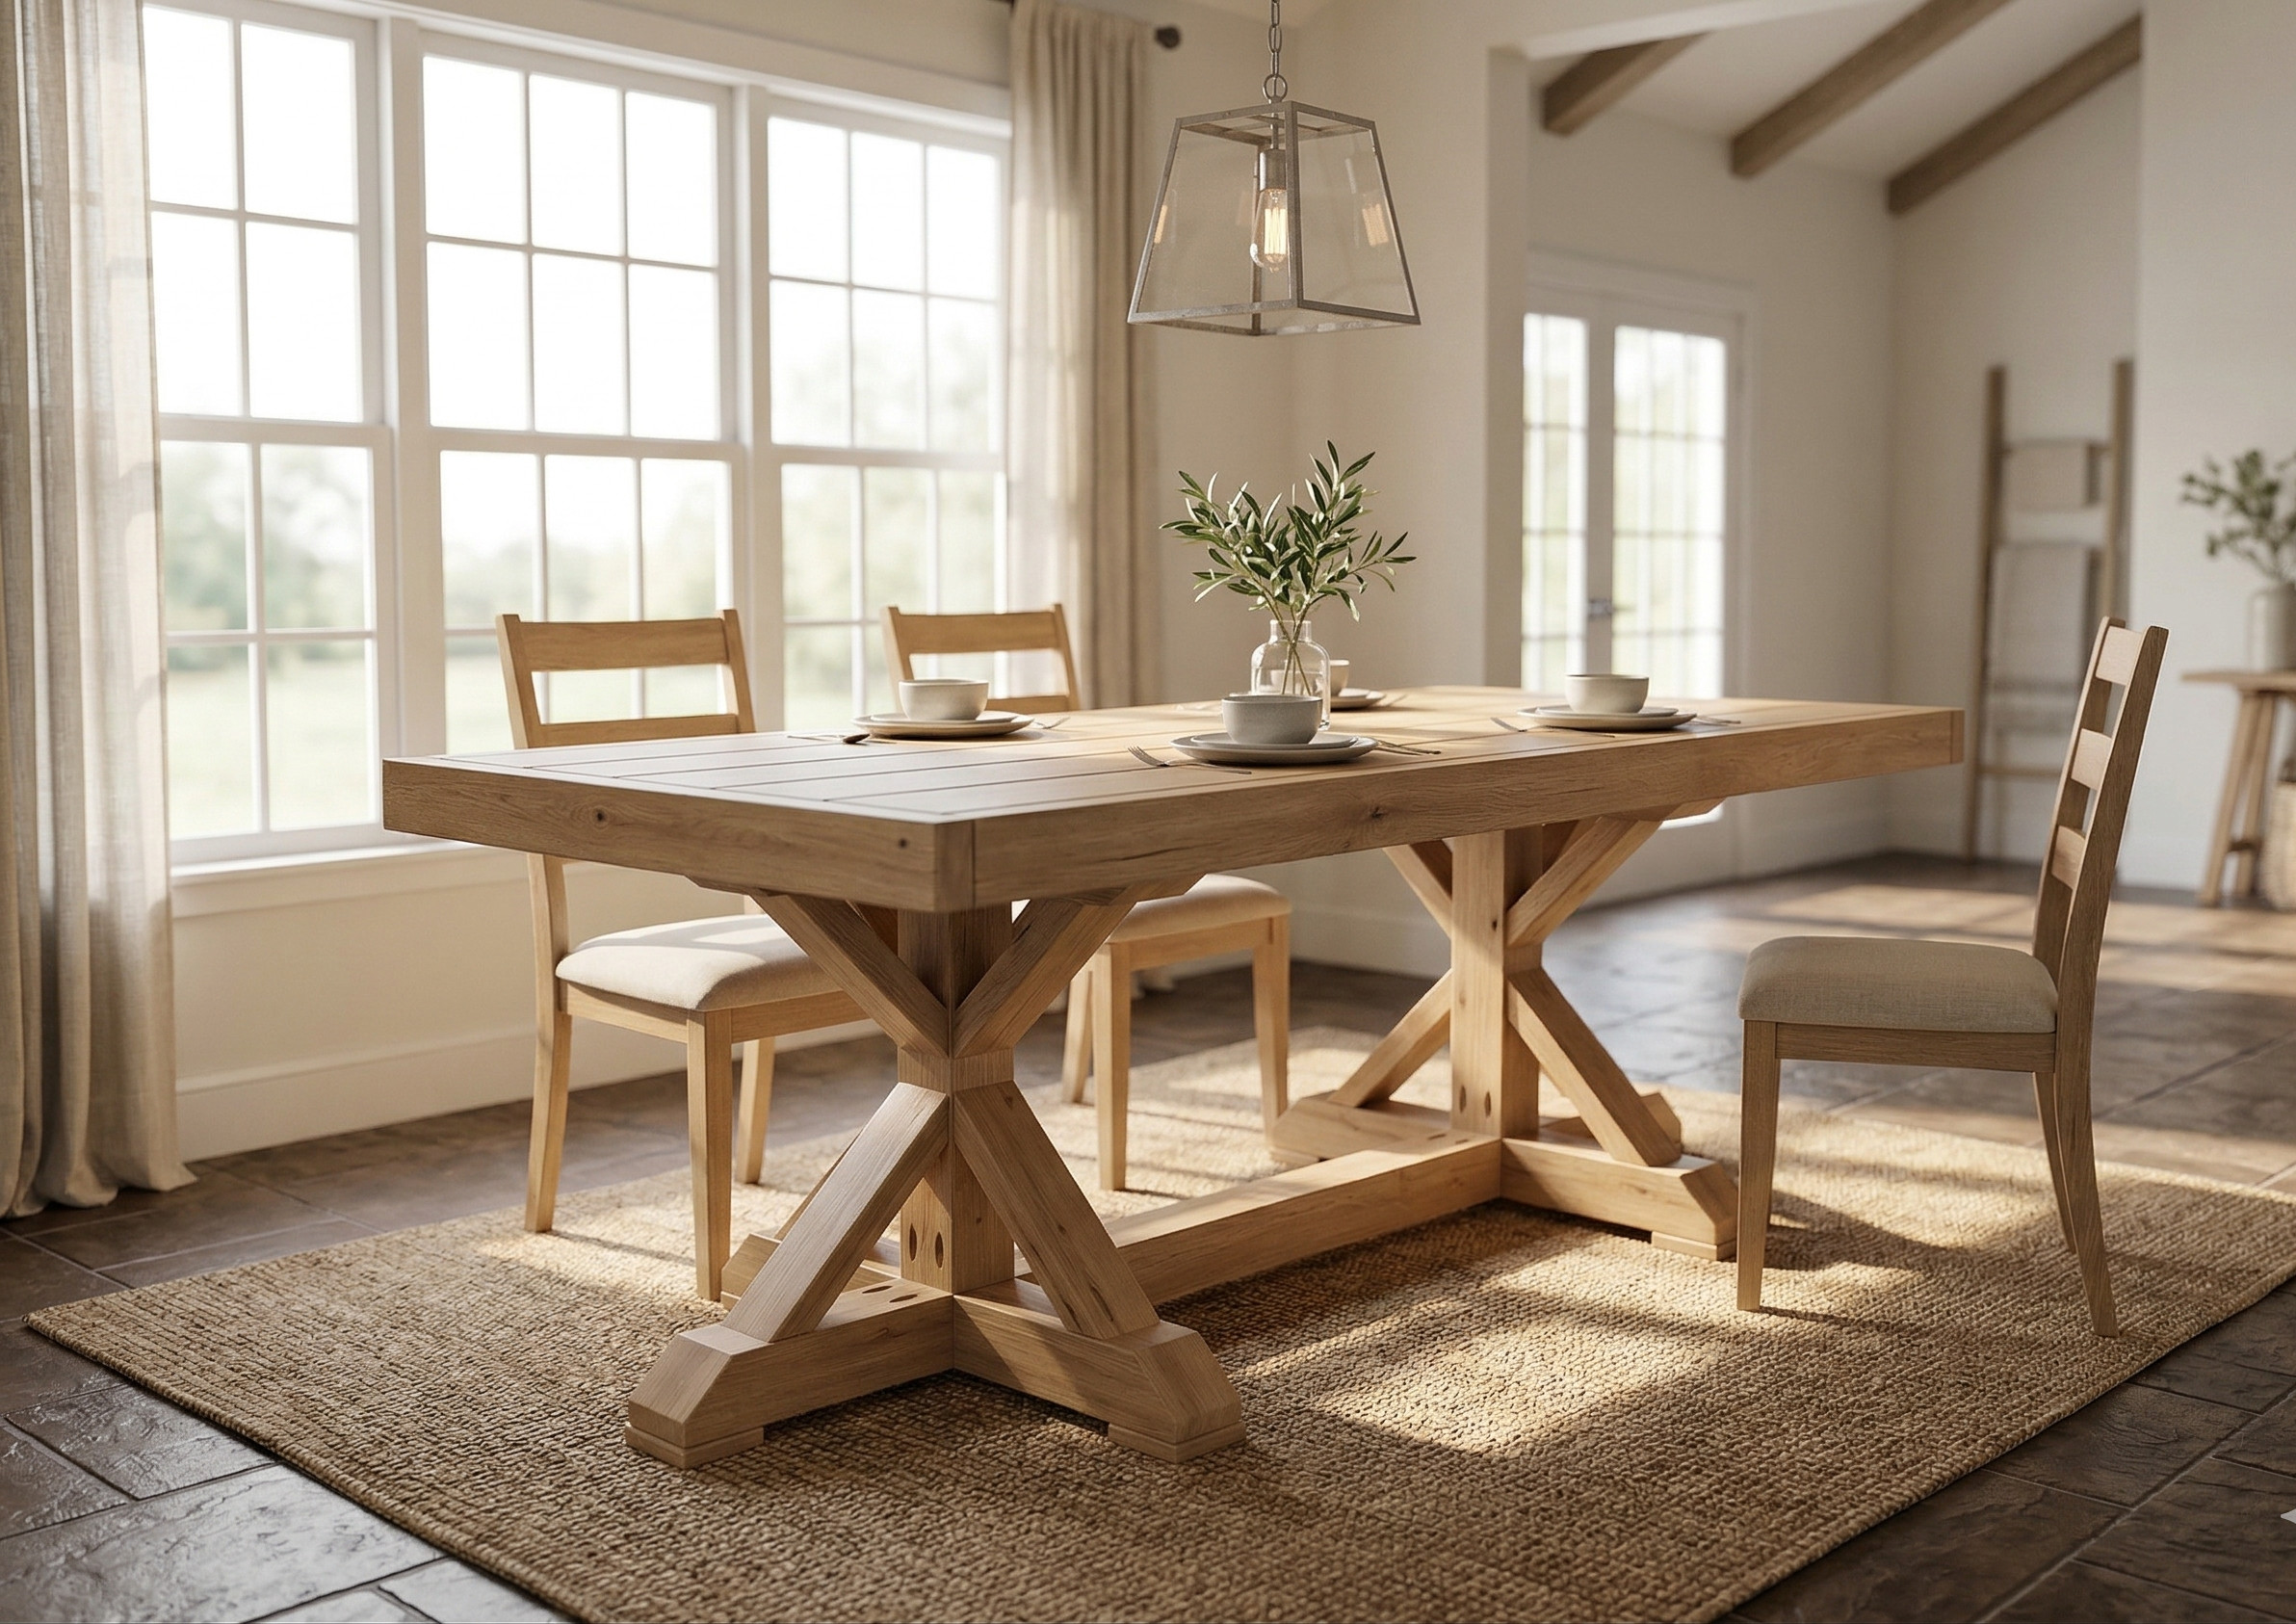
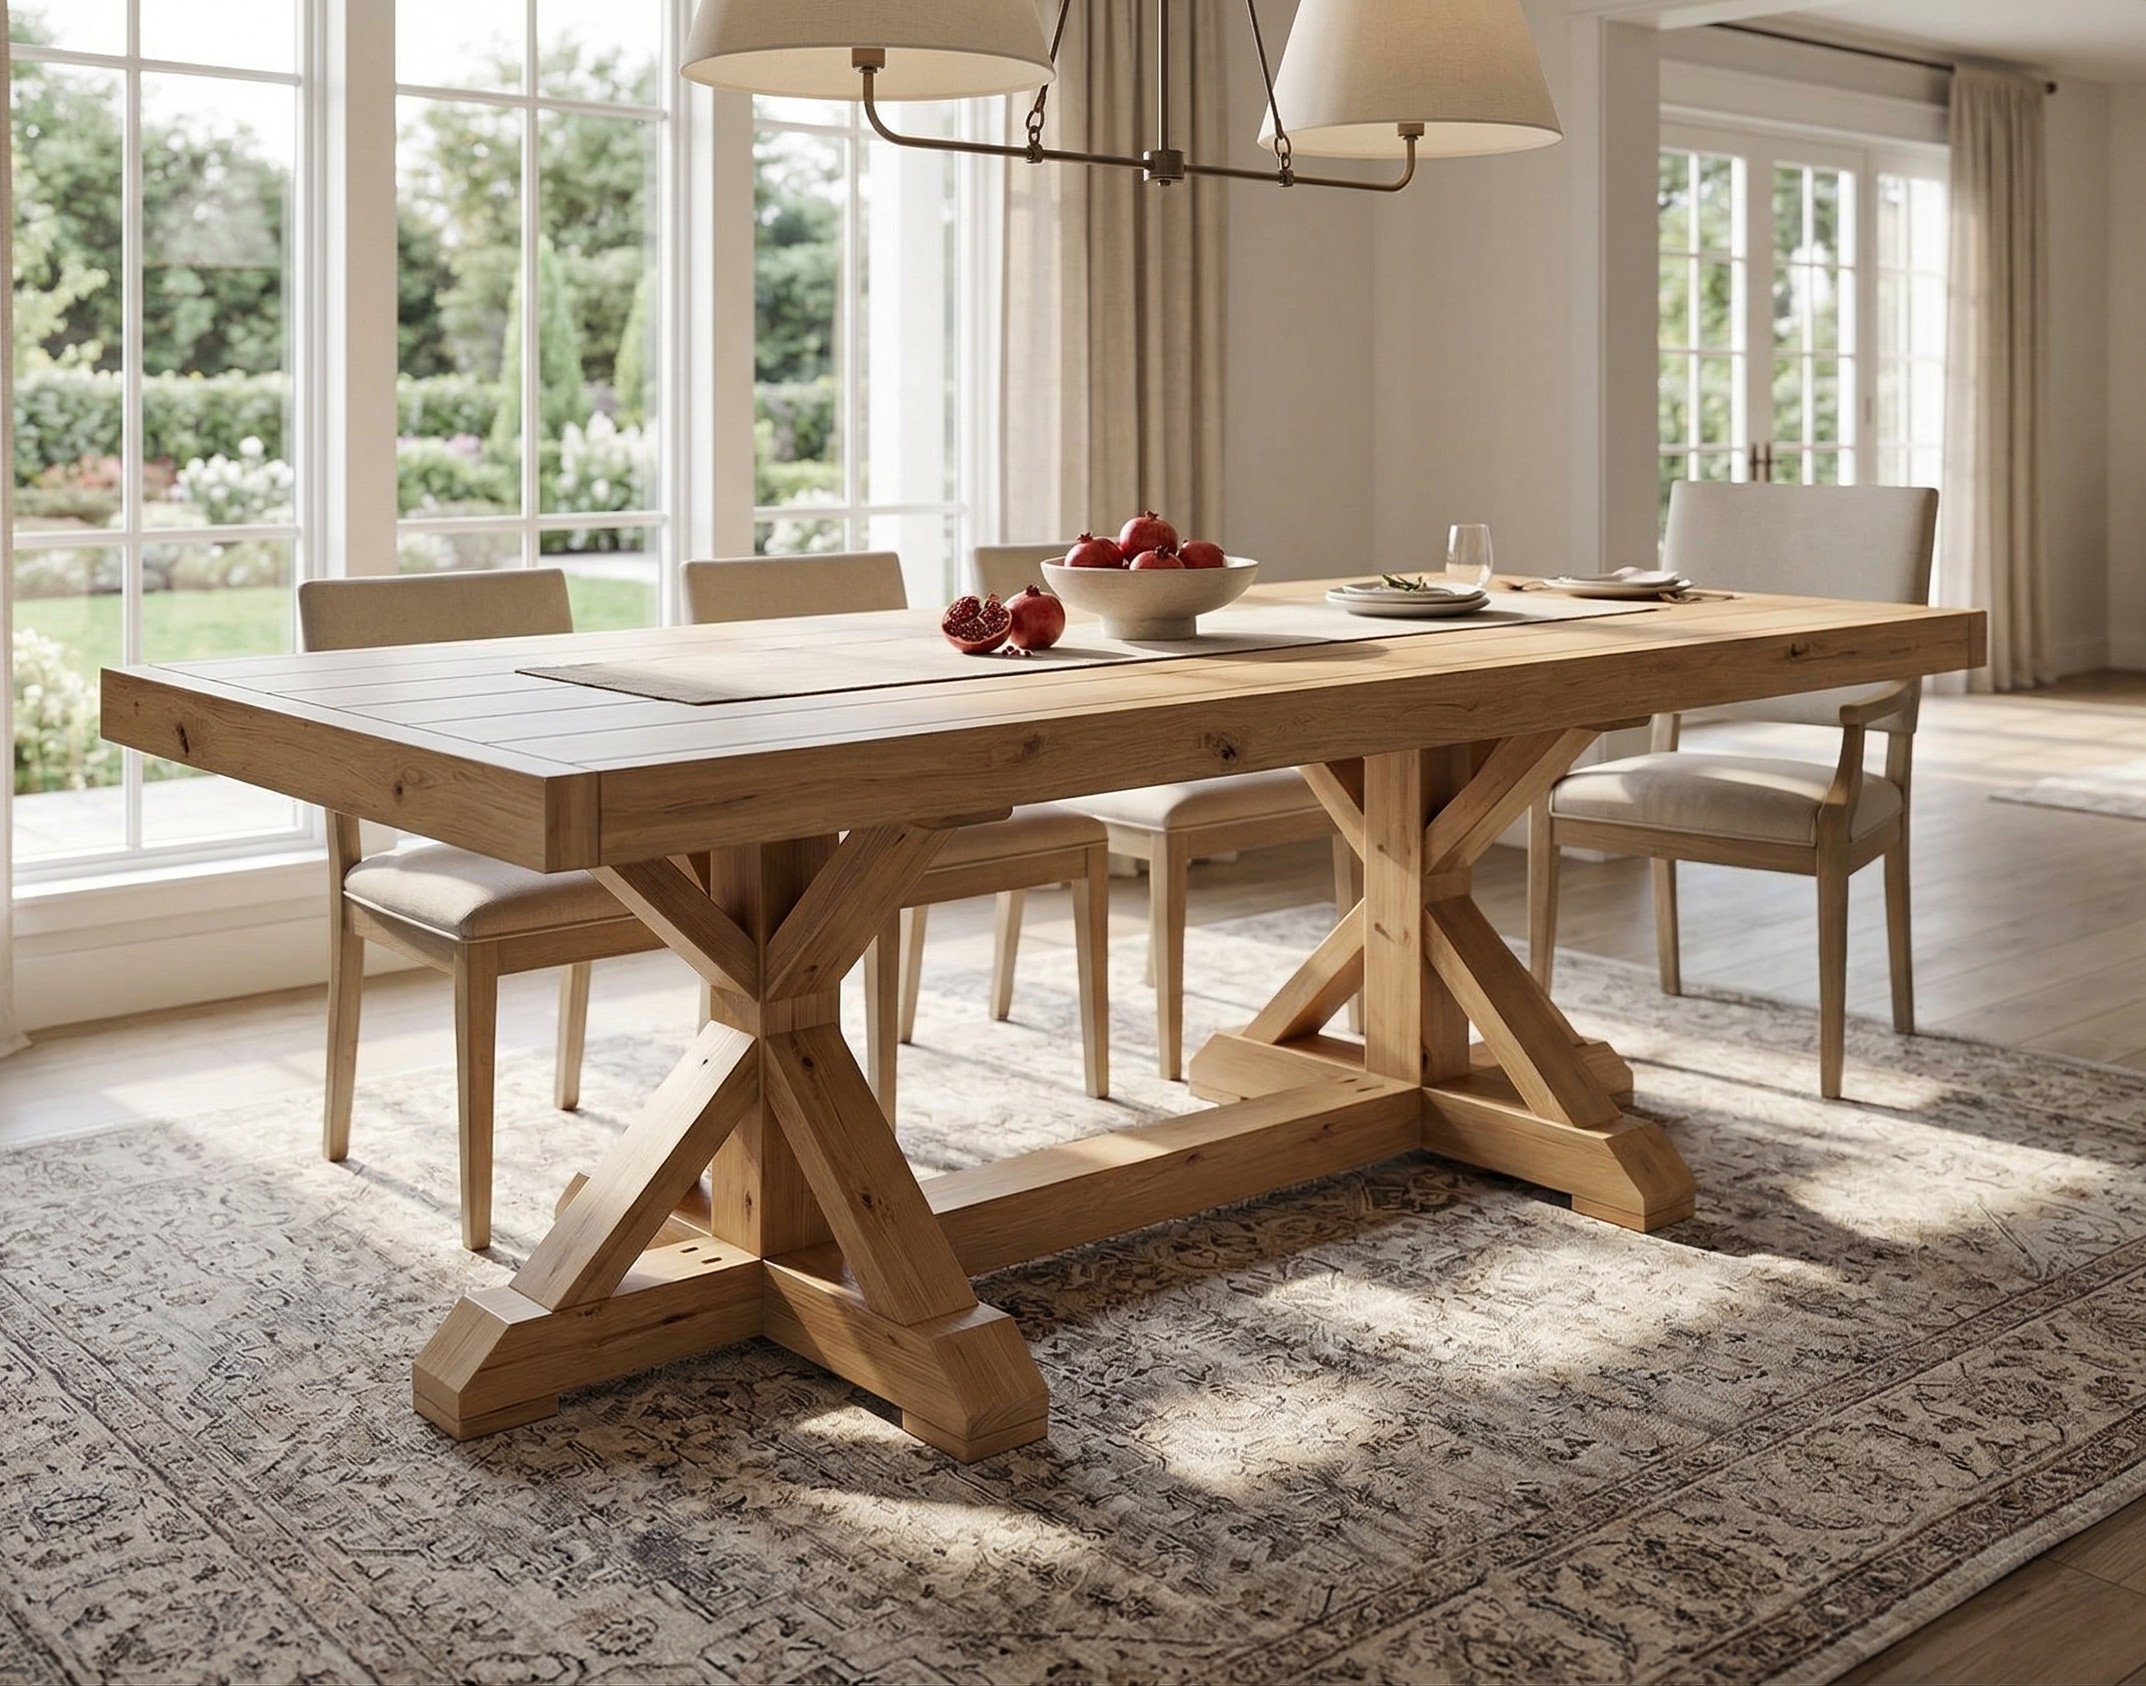
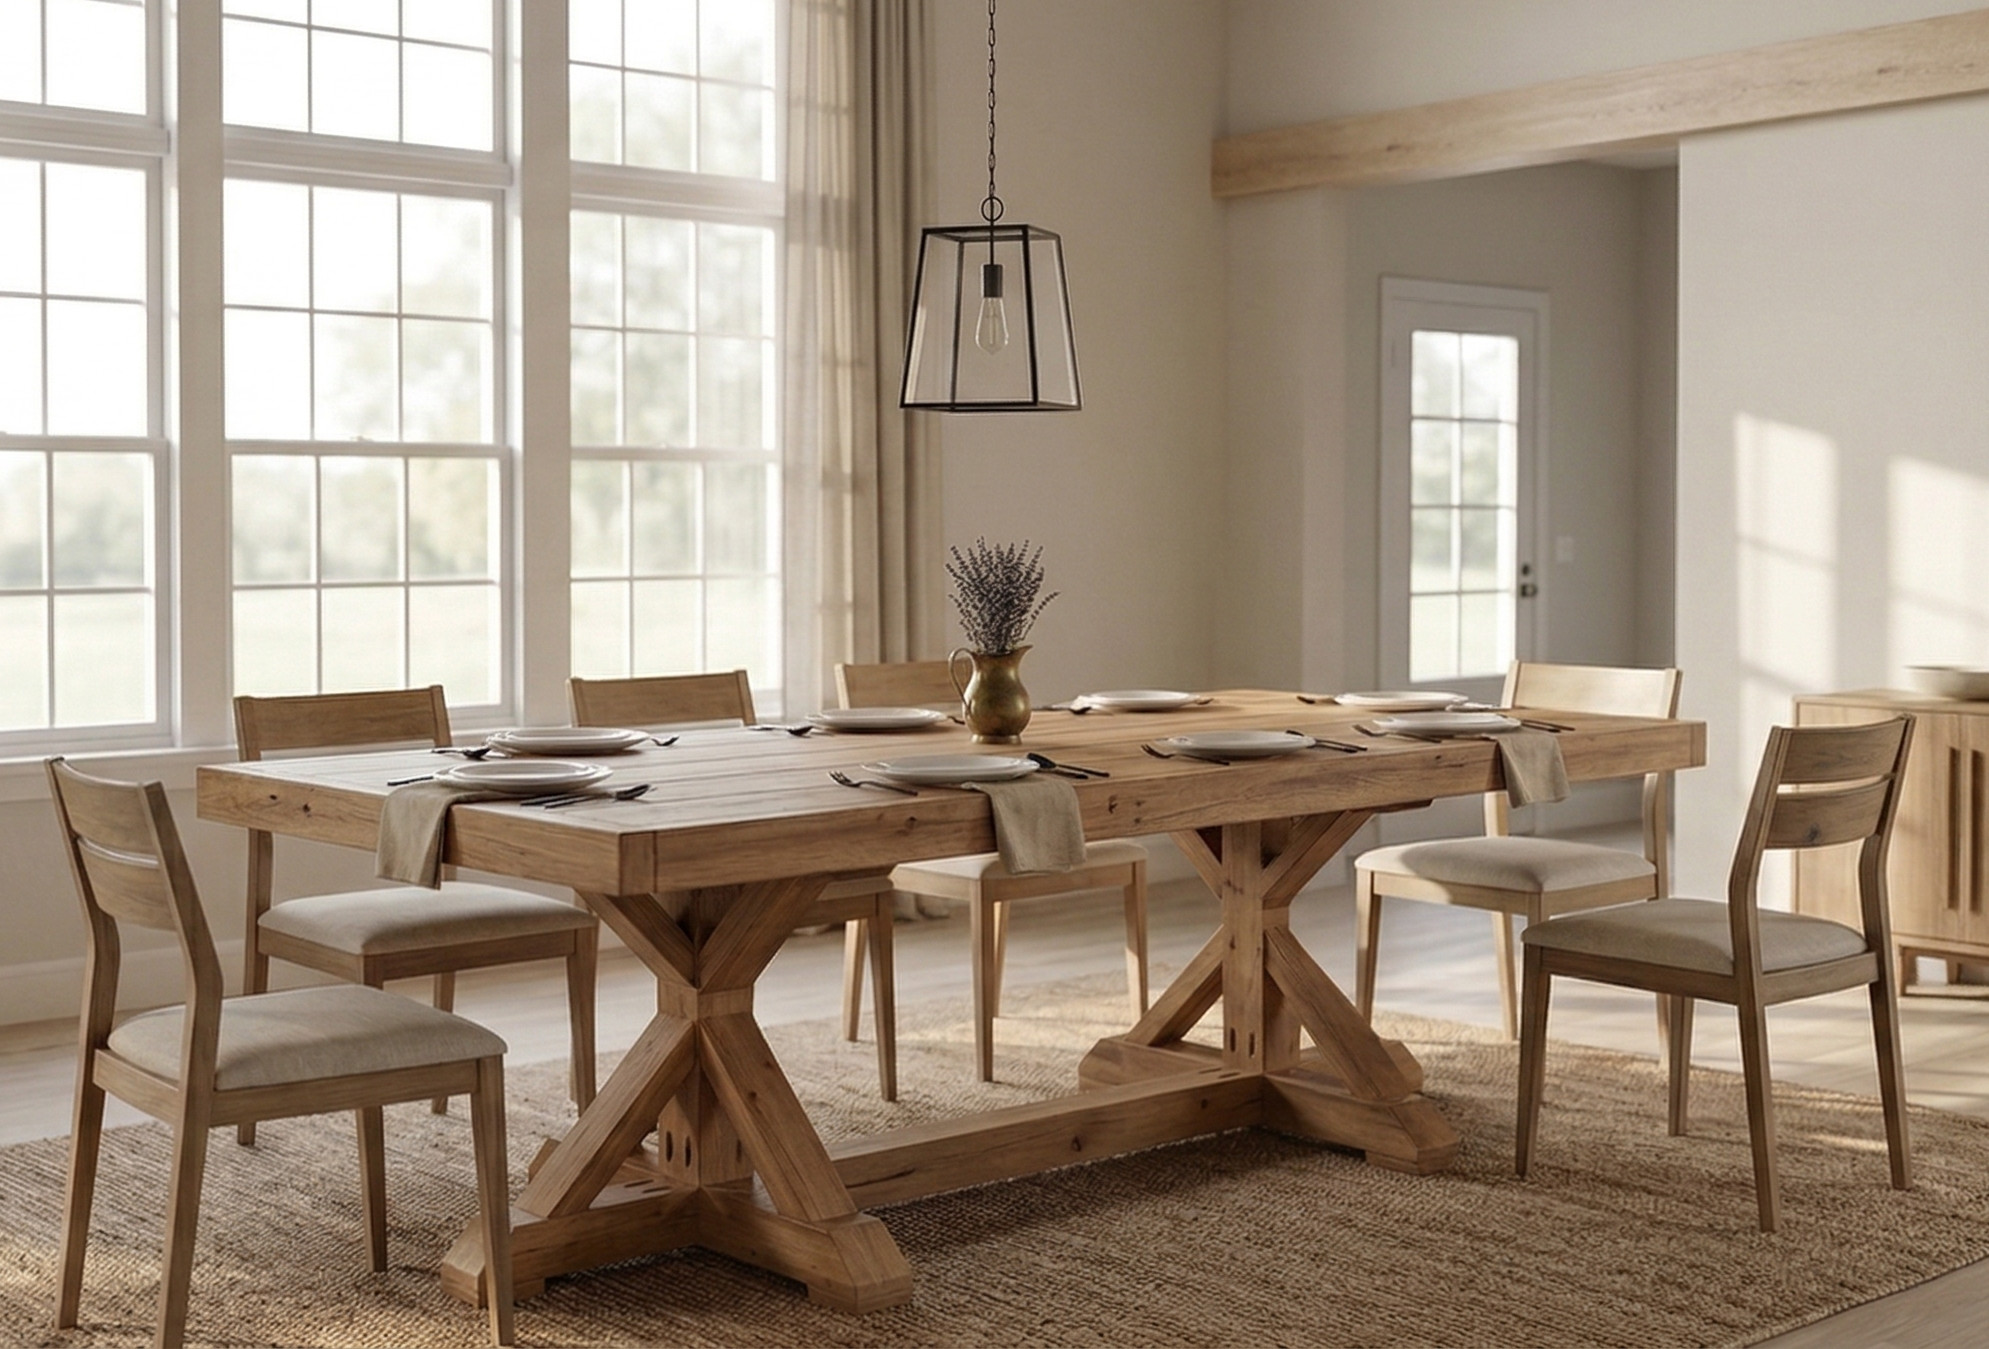
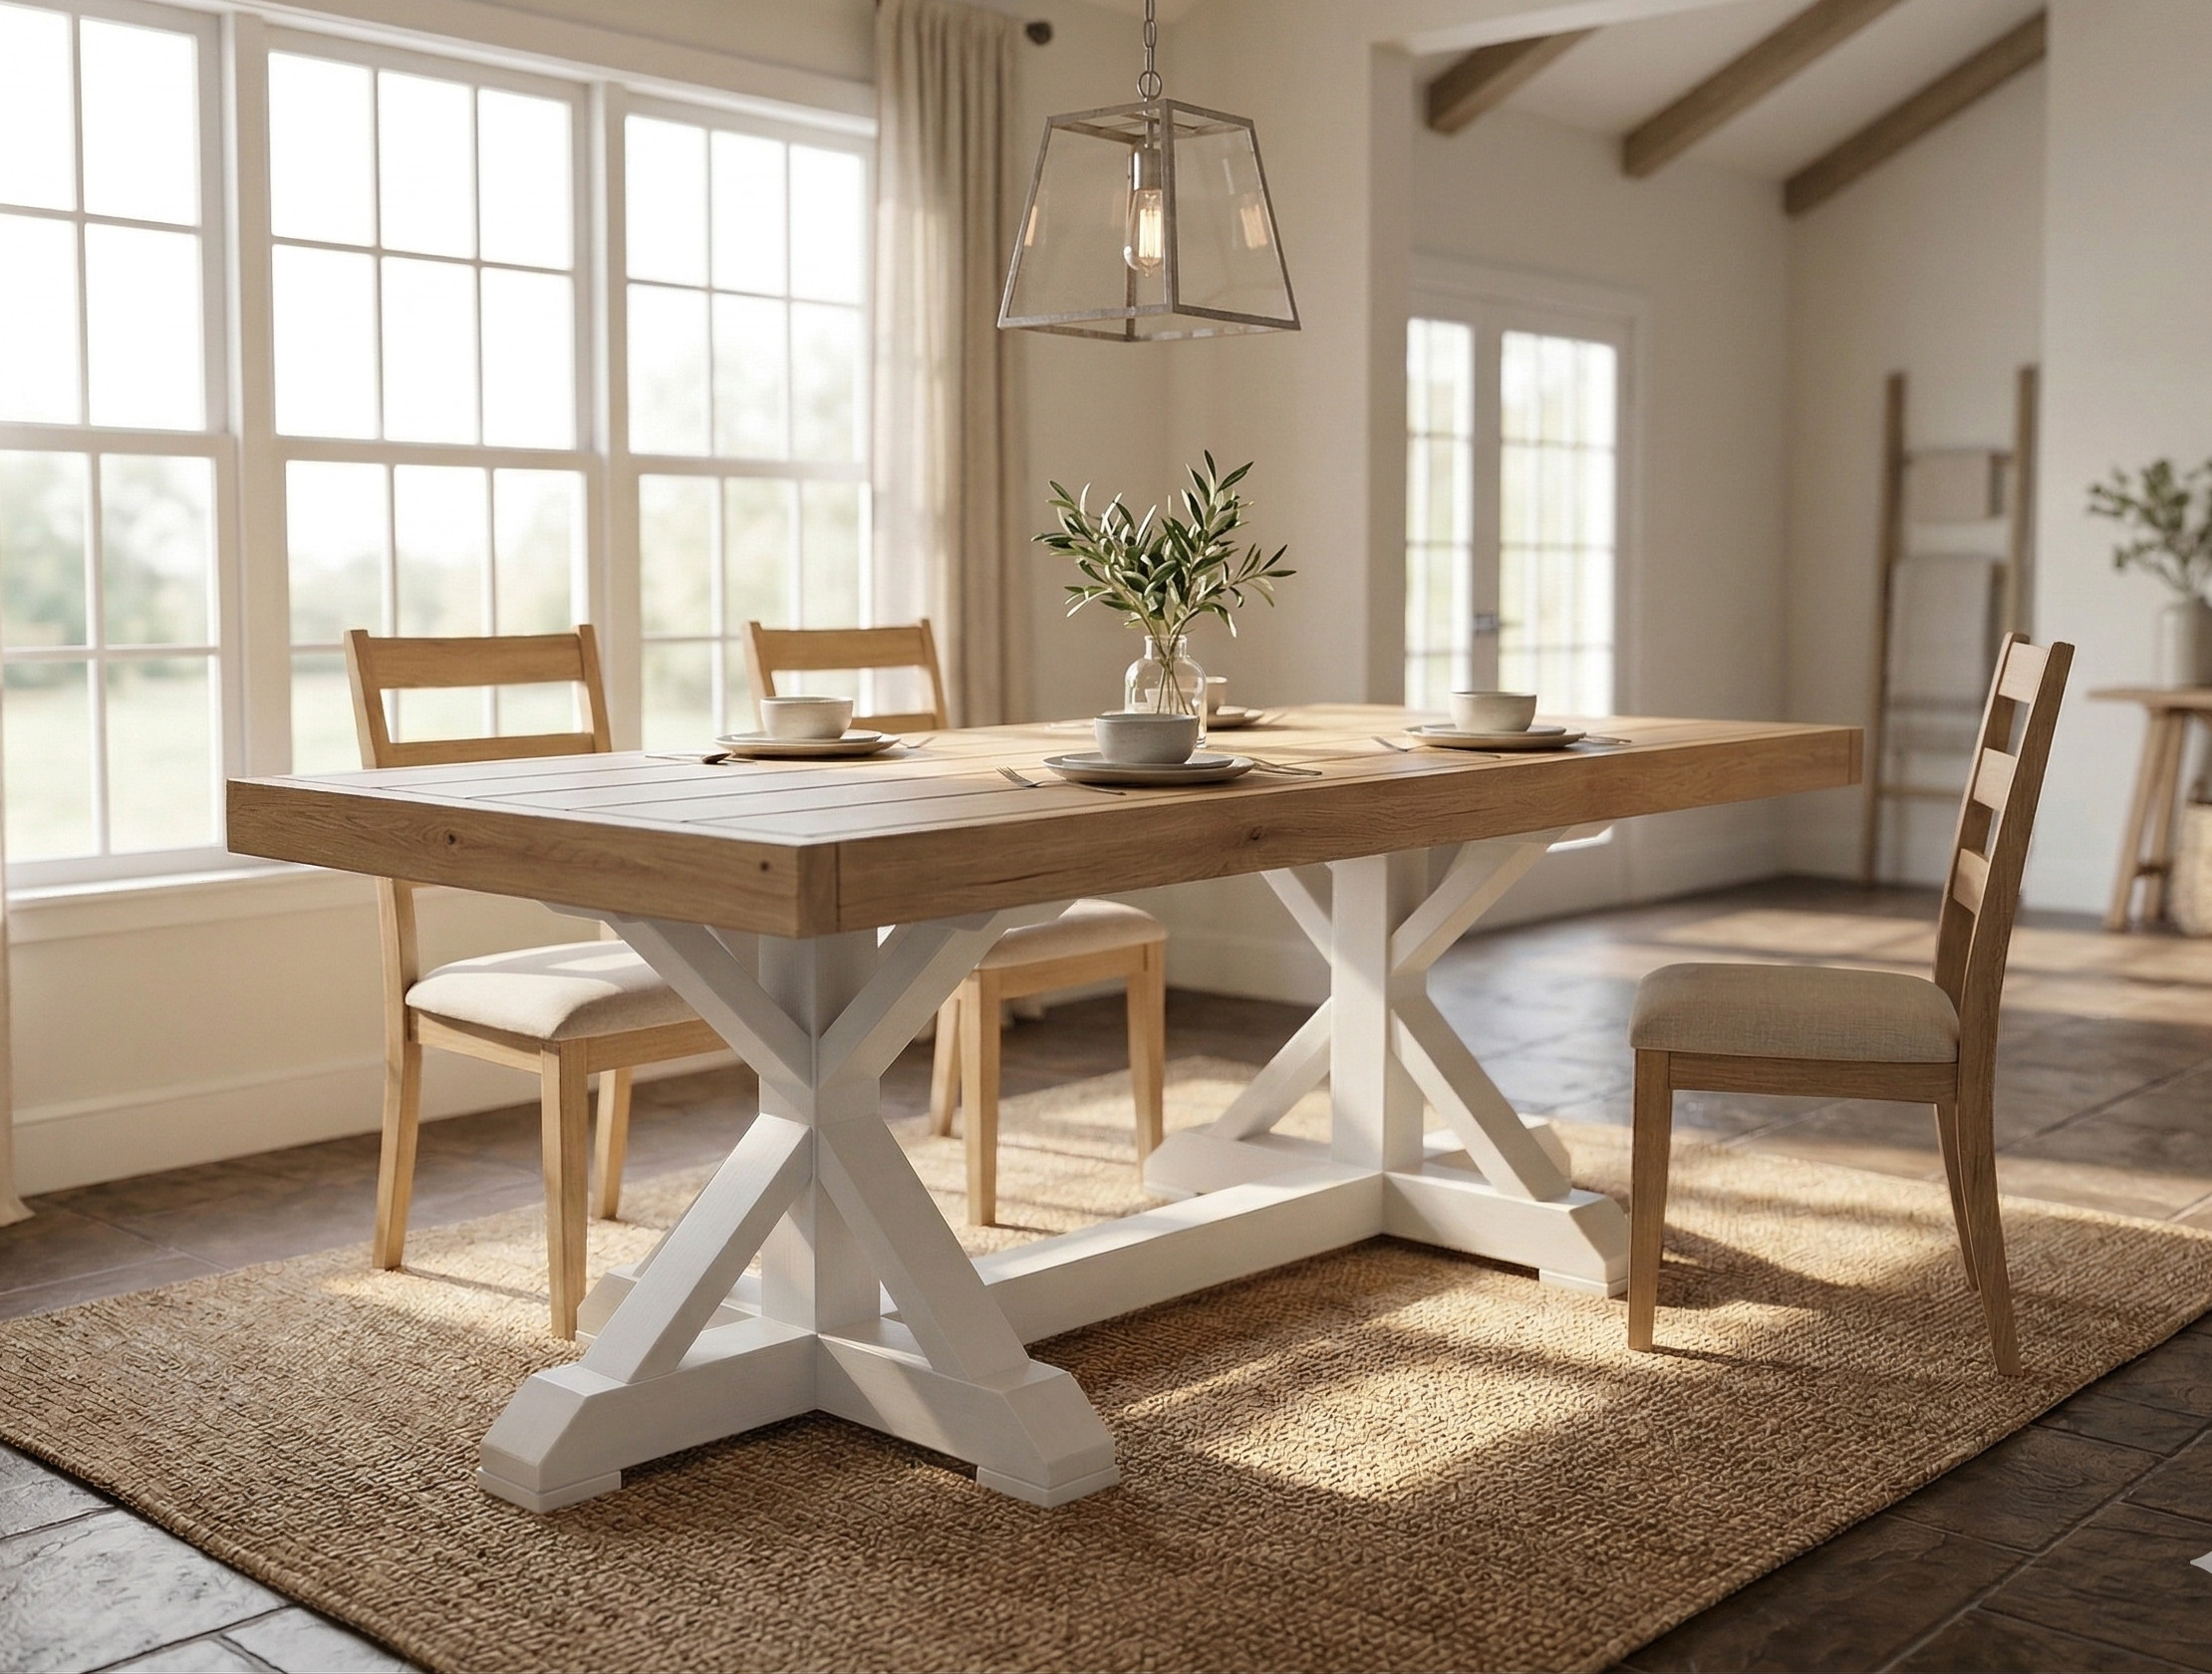
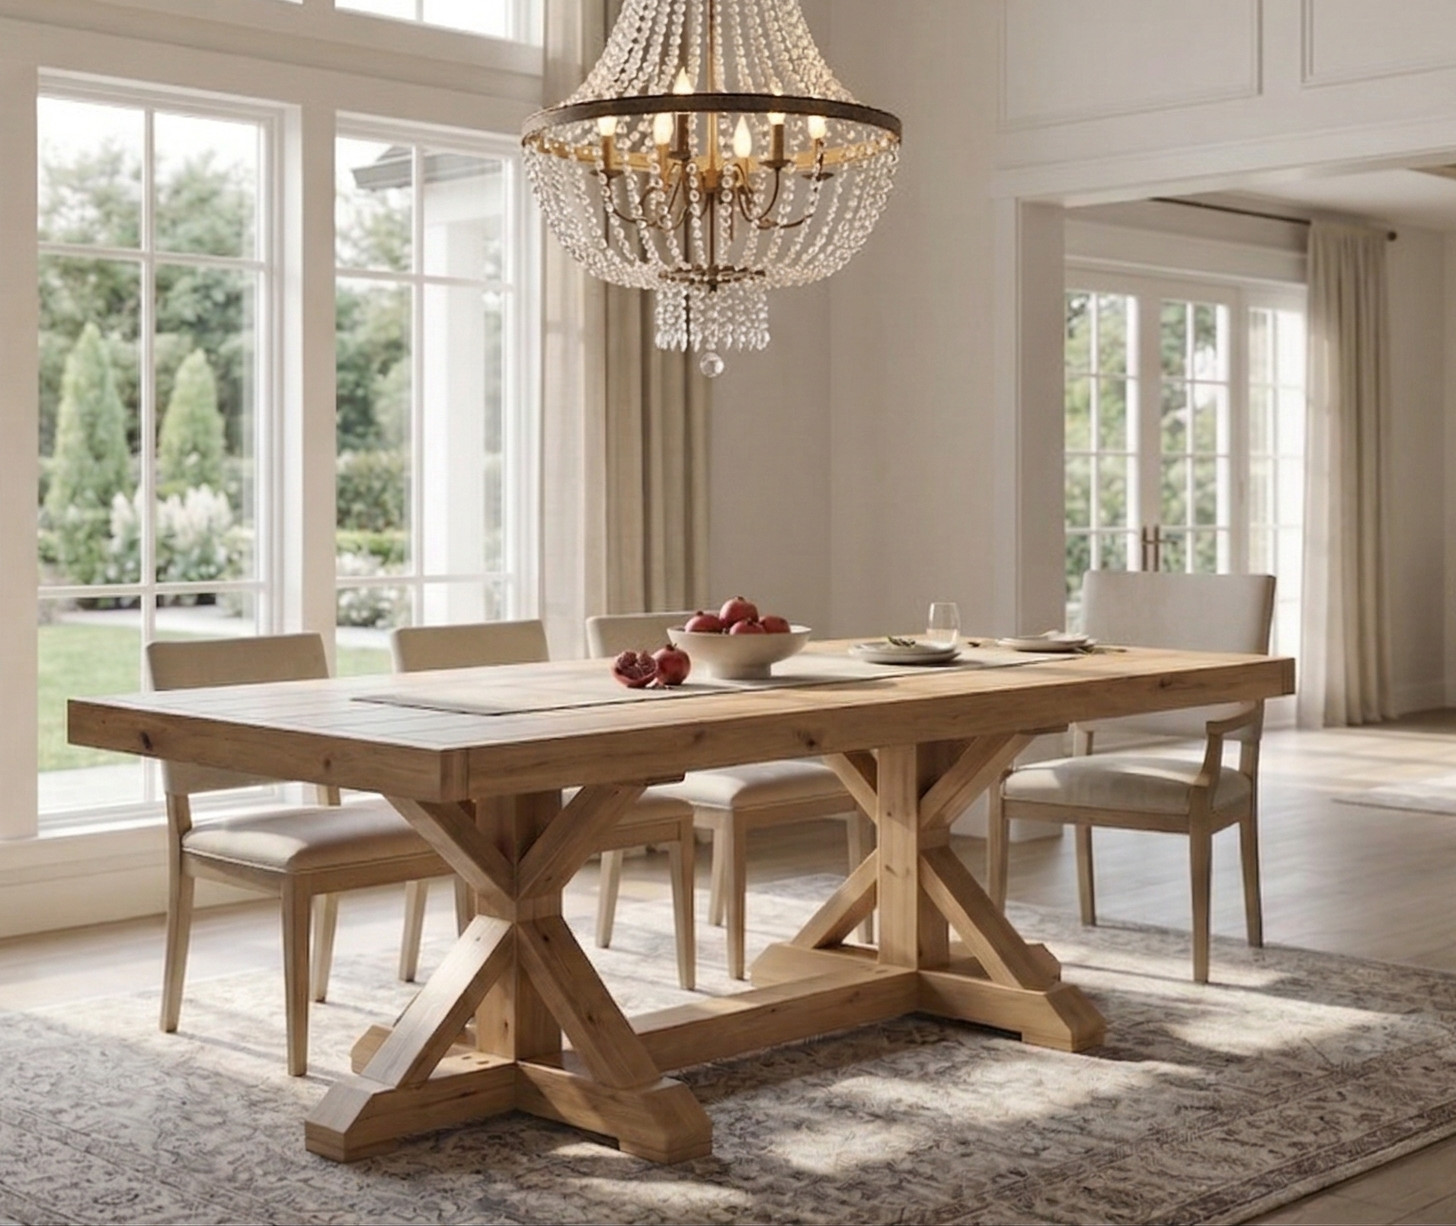
DIY Farmhouse Dining Table Plans
$12.97
Digital PDF Download — Get complete woodworking plans to build a solid wood farmhouse dining table. Includes step-by-step instructions, full cut list with measurements, material list, tools list, and 3D assembly illustrations. Instant download. No physical product shipped.
Description
Build a Farmhouse Dining Table That Lasts a Lifetime
A farmhouse dining table isn’t just furniture — it’s where your family gathers for holiday meals, birthday celebrations, homework sessions, and everyday moments. Unlike particle board tables that warp, peel, and fall apart within a few years, a solid wood farmhouse table built by your own hands will last decades and only grow more character with time.
These DIY Farmhouse Dining Table woodworking plans give you everything you need to build a sturdy, beautiful, full-size dining table using affordable construction lumber and basic woodworking tools — no advanced skills required.
Who These Plans Are For
These plans are designed for beginner-to-intermediate woodworkers and confident DIY homeowners who want to:
- Build a solid wood dining table instead of buying overpriced furniture
- Save money by using common construction lumber (total project cost around $150)
- Have a clear, printable reference guide they can take straight to the workshop
- Avoid the guesswork that comes with following free video tutorials alone
- Build a piece of furniture the whole family will use for years
If you’ve completed a few basic woodworking projects and are comfortable using a miter saw, drill, and pocket hole jig, this project is well within reach.
What’s Included in the PDF
Your instant download includes a professionally formatted, print-ready PDF with:
- Step-by-step building instructions — 16 clearly explained steps from first cut to final finish
- Full cut list with measurements — every board, length, and quantity listed in imperial measurements
- Complete material list — lumber dimensions and fastener specs so you can shop confidently
- Tools required list — know exactly what you need before you start
- 3D assembly illustrations and diagrams — visual guidance at every stage of the build
- Cut diagrams — showing how to break down your lumber efficiently
- Estimated build time — approximately 8 hours
- Estimated project cost — approximately $150 using construction lumber
- Printable PDF format — print at home or at any copy shop
- Instant digital download — available immediately after purchase
Note: Measurements are imperial (inches). Does not include SketchUp or CAD files.
Project Details
| Detail | Info |
|---|---|
| Difficulty Level | Intermediate |
| Estimated Build Time | 8 hours |
| Estimated Cost | ~$150 |
| Table Length | 72 inches |
| Primary Material | Construction lumber (1×8, 2×4, 4×4) |
| Measurement System | Imperial (inches) |
Recommended Tools:
- Miter Saw
- Drill
- Kreg Pocket Hole Jig
- Nail Gun
- Random Orbital Sander
- Tape Measure
- Dovetail Saw
Materials Used:
- 1×8×6′ boards (×5)
- 2×4×8′ boards (×6)
- 4×4×8′ posts (×3)
- 1×4×4′ board (×1)
- Pocket hole screws, brad nails, wood screws, wooden dowel rods, wood glue
Why These Plans Are Worth It
Free tutorials can get you started, but they often leave out critical details — exact measurements, cut sequences, assembly order, and how to avoid the mistakes that waste time and money. These plans were developed by a builder who has constructed this exact table multiple times, and the result has been in daily family use for years without issue.
With this PDF, you get:
- Accurate measurements that eliminate guesswork and reduce wasted lumber
- Sequential steps that walk you through the build in the right order
- Visual diagrams that make complex assemblies easy to understand
- A printable format you can bring to your workshop — no scrolling through videos or searching for the right timestamp
- Confidence to start — because you know exactly what you’re building before you make a single cut
This is the difference between a frustrating project and a satisfying one.
Digital Download Information
This is a digital product. No physical item will be shipped to you.
- Instant access — your PDF download link is delivered immediately after purchase
- Printable format — print the full plan at home or at any print shop
- Works on all devices — desktop, laptop, tablet, and mobile
- One-time purchase — download and keep it permanently
There is nothing to wait for and nothing to ship. Purchase now, download in seconds, and start planning your build today.
Ready to Build Your Farmhouse Table?
This project takes about 8 hours and roughly $150 in materials — and the result is a solid wood farmhouse dining table your family will use every day. Whether you’re building it for your own home or as a woodworking project to sell, these plans give you a clear, proven path from raw lumber to finished table.
Download the PDF now and build something that lasts.
Other Woodworking Projects
Tools for this project
Material List
- 1x8x6′ (x5)
- 2x4x8′ (x6)
- 4x4x8′ (x3)
- 1x4x4′ (x1)
- 2″ Brad Nails
- 1 1/4″ Brad Nails
- 1 1/4″ Pocket Hole Screws
- 2 1/2″ Pocket Hole Screws
- 2 1/2″ Wood Screws
- 3/8″ Wooden Dowel Rods
Note: Lumber dimensions are listed as nominal size. See lumber sizes for actual dimensions vs nominal.
Disclosure: Some of the links on this page as well as links in “tools for this project” and “material list” sections are affiliate links.
Dimensions

Step 1 – Cut the Tabletop Boards
When building DIY farmhouse furniture, typically people use construction lumber because it’s cheap. But you may already know that construction lumber is not the prettiest out there. So it’s important to take some time to choose the best pieces possible. You want to make sure the boards are not warped or twisted.
Once you purchased straight boards, the next step is to cut them. When cutting the boards, you want to cut them as accurately as possible. The boards that are identical in length need to be cut to the exact measurements. Otherwise, you’ll have unwanted gaps between boards and boards too short or too long.
To make the tabletop board identical in length, take five 1×8 boards and two 2×4 boards and clamp them together in one bundle. Once they are clamped, cut all 7 pieces with one cut to 72″ in length on a miter saw. If you have a smaller miter saw and cannot cut all 7 pieces at once, you will need to use a stop block to ensure all pieces are identical.
Next set your Kreg Jig to 3/4″ wood thickness and drill pocket holes on 1×8 boards as shown in the picture. Then change the Kreg Jig to 1 1/2″ wood thickness and drill two pocket holes on each end of 2×4 pieces.

Step 2 – Assemble Farmhouse Tabletop
Before attaching the tabletop boards together, use a random orbital sander and sand the boards to eliminate any rough edges.
Then connect the 1×8 boards with wood glue and 1 1/4″ pocket hole screws. Make sure to clamp the boards together with Kreg clamps when driving in the screws. This will prevent the boards from shifting and misaligning. If the tabletop boards shift slightly, you could sand them down, but that is time-consuming.
Once all of the 1×8 boards are connected, then attach the 72” boards on the sides with wood glue and 1 1/4″ pocket hole screws.

Step 3 – Measure and Cut the End Boards for the Tabletop
Now that you have the top and sides assembled, measure the distance at the ends of the table. Then cut two pieces to those dimensions. It should be around 39 1/4″ in length, but your measurement might be slightly different.
Apply wood glue on the ends and use 2 1/2″ pocket hole screws when attaching the side and end boards. Then use 1 1/4″ pocket hole screws when attaching the 1×8 top boards to the 2×4 ends.

Step 4 – Cut Two Legs and a Leg Stretcher Board
As I mentioned in step 1, it’s important to purchase the best lumber possible from your hardware store. But many times when you bring the lumber home and inspect it carefully, you will realize that some boards might have more blemishes than others. Or some boards have a better-looking wood grain than others.
When building your furniture, you want to install better-looking boards where they are visible. The boards with blemishes, try hiding them in places where they are less visible.
For steps 4, 5, and 6, use the best boards you have, because they will be visible.
Take 4×4 and cut two leg pieces to 21 1/2” in length and one stretcher to 28” in length. Then drill pocket holes as shown in the picture. If you’re using Kreg Jig K4, you will need to remove the drill guide and clamp it to the 4×4 boards to drill the pocket holes.

Step 5 – Cut Feet Boards for the Farmhouse Table
Next, for the feet, take 4×4 and cut two boards to 32” in length and two boards to 14 1/2” in length. For esthetics, the feet need to be chamfered at 45 degrees on the ends. Measure 2 ½” from the end of the board and cut it off with a miter saw at 45-degrees. The 32” piece will have both ends chamfered and the 14 1/2″ piece will be chamfered only on one end.
Now drill two pocket holes on the top and bottom of the 15” piece, on the end that is not chamfered.

Step 6 – Miter Cut Diagonal Bracing Pieces
Take 2×4 and cut 12 pieces to 14” in length have both ends cut at 45 degrees. Use a stop block when cutting these boards to ensure the same length on all pieces.

Step 7 – Cut Boards for the Upper Section of Leg Assembly
The upper section of leg assembly has two layers of boards. See step 8 for the upper layer. The lower layer has exactly the same measurement as the feet, including the 45-degree chamfers. The only difference is these boards are hidden under the table and are not as visible as other boards. So for steps 6 and 7, you could use the remaining boards that might not be as appealing as others.
Using a miter saw, cut two pieces to 32″ in length and two pieces to 14 1/2″ in length. Then chamfer the ends the same way as in step 5.

Step 8 – Make Cuts for the Top Layer of Upper Section.
The top layer boards are the widest spanning the width of the table.
Take 2×4 and cut two pieces to 19″ in length and four pieces to 15 1/2″ in length. These boards need to have pocket holes drilled on the sides of the 2x4s to hold the tabletop. Make sure your Kreg Jig is set to 3/4″ wood thickness, even though you’re drilling into a 2×4. The reason for that is the tabletop boards are 3/4″ thick.
Now that you have most of the pieces cut, take your random orbital sander and sand all the boards.

Step 9 – Assemble the Upper Section and the Feet
To assemble the feet, connect the 14 1/2″ board to the center of the 32″ board with wood glue and 2 1/2″ pocket hole screws. Make sure that the 14 1/2″ board is exactly in the center of the 32″ board. When attaching these boards, clamp them to your workbench to prevent unwanted shifting. Repeat the process to get one set for the bottom and one set for the top of the leg assembly.

Step 10 – Connect the Feet with a Leg Board
Place the 21 ½” leg on your workbench with pocket holes facing up. Then connect the upper section and the foot to the leg with wood glue and 2 1/2″ pocket hole screws. Having the leg assembly lying flat on the workbench will ensure that the leg is not twisted. Next, stand up the leg assembly and finish driving the screws in the back of the leg.
If you don’t want the pocket holes to be exposed or visible, you could cover them with dowel rods. Take a 3/8″ wooden dowel rod and cut it to 2″ in length. Then apply a small amount of wood glue inside the hole and hammer in the dowel rod. Do that to all the pocket holes you want to be covered. Let the glue dry and then cut off the dowel rod with a dovetail saw. (See DIY Rocking Chair as an example of how I covered the pocket holes.)

Step 11 – Attach Diagonal Brace Pieces to Leg Assembly
Take the diagonal brace pieces that you’ve cut in step 6 and nail them to the leg and the feet. Use wood glue and 2″ brad nails to connect the boards.

Step 12 – Attach the Top Layer to Leg Assembly
The last set of boards you need to attach to the leg assembly is the top layer. Take the boards with pocket holes on the sides and attach them on top with 2 1/2″ wood screws. See picture. Make sure the boards are positioned so that pocket hole screws will be screwed from the bottom going up to the tabletop.

Step 13 – Connect Leg Stretcher to Both Leg Assemblies
Place the leg stretcher on a flat surface with pocket holes facing up. It’s important to have a flat surface for this step. Otherwise, you’ll end up with one foot slightly higher than the other.
Next, connect both left and right leg assembly to the stretcher with wood glue and 2 1/2″ pocket hole screws.

Step 14 – Nail Foot Pads Under the Feet
Take 1×4 board and cut six foot-pads to 3 1/2″ in length. Then flip the leg assembly upside down and attach the pads on the edges of the feet. Make sure to change the setting on your Nail Gun to have the nails go deeper below the surface. Use 1 1/2″ brad nails for footpads.

Step 15 – Attach the Table Top to the Legs
Flip back the leg assembly on the foot-pads and place the tabletop on top. Make sure the tabletop is centered. Use 1 1/4″ pocket hole screws to attach the tabletop to the leg assembly. Do not over-drill the screws otherwise the sharp tip of the screw will come out from the top.

Step 16 – Stain and Paint
For this step, you could choose any stain or paint color you want. Just remember to use pre-stain before applying stain to prevent blotchiness. Once the stain is dry, apply several coats of oil-based polyurethane. Lightly sand the top with 350 grid sandpaper between the polyurethane coasts. Oil-based polyurethane takes much longer to cure, but it gives better wood protection.
For the lower part of the table, you could either stain or paint it. I’ve built many of these tables and I’ve done them both ways, you can choose either way you prefer. You are done with a DIY Farmhouse Dining Table.
Reviews
There are no reviews yet.