

If you’re looking for a storage shed that’s both functional and stylish, consider building your own DIY 10×12 barn-style shed with a loft. This type of shed is perfect for storing larger items such as lawn equipment, patio furniture, or bikes, and the loft provides additional space for smaller items or seasonal decorations. Plus, the barn-style design adds a touch of charm to any backyard.
Building a barn-style shed with a loft is a relatively easy project that can be completed in a weekend or two, depending on the size and complexity of the shed. And, because you’re building it yourself, you can customize it to fit your specific storage needs. To get started, download these shed plans that contain step-by-step instructions for how to build a DIY 10×12 barn-style shed with a loft.
Things to Consider Before Building a Storage Shed
Before you begin building your shed, there are a few things to consider. If you rush the planning phase, you might end up with something that looks like a shed but doesn’t act like a shed. A shed is a handy structure; however, if it doesn’t serve your needs, you’ll be constantly frustrated.
Here are the most important things to consider before you build your own shed:
- Area Building Codes and Guidelines
- The Shed’s Purpose
- The Foundation
- Your Local Weather

Zoning Codes and Permits for Sheds
There are several kinds of shed building permits that you might need to get from a building department. You will likely need a building permit for larger sheds with electricity or a permanent foundation or if larger than a specific size.
However, even if you’re just building a small shed without any fancy lighting or foundations, you may still need a planning permit.
Planning permits (or perhaps just zoning requirements, depending on your area) will regulate where your shed can be placed. Some areas will have easements for utilities, requirements for how far the shed can be from other buildings/fences, and information on the presence of underground utilities.
For many areas, the cut-off for a building permit is around 120 to 200 square feet. However, we cannot stress enough: every area differs in requirements for sheds.
To be sure your shed is built and placed correctly, check your local rules and regulations. This helps guarantee you won’t need to move or deconstruct your shed in the future.

Consider the Purpose of Your Barn Style Shed with a Loft
Sheds can perform many tasks. Some people just need extra storage space. Others want a small workshop, a place to shelter animals or a backyard getaway. Whatever your needs, there is a shed for you.
Here are some things to consider regarding your shed’s purpose.
First, if the shed is meant for storage, what will you be storing? If you just have some non-perishable tools, like shovels and rakes, any standard small shed will probably do.
However, if you’ve got a riding lawnmower or other large lawn tools, you may need a bigger shed, one with a small garage door, or a set of large double doors.
You can equip some sheds with electricity and heaters. These are ideal for people who want to spend some time in their shed.
Use this shed estimation tool to determine the best shed for your needs.
When it comes to a shed, don’t just think about your current needs; imagine what you’d like to do with it in the future. Build a shed that will grow with you and your hobbies.
Consider the Foundation of a Storage Shed
The foundation is the most crucial part of any structure. Ultimately, the foundation will determine what type of shed you’re going to have.
Foundations fall into two basic categories:
- Permanent Cement Poured
- Non-Permanent Pre-made
Here’s the gist of it.
Permanent Cement Poured Foundation for Shed
By pouring a concrete pad or concrete piers, you ensure that your shed will stand the test of time.
Cement-poured foundations keep your storage shed off the ground, prevent sloping and shifting, and hold the shed firm during storms.
Pouring your own reinforced concrete foundation is the platinum standard of foundations. When you take the time to do this right, you know you’re getting a structure that will last.
However, these foundations take longer to build, will likely require a building permit, and cost more than less robust structures.
You’ll need to weigh the options. If you only want a light shed to house some unimportant odds and ends, then maybe a poured concrete foundation isn’t for you. However, if you want your shed to last many years, take the time to pour concrete.
Non-permanent Pre-made Foundations for Shed
This category includes deck footers, wood skids, and concrete blocks. The non-permanent options won’t hold up like the permanent. However, there are a few reasons to go with this option.
First, if you don’t need a robust shed, why take the time to pour all that concrete? Second, you might plan to move from your current home. If this is the case, a non-permanent shed could be feasibly deconstructed and transferred to your new home.
Finally, some areas will not require a building permit for non-permanent sheds. However, check all codes in your area.

Consider Your Local Weather Before Building a Shed
If you’re in an area that gets torrential rain but very little wind or freezing temperatures, a quality resin shed with a non-permanent foundation will serve you well.
However, if you live in an area that gets freezing temperatures in the winter and windy weather year-round, then a permanent foundation will be the most practical option.
During the freezing temperatures, the ground will shift. If your foundation isn’t solid, your shed will shift with the ground, causing structural compromises.
Before you build anything, you’ll need to check with your city and county and be sure to follow all regulations. These guidelines will also help your shed stand firm in inclement weather.
You also might be interested in other organizational projects I created such as DIY Garage Cabinets, Mobile Tool Cart with Pegboard, and DIY Pegboard Wall.
Time to Complete
46 hours
Total Cost
$2500
Skill Level
Advanced
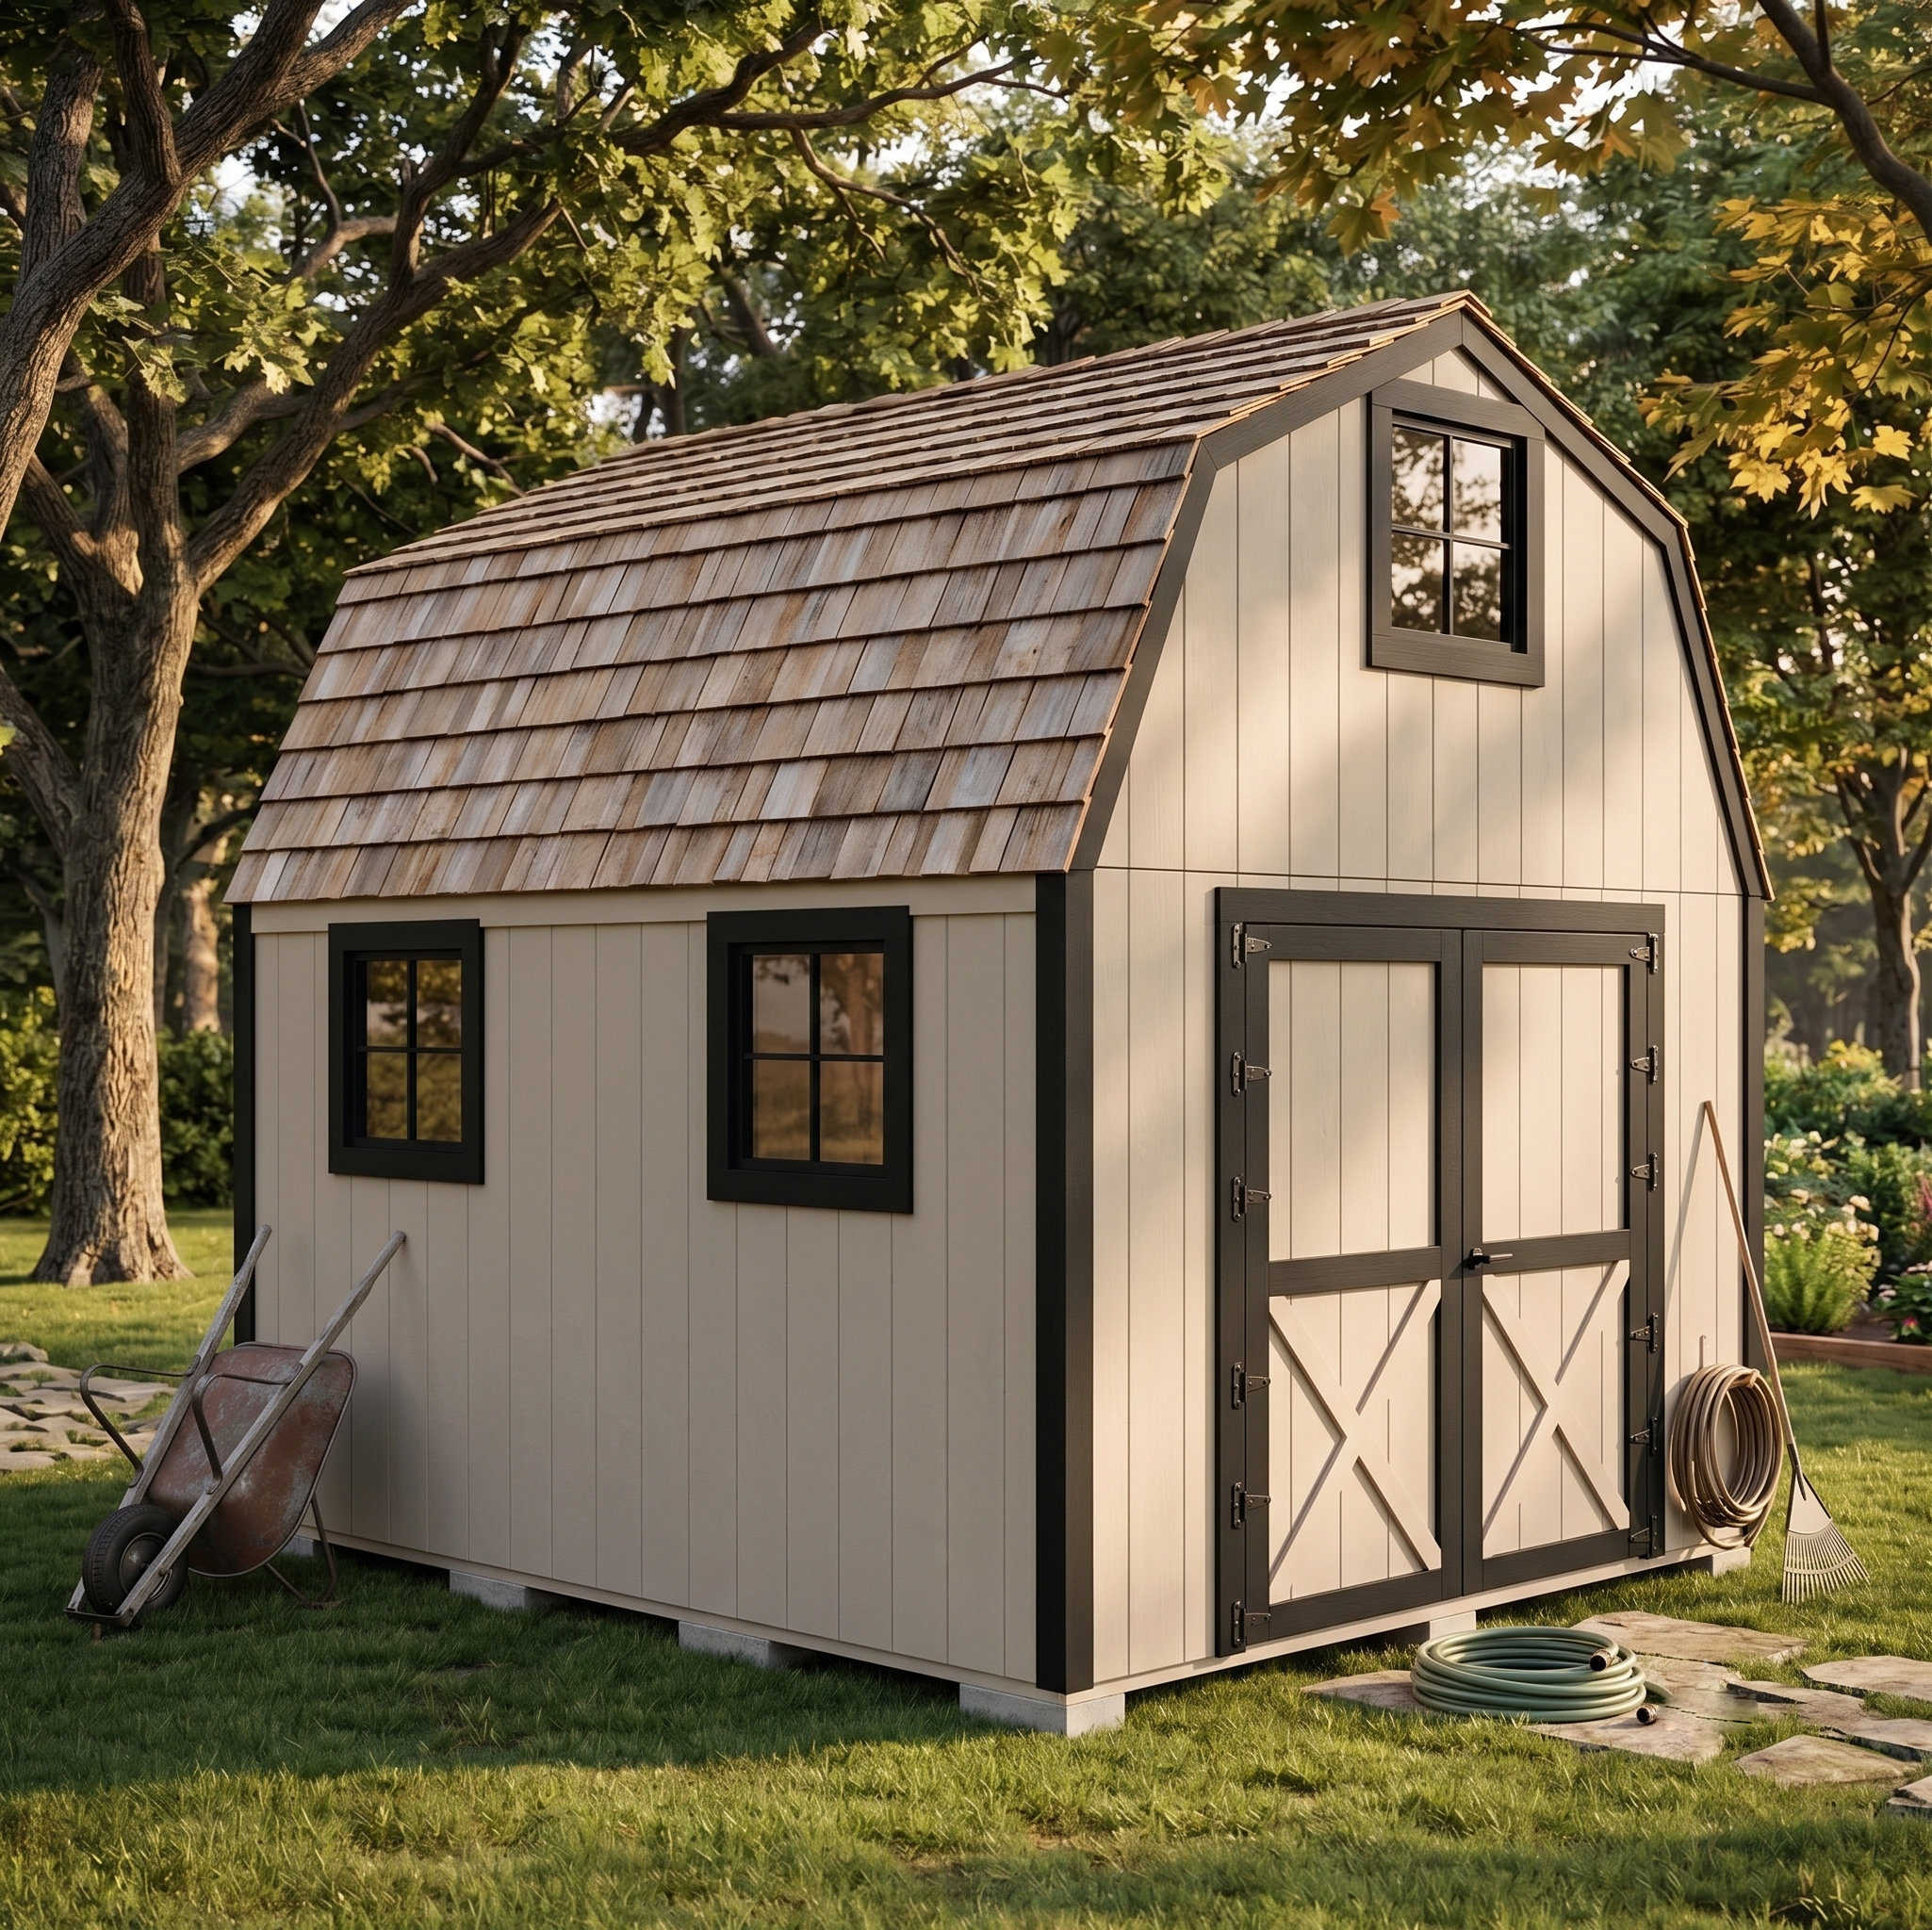

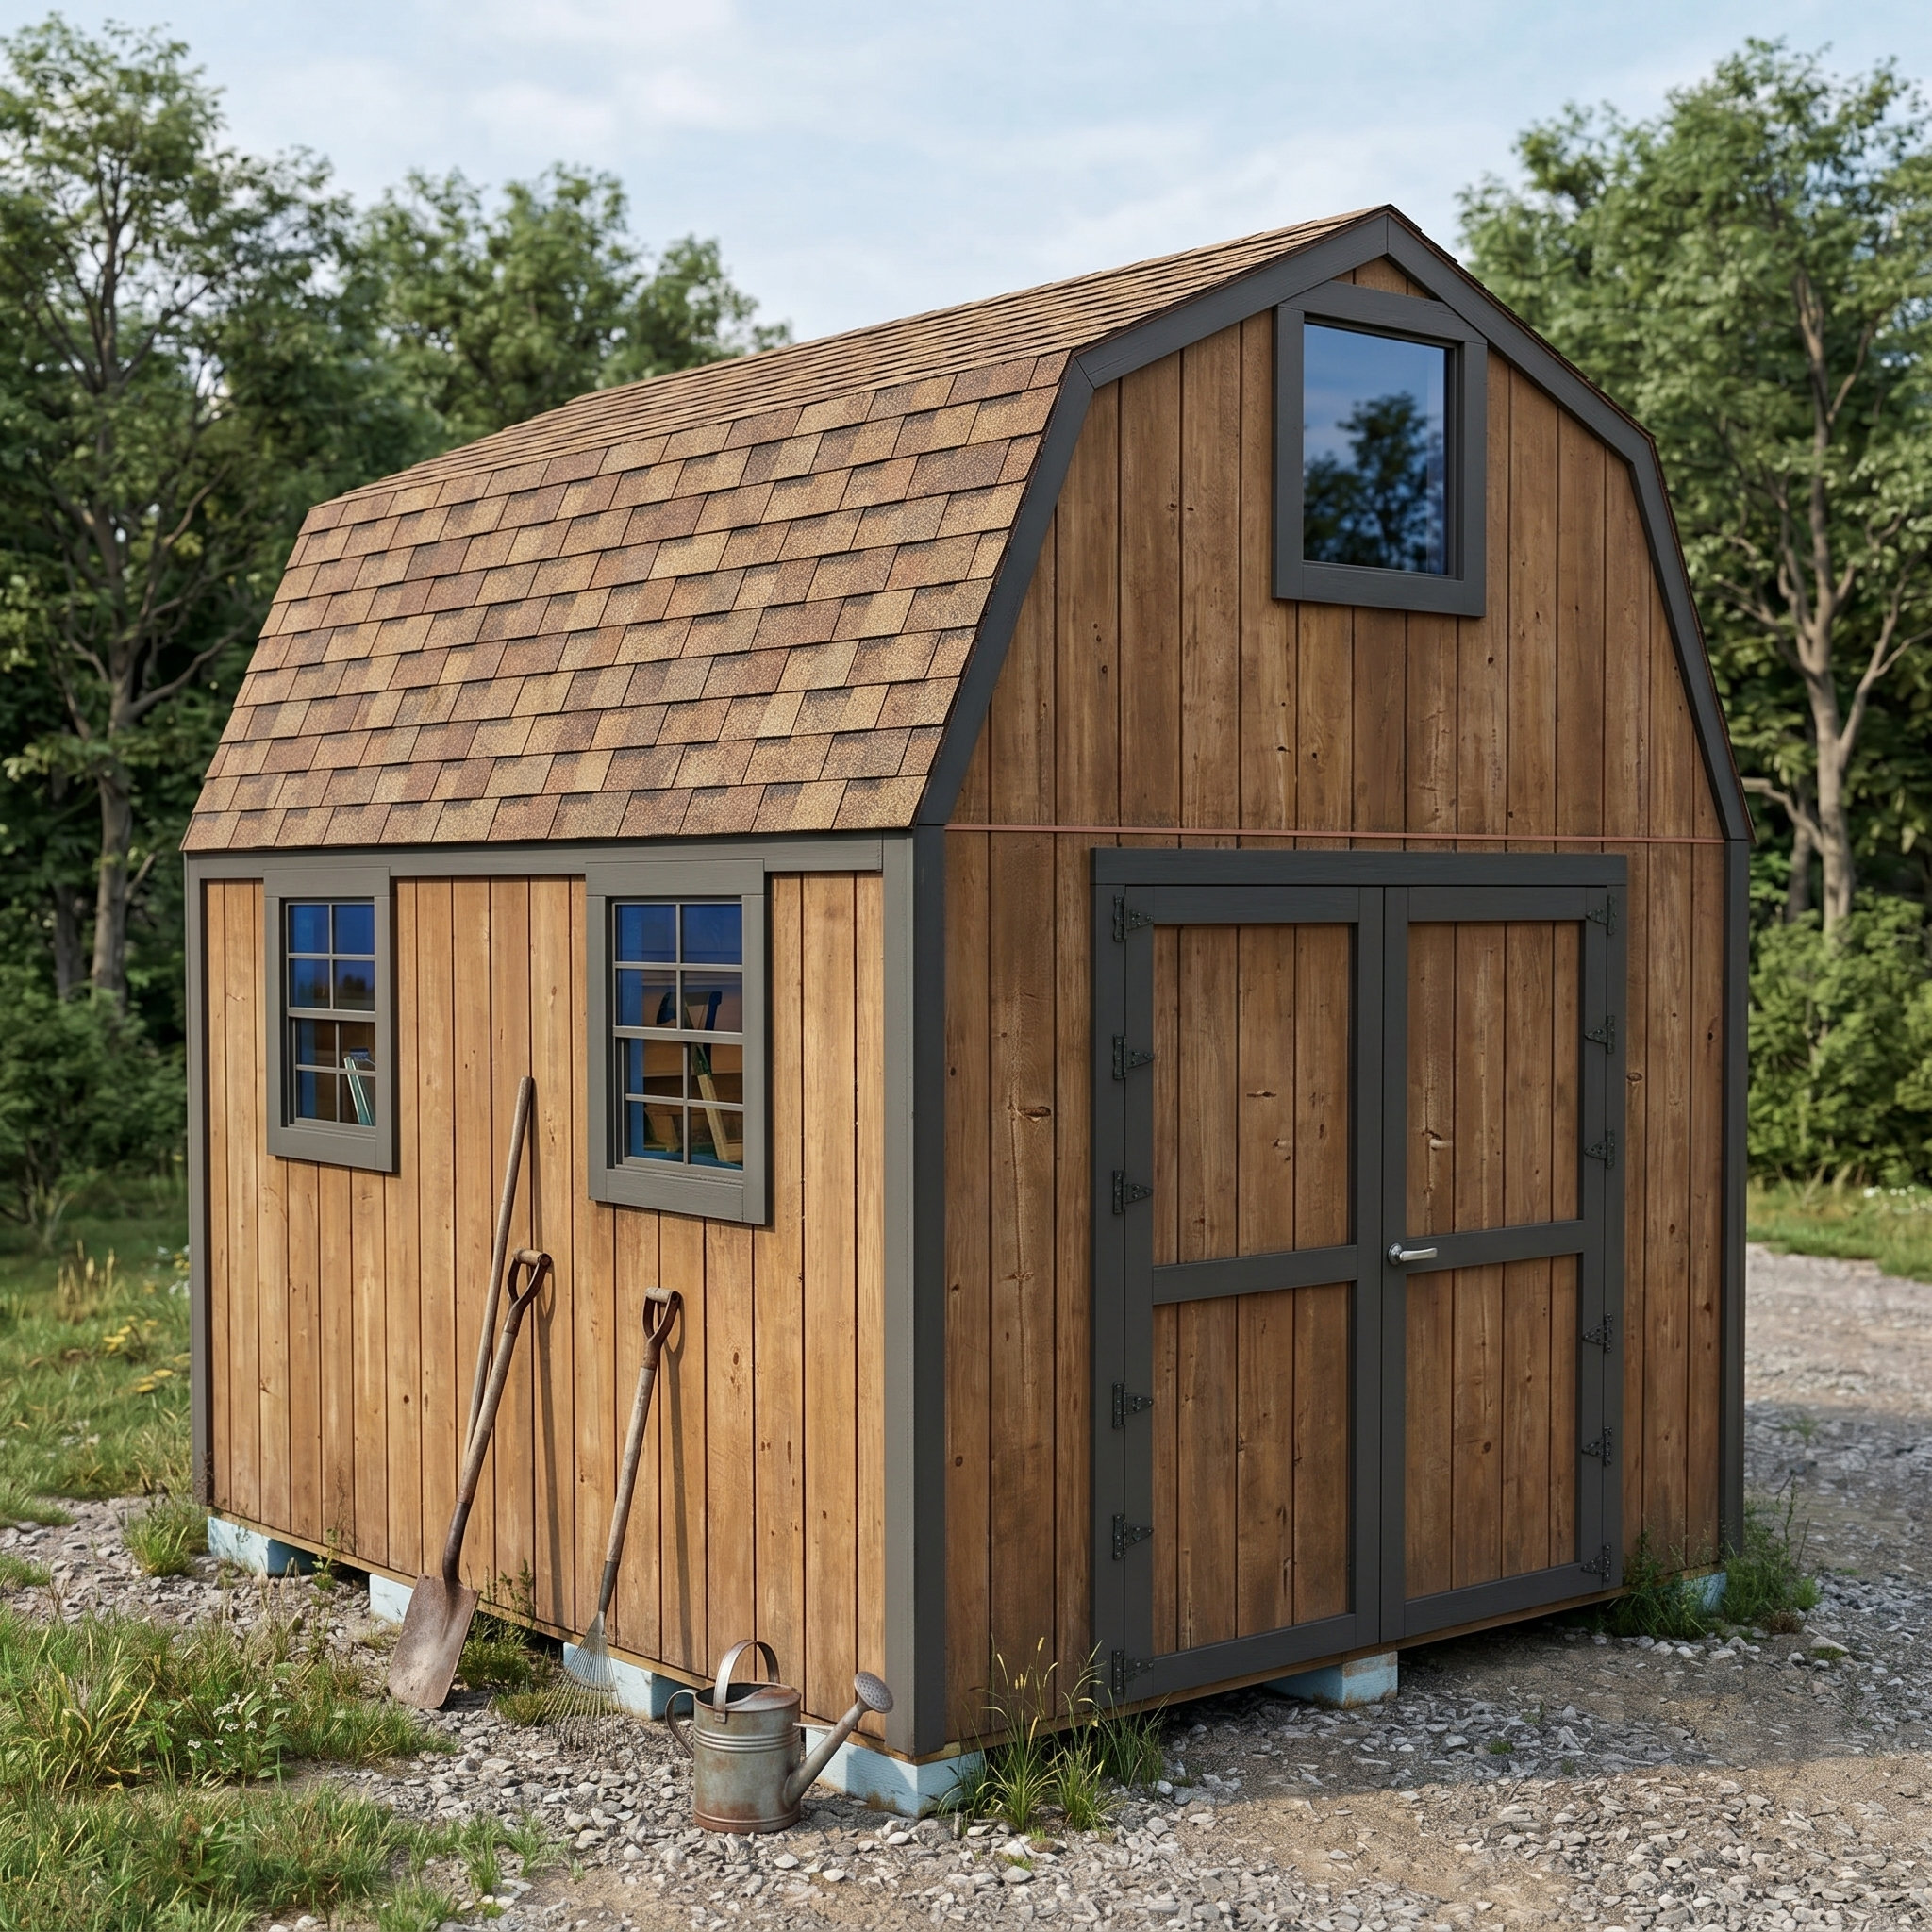


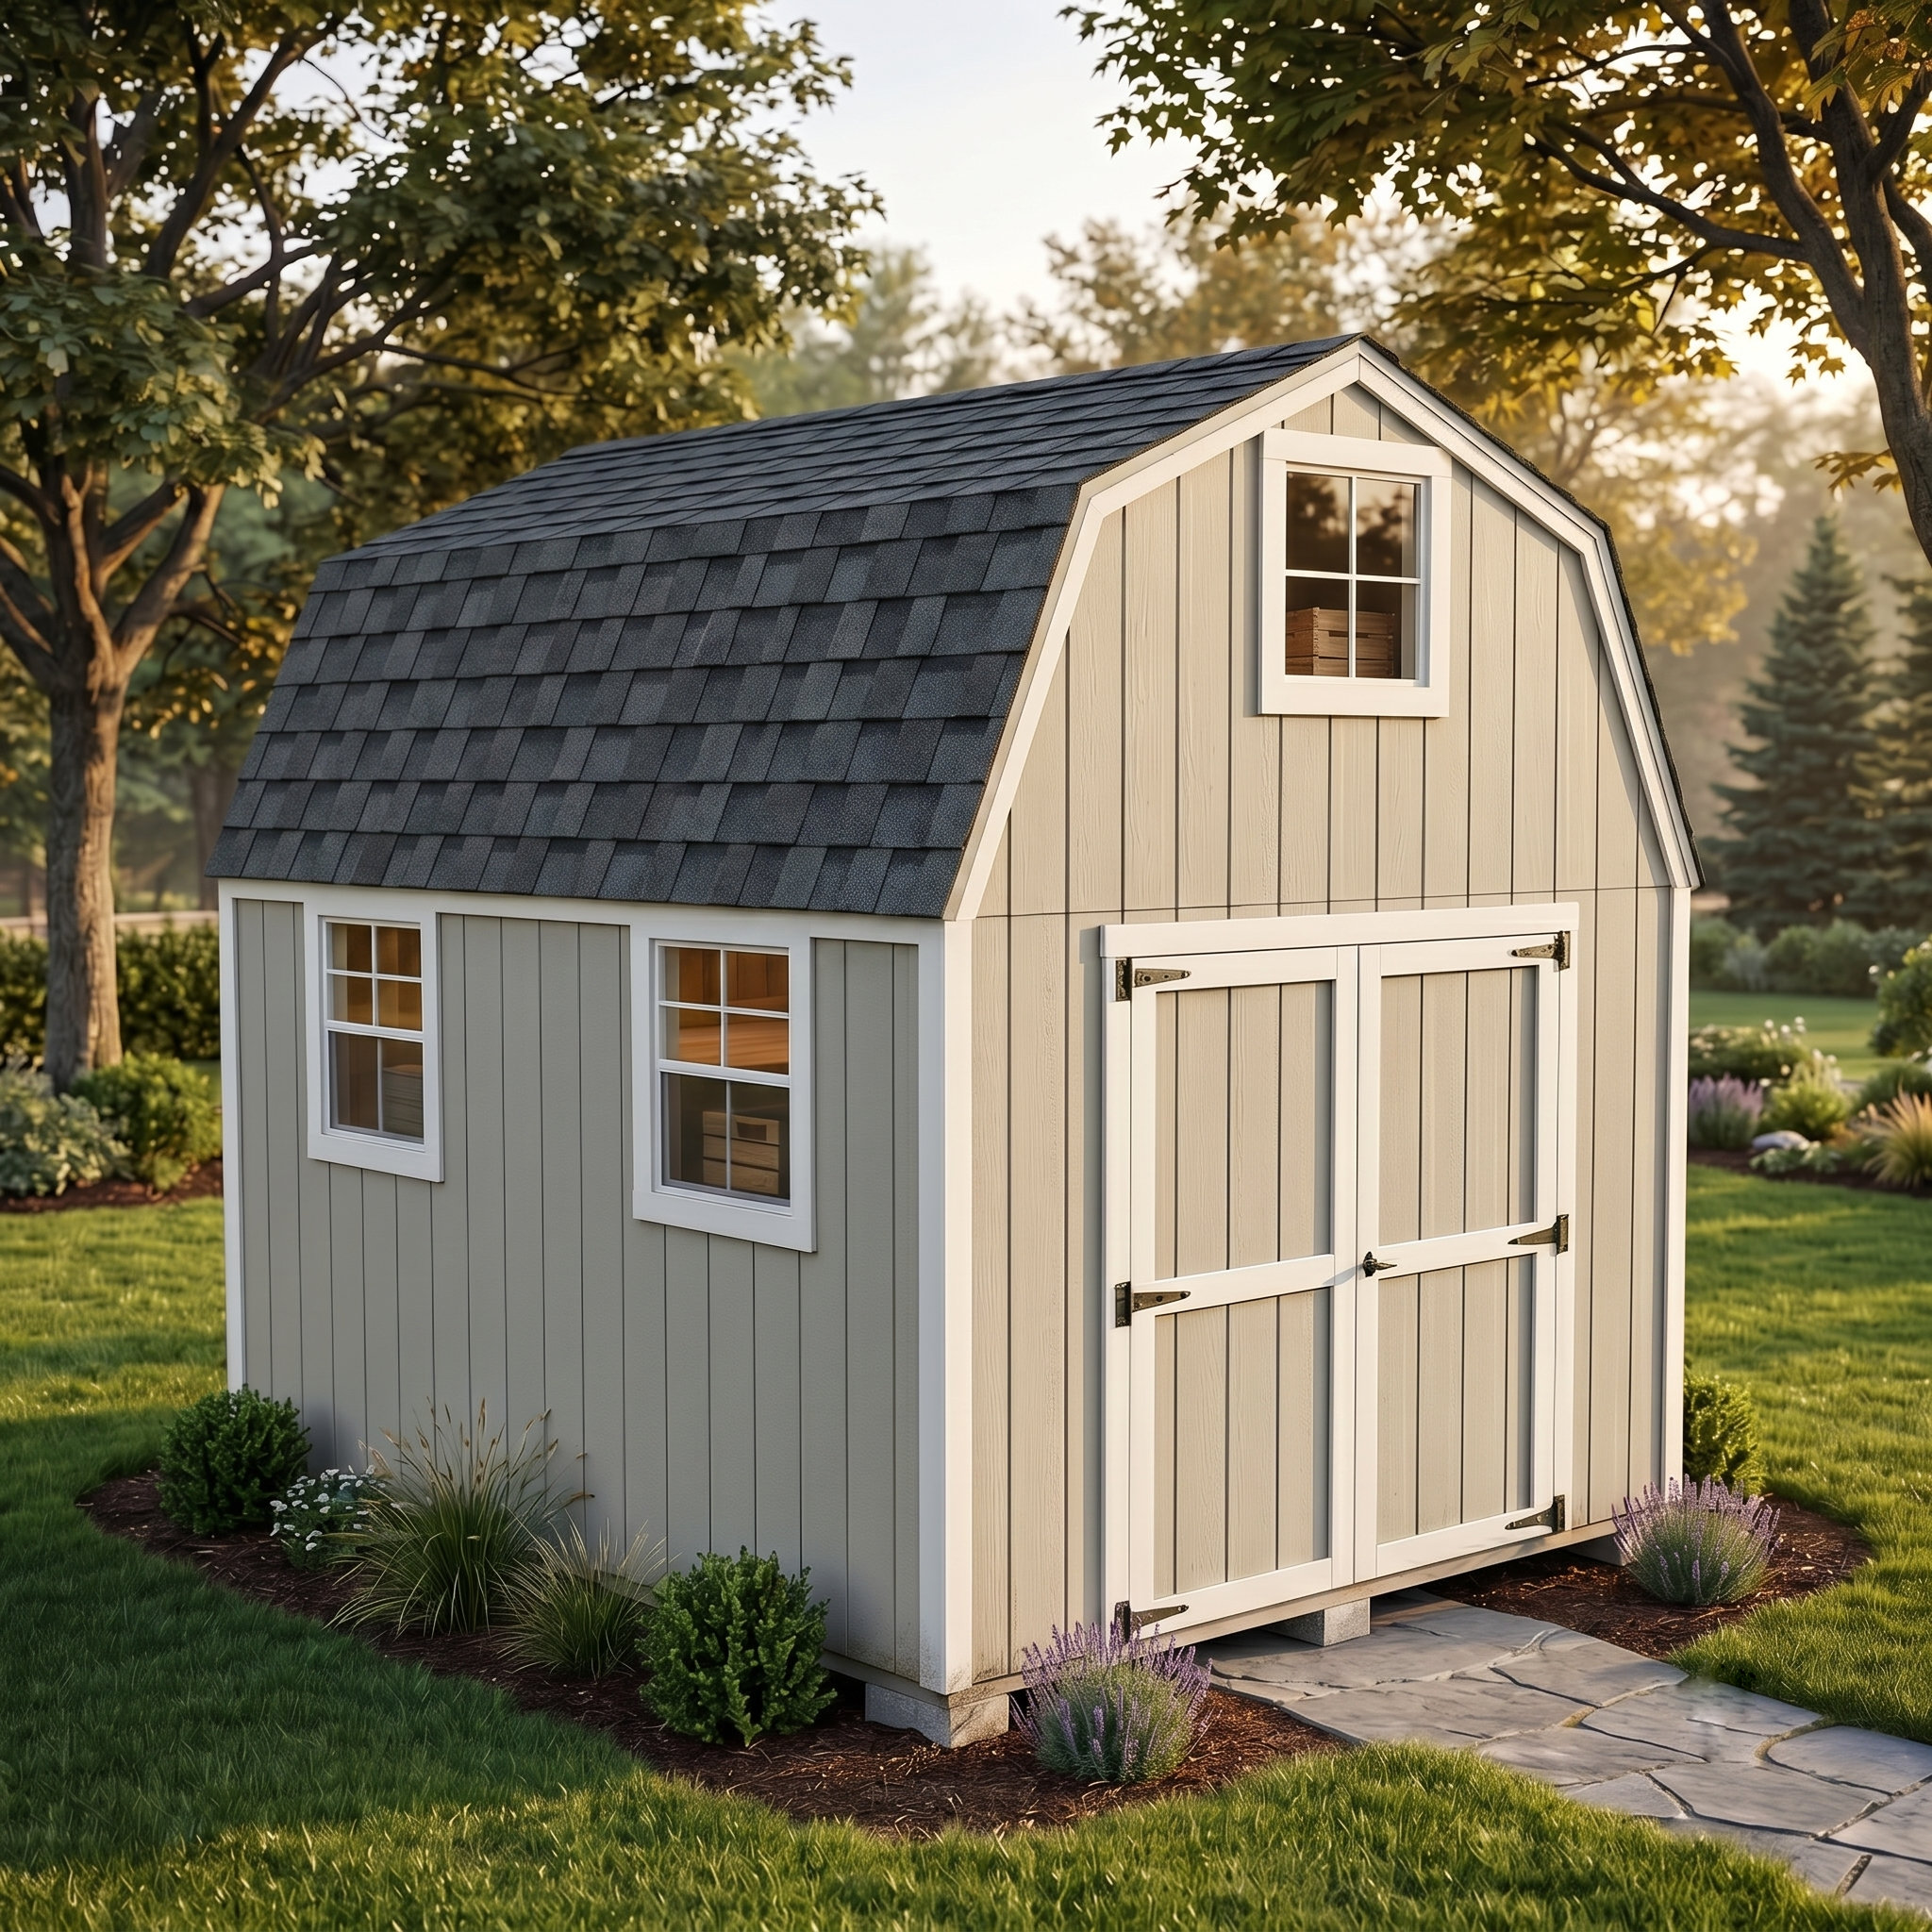
Two-Story 10×12 Barn Style Shed with Loft PDF
$26.97
Digital PDF Download — Get step-by-step woodworking plans to build a 10×12 barn-style shed with a loft. Includes cut diagrams, full materials list, 3D illustrated instructions, and imperial measurements. Instant download. No physical product shipped.
Build your own two-story barn shed with confidence using clear, beginner-friendly PDF plans designed for DIY homeowners ready to tackle a rewarding backyard project.
Description
Build Your Own 10×12 Barn Style Shed with a Loft — Complete DIY Plans
A backyard shed is one of the most practical projects a homeowner can build. But a barn-style shed with a loft? That’s storage, style, and serious functionality rolled into one weekend project. This 10×12 two-story design gives you ground-level space for larger items like lawn equipment, bikes, and patio furniture — plus a built-in loft overhead for seasonal gear, tools, and anything else that needs a home.
These DIY woodworking plans take the guesswork out of every stage of the build, from laying your foundation blocks to hanging the double doors. Whether you’re a first-time shed builder or an experienced DIYer looking for a reliable set of plans, everything you need is included in this downloadable PDF.
Who These Plans Are For
These plans are designed for:
- DIY homeowners who want to add functional outdoor storage without hiring a contractor
- Beginner-to-intermediate woodworkers comfortable with basic power tools
- Backyard builders looking for a stylish, durable shed with extra overhead storage
- Anyone who wants step-by-step guidance rather than figuring out measurements from scratch
If you’ve got a drill, a miter saw, and a weekend (or two), you have what it takes to build this shed.
What’s Included in the PDF
Your instant download includes everything you need to build this 10×12 two-story barn shed:
- Step-by-step building instructions covering all 20 stages of construction — from leveling ground and laying concrete blocks to installing doors, windows, roofing shingles, and the loft floor
- Detailed cut diagrams showing exact board sizes and how materials are laid out for efficient cutting
- Full materials list covering lumber, hardware, siding panels, roofing materials, and more
- Tools required list so you know exactly what to gather before you start
- 3D illustrations and assembly diagrams for every key phase of the build
- Imperial measurements throughout (inches and feet — not metric)
- Printable PDF format — print the full plan or individual pages at the job site
- Instant download after purchase — access your plans within seconds
- Compatible on desktop, tablet, and mobile devices
Note: Does NOT include SketchUp or CAD files. Measurements are in imperial units only.
Project Details
| Detail | Info |
|---|---|
| Footprint | 10 ft × 12 ft |
| Style | Two-story barn with loft |
| Skill Level | Advanced |
| Estimated Build Time | ~46 hours |
| Estimated Material Cost | ~$2,500 |
| Foundation Type | Concrete blocks (non-permanent) |
| Roof Type | Gambrel/barn-style with shingles |
| Door Type | Double doors (framed, plywood-covered) |
| Windows | Two 24×24 windows |
Recommended Tools: Tape measure, drill, miter saw, table saw, skill saw, hammer, shovel, level
What the Build Covers — Step by Step
These plans walk you through all 20 stages of construction:
- Leveling the ground and placing 4×8×16 concrete blocks
- Installing pressure-treated 2×6 foundation boards and framing
- Covering the floor frame with plywood
- Framing and raising all four walls (including window and door openings)
- Cutting and installing gambrel roof trusses with 22.5-degree miter cuts
- Building the loft floor framing with 2×6 boards and covering with plywood
- Sheathing the roof with ½″ plywood, roofing paper, and shingles
- Installing windows and fiber cement siding panels with z-flashing
- Adding 1×4 trim around all doors, windows, and corners
- Building and hanging double doors with six hinges per door and a locking handle
Every step includes diagrams and measurements so you’re never left guessing what comes next.
Why These Plans Save You Time and Frustration
Free tutorials scattered across YouTube and blogs can get you started — but they rarely give you the complete picture. Dimensions are missing. Cut lists are vague. You end up making expensive lumber mistakes or spending hours figuring out what should have been spelled out from the start.
These plans are designed to eliminate that frustration:
- Accurate measurements reduce material waste and costly re-cuts
- 3D illustrations make it easy to visualize each stage before you build it
- Cut diagrams show you how to get the most out of every board and panel
- A complete materials list means one trip to the hardware store, not four
- Step-by-step sequencing keeps your build organized and on track
You’re not just getting a PDF — you’re getting a clear path from empty backyard to finished shed.
Digital Download — What to Expect
This is a digital product only. No physical materials or printed documents will be shipped.
- Instant PDF download available immediately after purchase
- Works on desktop computers, tablets, and smartphones
- Printable — take pages to the job site or workbench
- Secure checkout through WooCommerce
- No physical product shipped
- Does not include SketchUp or CAD files
Ready to Build?
If you’ve been looking for a reliable, detailed set of plans to build a 10×12 barn-style shed with a loft, this is it. Download your PDF today and start building a backyard structure that will serve your family for years.
Other Woodworking Projects
Material List
- Available with the purchase of PDF plans.
Note: Lumber dimensions are listed as nominal size. See lumber sizes for actual dimensions vs nominal.
Disclosure: Some of the links on this page as well as links in “tools for this project” and “material list” sections are affiliate links.
Dimensions
Step 1 – Level the Ground and Place the Concrete Blocks
There are several different ways of building the foundation for a shed. It all depends on how much money you want to spend. If you live in an area where it snows or is windy, your foundation might be different than in the area where the weather is not too harsh. You can find more information on the types of foundations here.
Since this shed was built in California, where it does not snow, the foundation was made using solid concrete blocks. You could purchase these blocks at your local hardware store, such as HomeDepot. This foundation method is fairly straightforward, inexpensive, and doesn’t require much dirt-digging.
First, level the ground to eliminate any slopes and high/low areas. Then take
Reviews
There are no reviews yet.