
I’ve heard someone say “growing your own food is like printing your own money”. But besides the money, there are many benefits of growing fruits and vegetables in your garden. For some of us, growing vegetables in a container is the only option. The secret is, most vegetables actually grow really well in containers. I’ve designed and built a DIY Planter Container with Corrugated Steel to grow my vegetables.
For this container, I used pressure treated lumber from Home Depot. The treated lumber is typically used for outdoor fencing and could withstand moisture and harsh weather. The inside of the container is sheeted with corrugates steel on the sides and a flat sheet of metal on the bottom. I wanted to make this container deep to hold a lot of soil for plants to grow deep roots. Also, the box is made at a convenient height for taking care of the vegetables.
You also might be interested in DIY Indoor Plant Stand for your indoor plants.

Planter Container with Corrugated Steel PDF
$7.97
This PDF download includes Cut Diagrams, a List of Supplies, and 3D illustrations with detailed steps to build the project. Measurements are in imperial and not metric. Does NOT include SketchUp/CAD files.
The plans are embedded on the webpage for free, but if you would like to support the website, you can pay a small fee to purchase the printable PDFs.
Thank you for your support!
Other Woodworking Projects
-
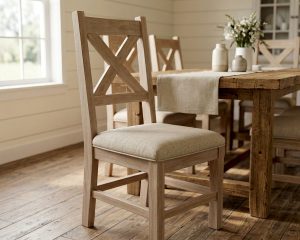
DIY Farmhouse Chair Woodworking Plans PDF
$14.97 Add to cart Buy Now -
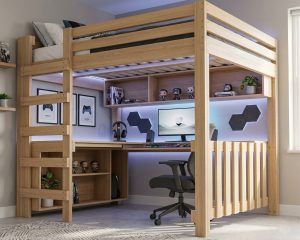
DIY Queen Size Loft Bed with Desk Plans
$18.97 Add to cart Buy Now -
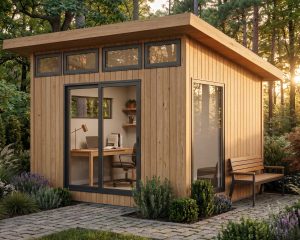
DIY Modern Office Shed Plans -10×12
$26.97 Add to cart Buy Now -

Farmhouse Bench PDF Woodworking Plans
$8.97 Select options This product has multiple variants. The options may be chosen on the product page Buy Now
Tools for this Project
Material List
- 2x4x8′ (x6)
- 2x6x8′ (x3)
- 2 1/2″ Pocket Hole Screws
- 2 1/2″ Wood Screws
- Corrugated Steel Roof Panels (x4)
- Flat Sheet of Metal
Note: Lumber dimensions are listed as nominal size. See lumber sizes for actual dimensions vs nominal.
Disclosure: Some of the links on this page as well as links in “tools for this project” and “material list” sections are affiliate links.
Dimensions

Step 1 – Cut and Assemble Long Sides
Since this planter box is for outdoors and will be exposed to moisture, it’s a good idea to use pressure-treated wood. Pressure-treated wood is commonly used for outdoor fencing. Start with making the long side of the planter box. Take 2×4 and cut two pieces to 65″ in length and one piece to 19″. Then take 2×6 and cut two pieces to 26″ in length. Drill pocket holes using Kreg Jig as shown in the picture. Assemble these pieces using 2 1/2″ pocket hole screws. Repeat this step to make a second long side since you need front and back.

Step 2 – Assemble Short Side
Using 2×4 cut two pieces to 19″ in length and two pieces to 26″. Drill two pocket holes on each end of the 19″ board. Also, drill three pocket holes on the 26″ boards. These pocket holes will be used to attach to the long sides of the planter box. Now attach these boards together using 2 1/2″ Pocket Hole Screws as shown in the picture.

Step 3 – Attach Both Short and Long Sides Together
Place all sides on a flat surface and attach both long sides and short sides together using 2 1/2″ pocket hole screws.

Step 4 – Add Bottom Blocks
Flip the planter box upside down. Take 2×6 and cut 5 boards to 29″ in length. Place two boards at each side and the remaining three evenly spaced out. Then attach all boards with 2 1/2″ wood screws.

Step 5 – Place Sheet Metal Inside the DIY Planter Container
The bottom of the box will need to be covered with either flat sheet metal or with Corrugated Steel Roof Panel. Drill a bunch of 1/4″ holes through metal for water drainage.

Step 6 – Fasten Corrugated Steel Roof Panels
For the last step, place Corrugated Steel Roof Panels on all four sides attaching it with wood screws. Use red sheet metal snips to cut panels for the short sides. Using wood screws attach one 2×4 on top. This will prevent the box from coming apart once dirt is added inside. Metal angle or metal wire could be an alternative to 2×4 on top if you prefer not to use it. You’re done with DIY Planter Container.
