
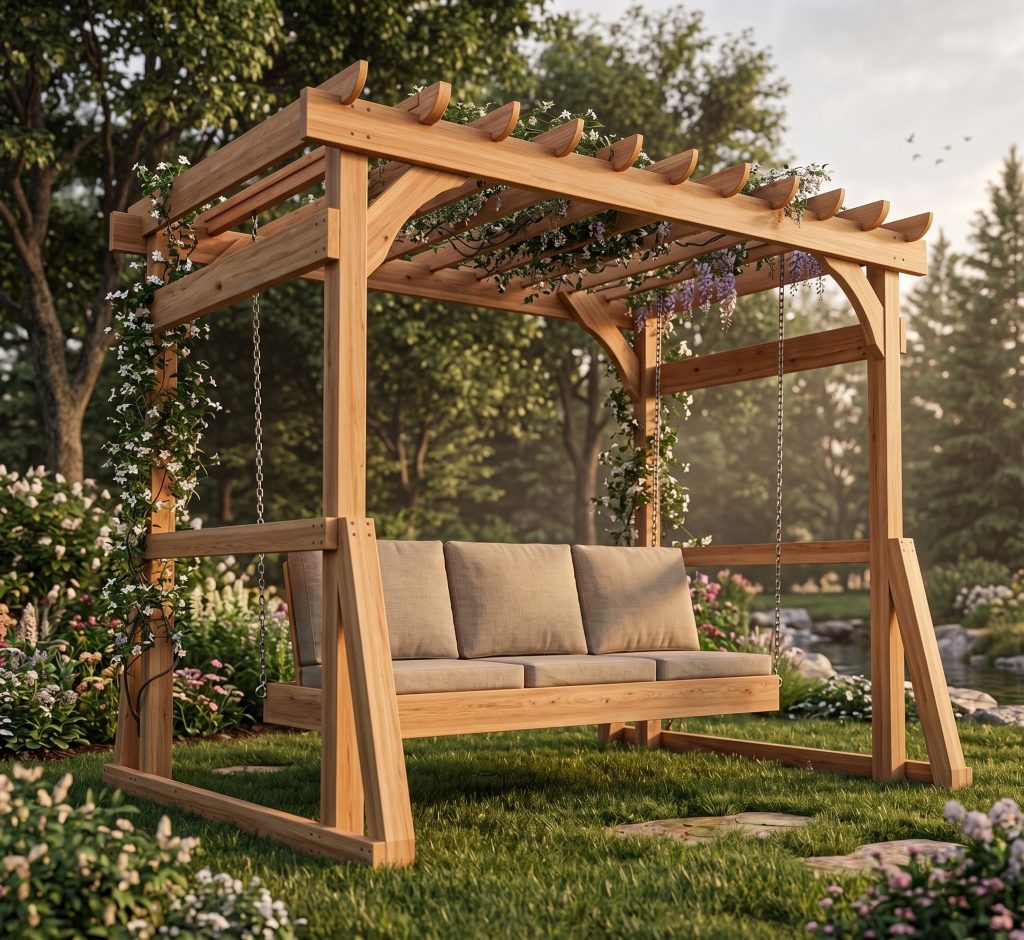
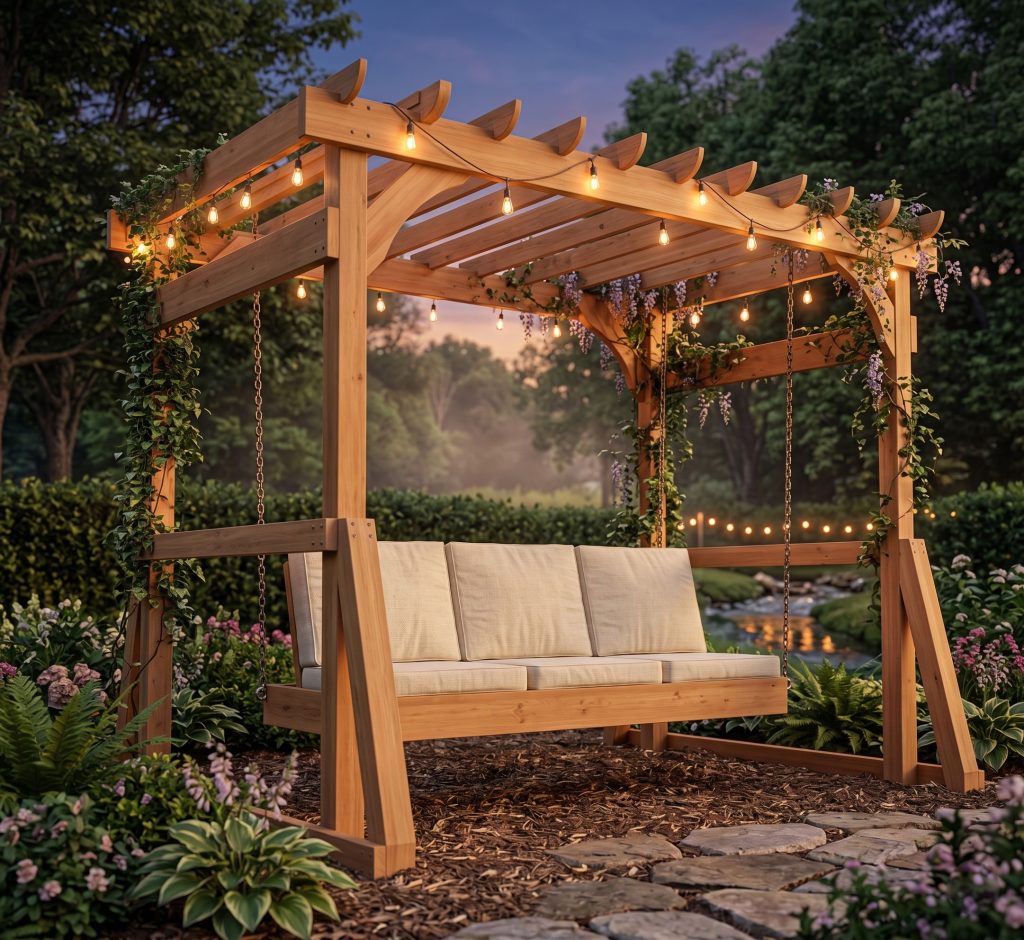
There’s a certain kind of satisfaction that comes from sitting in something you built with your own hands — especially when it’s swinging gently in the backyard on a summer evening.
That feeling is exactly what this project delivers.
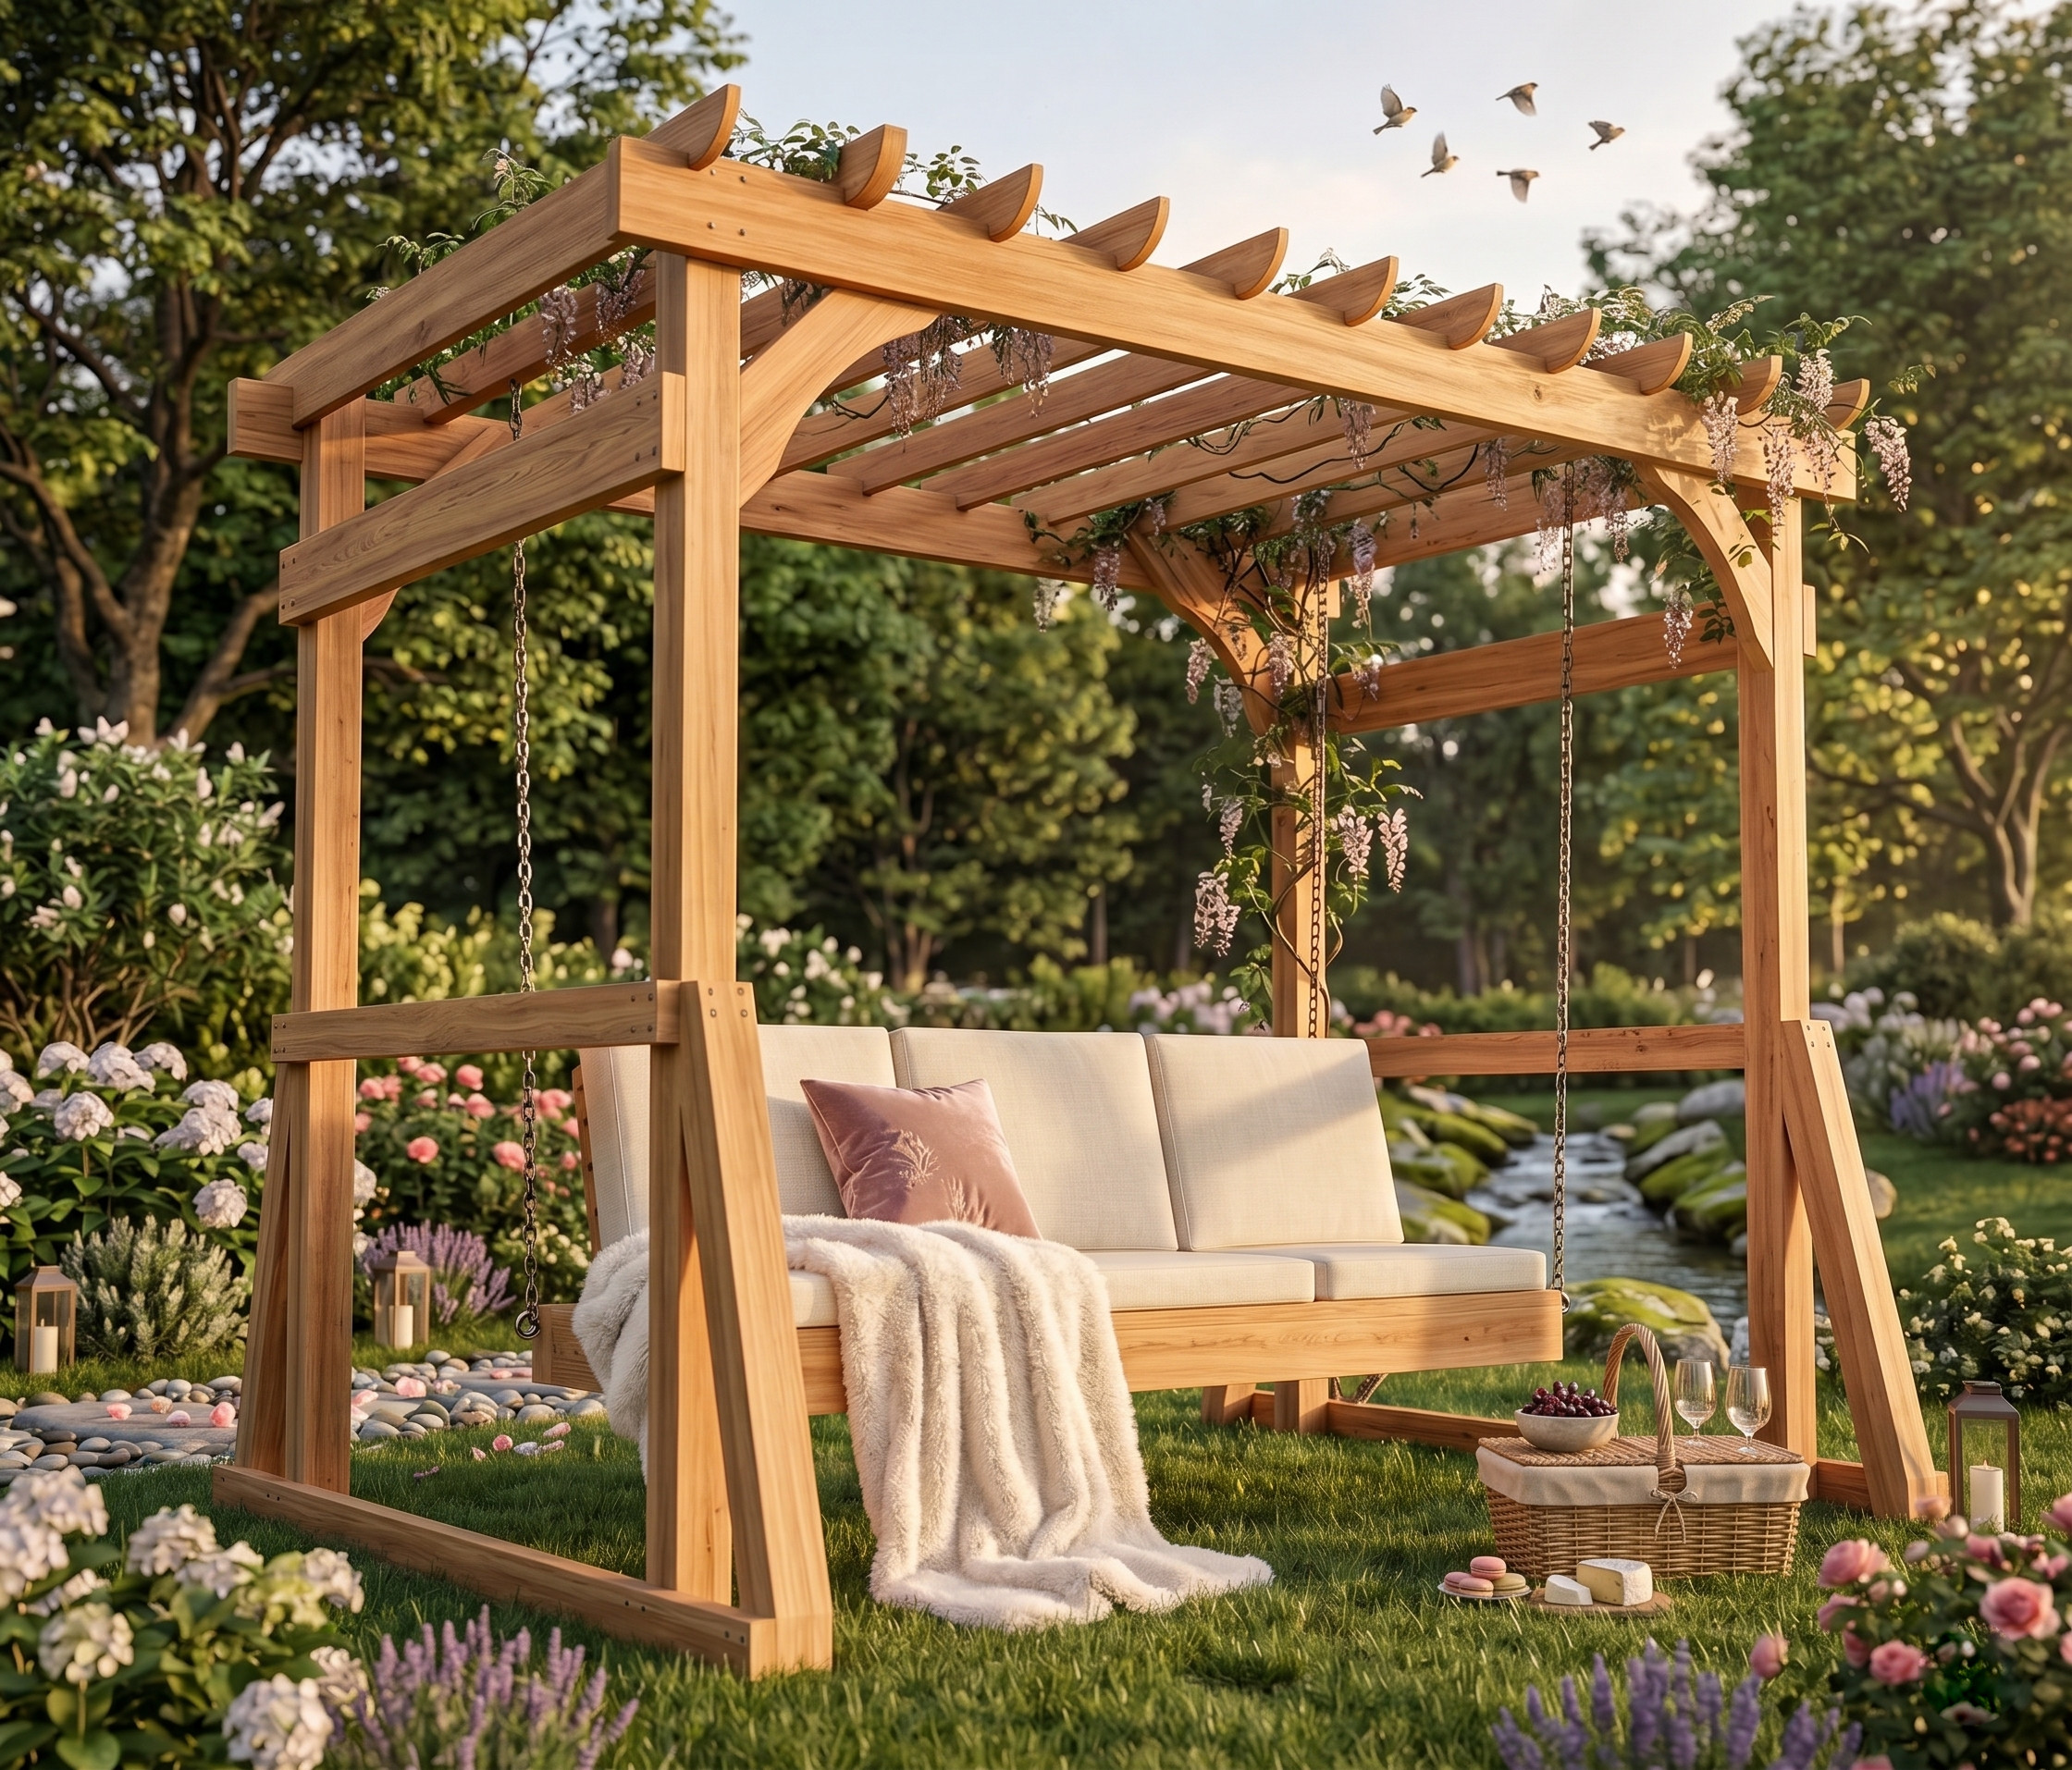
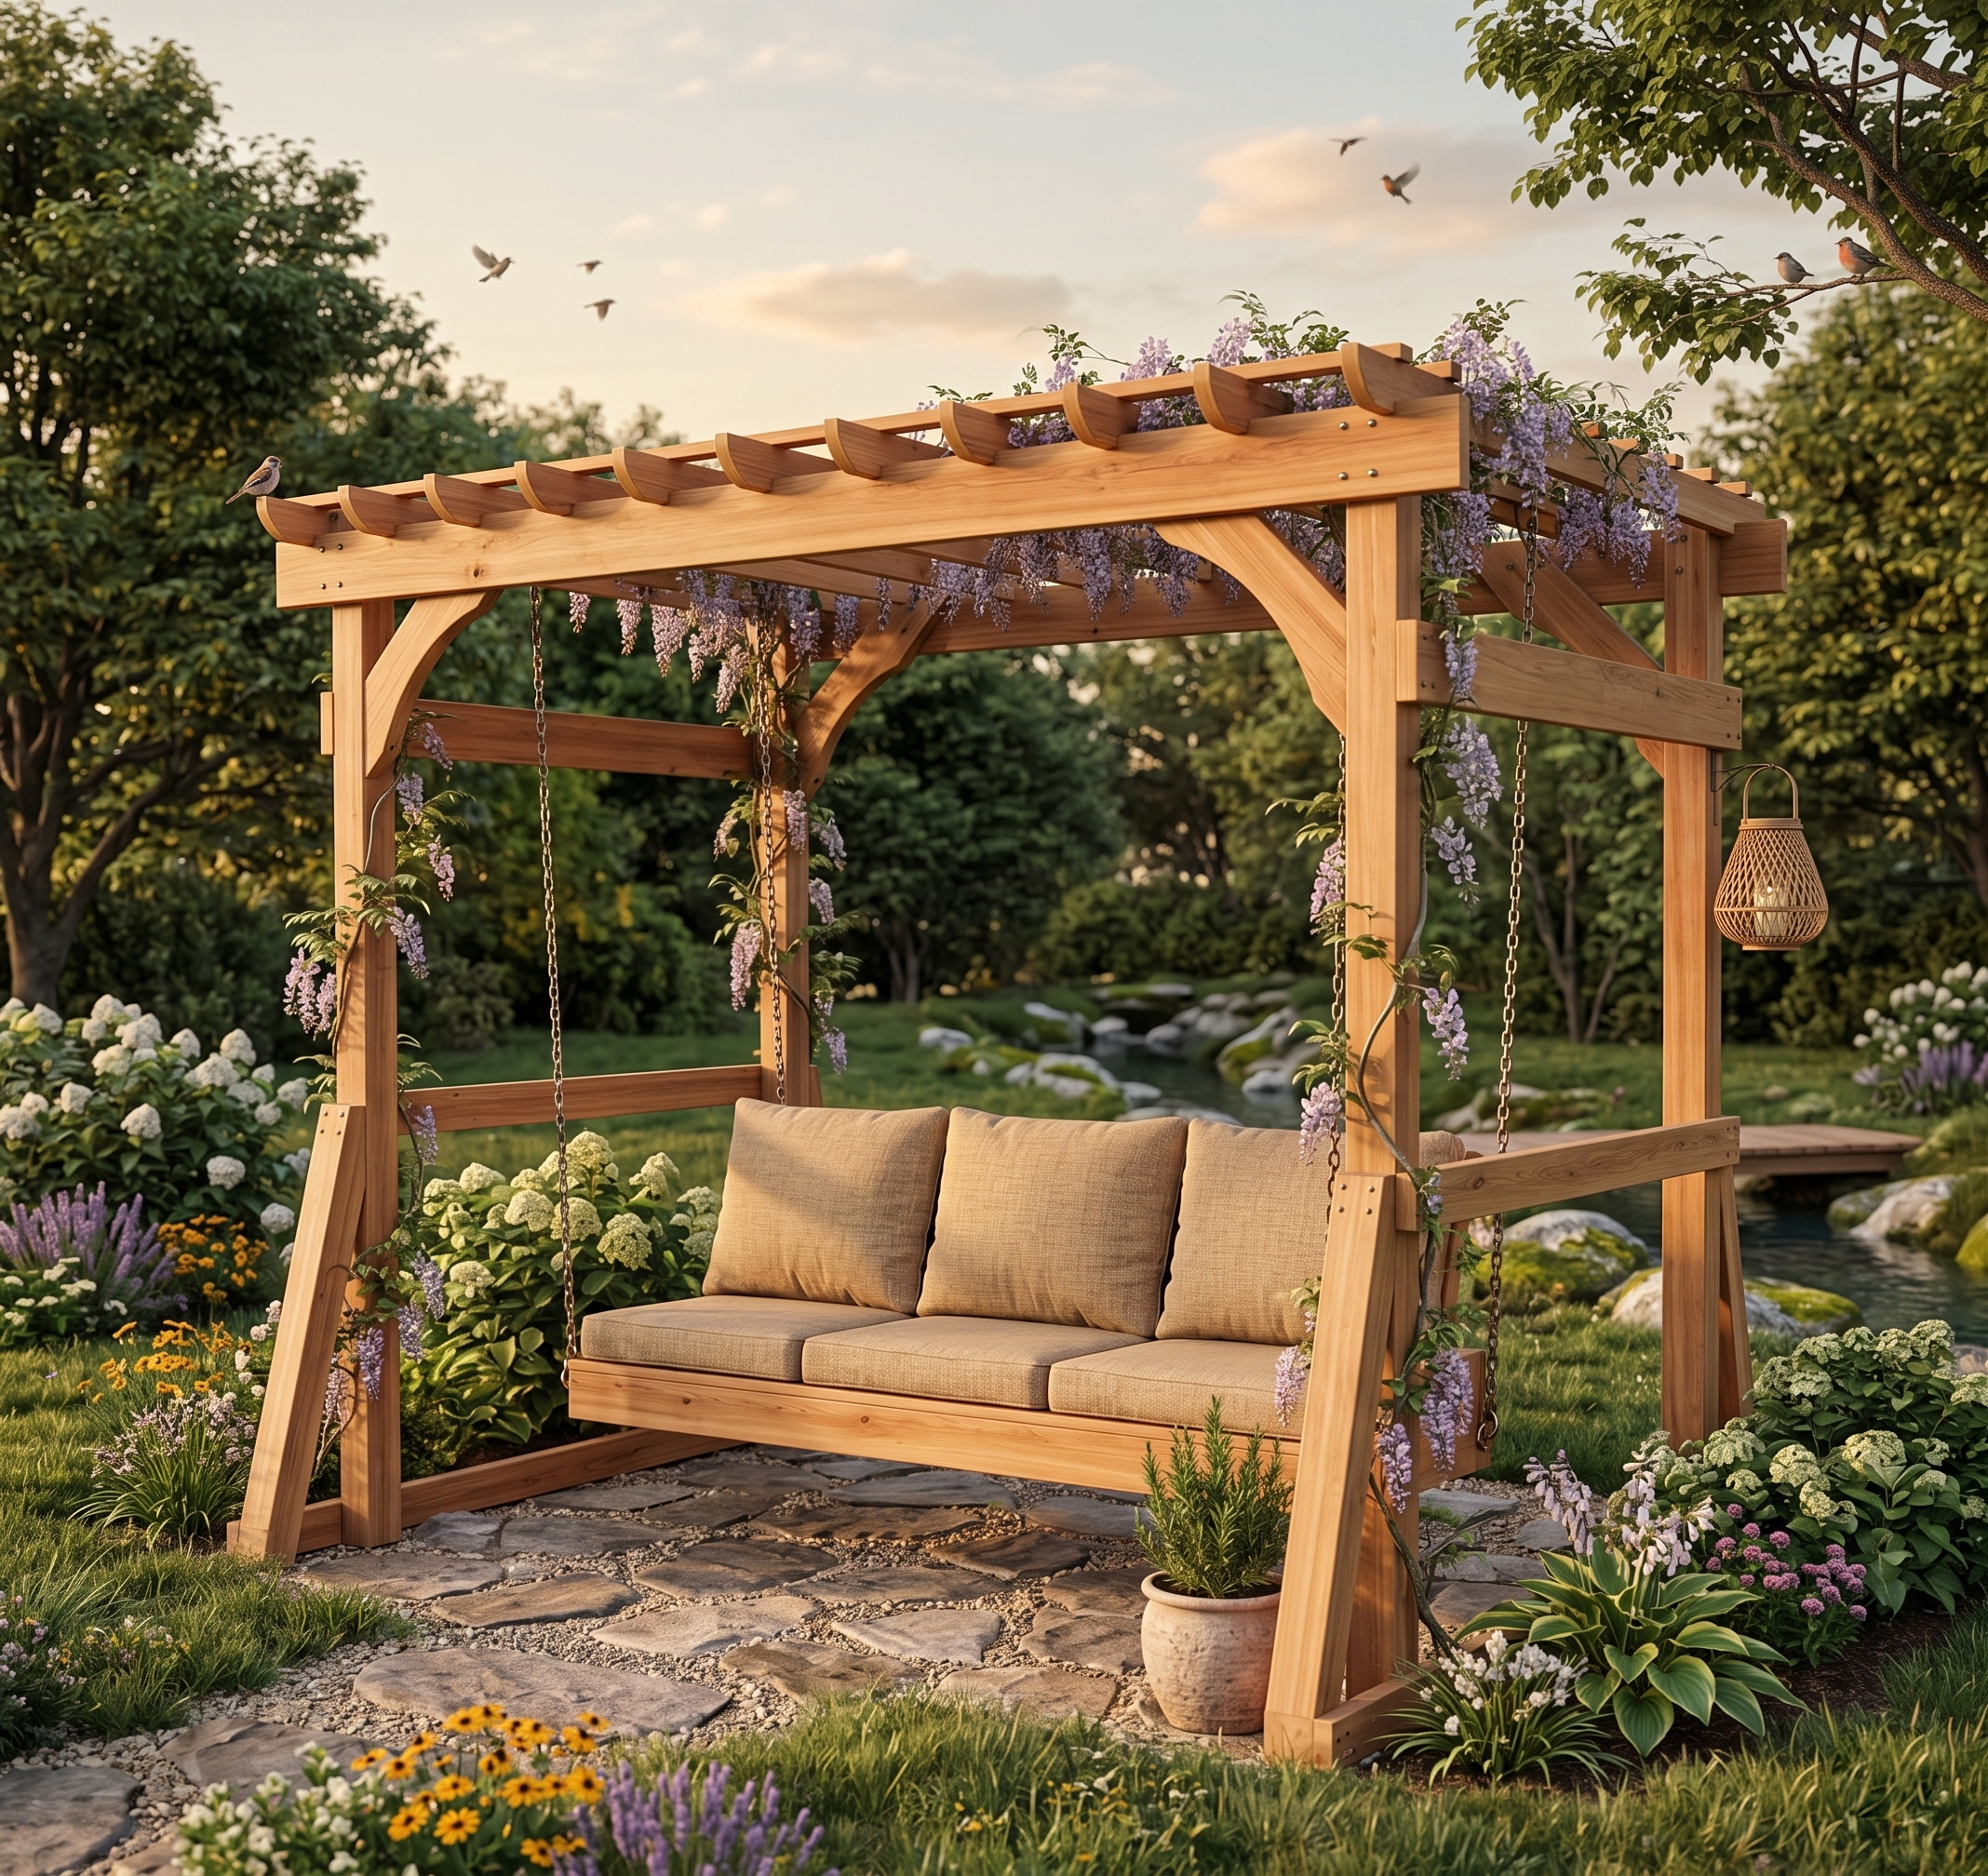
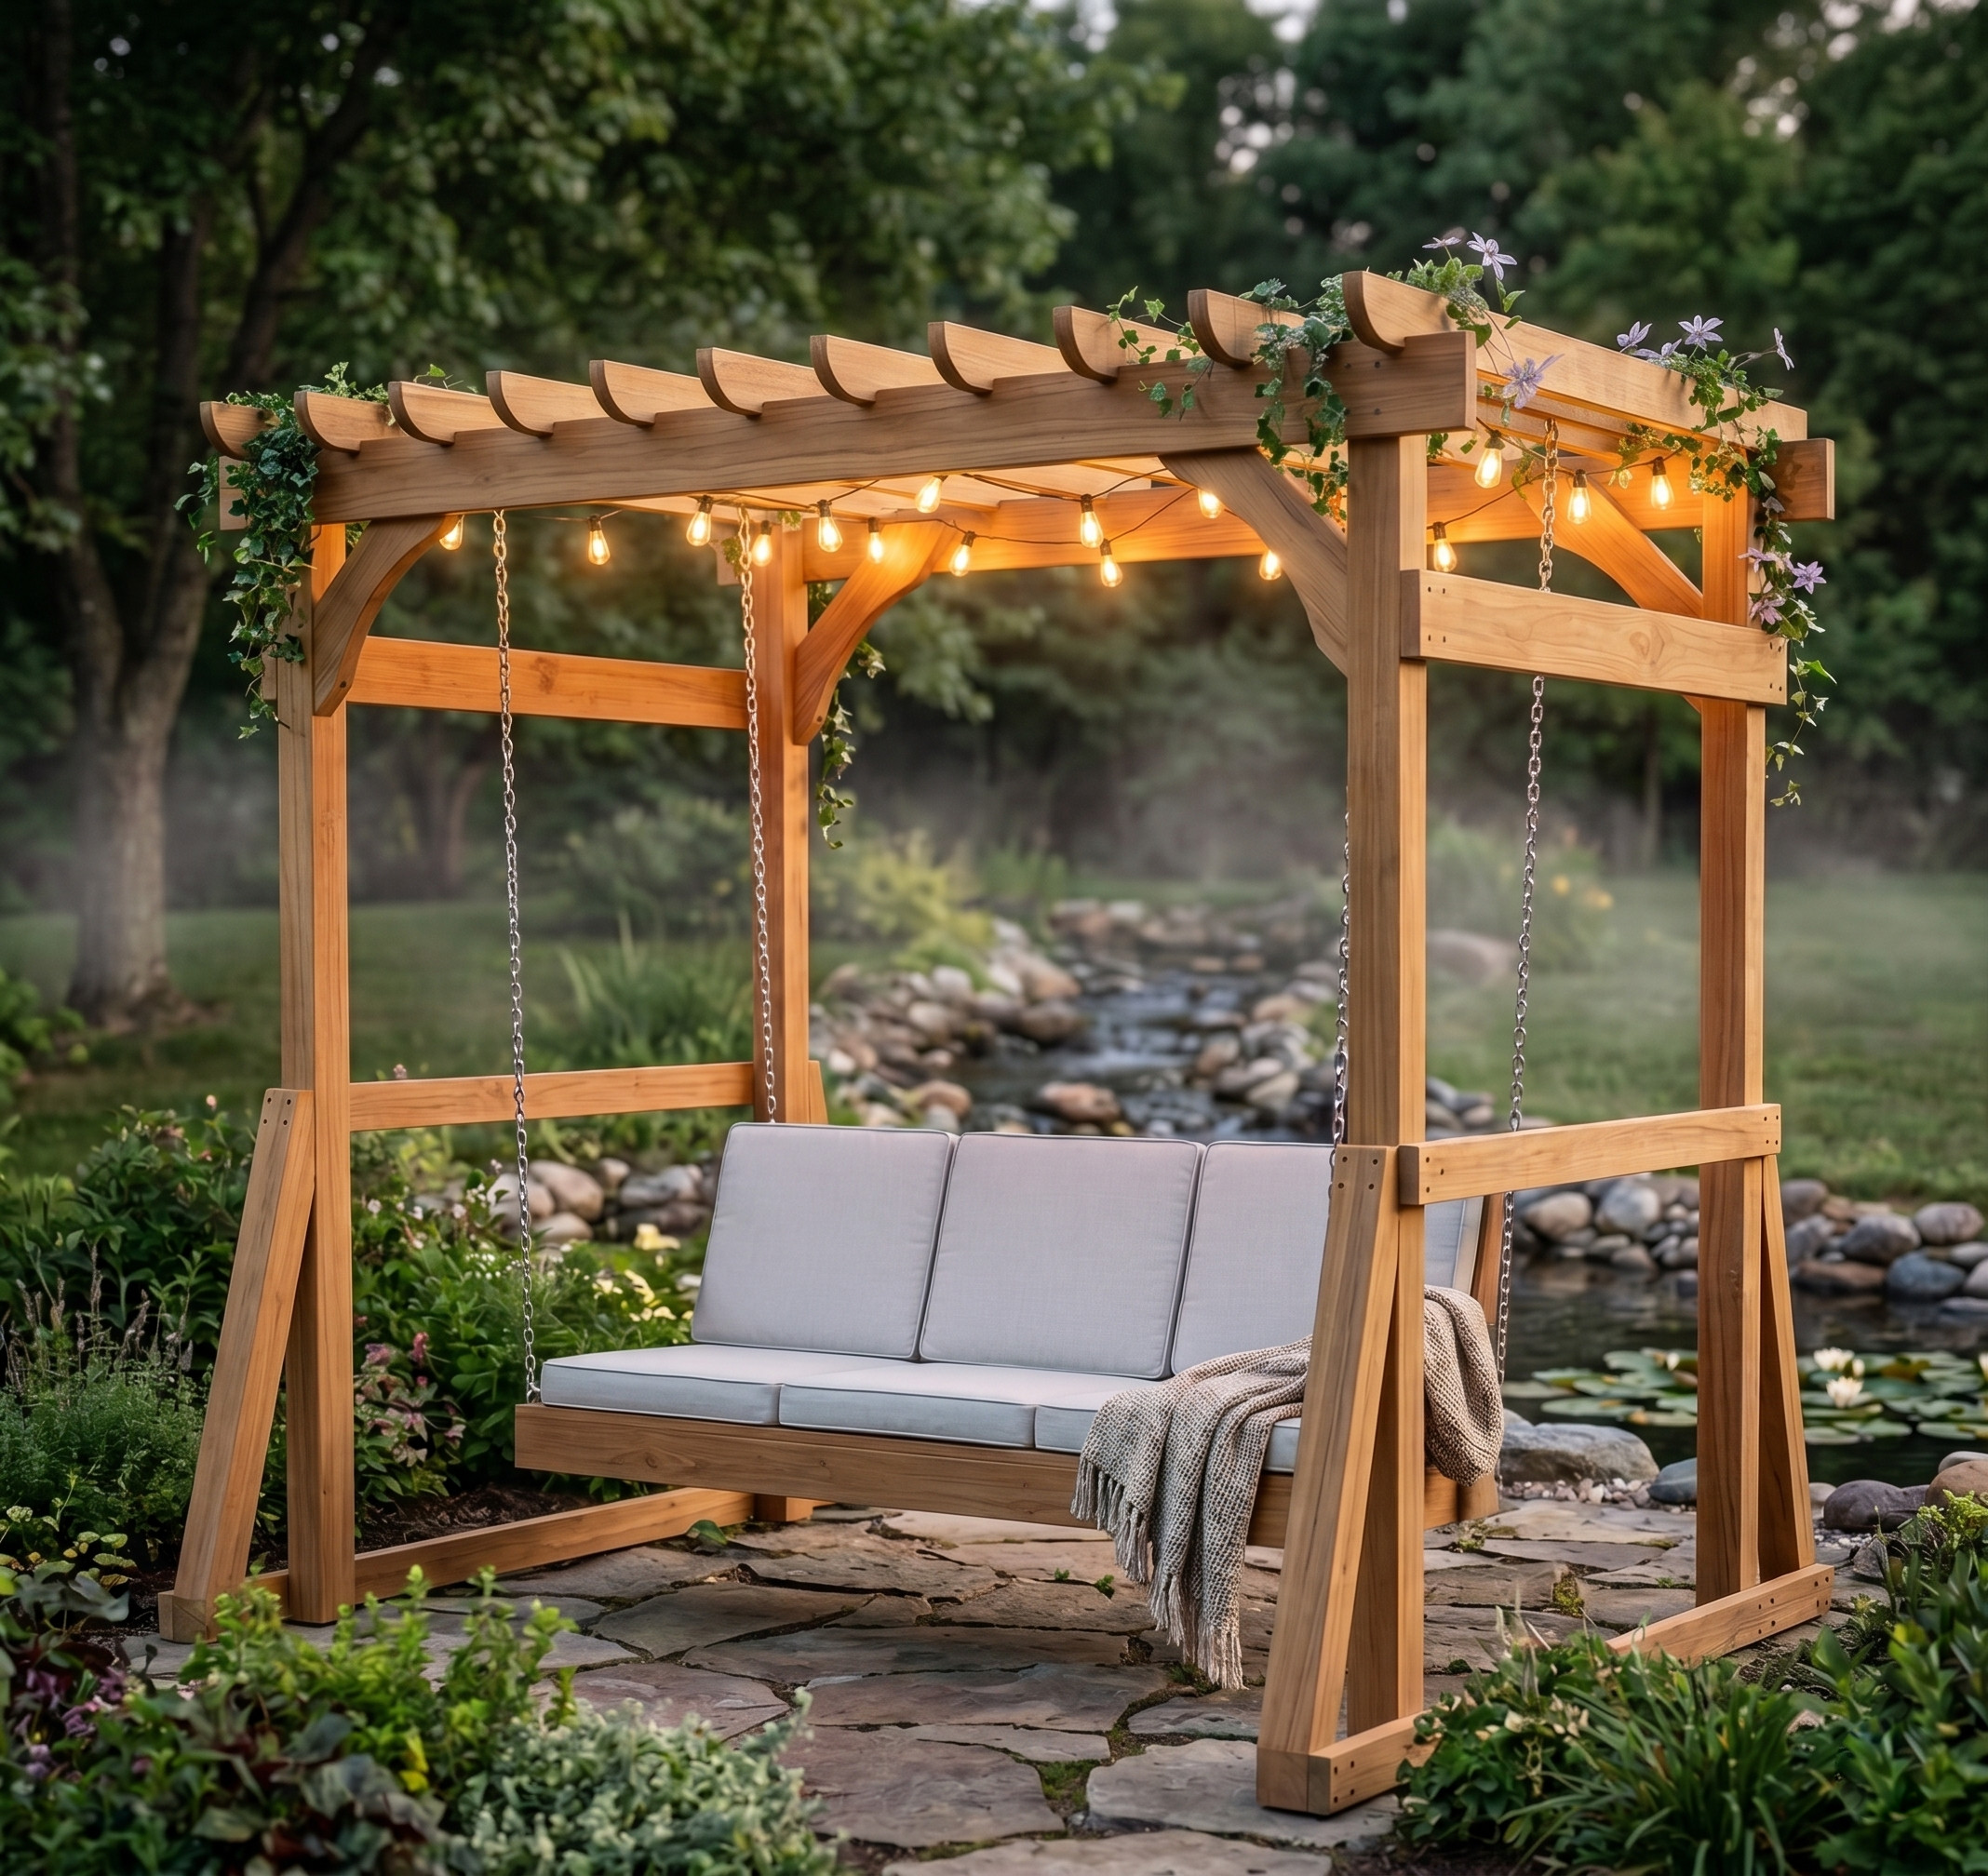
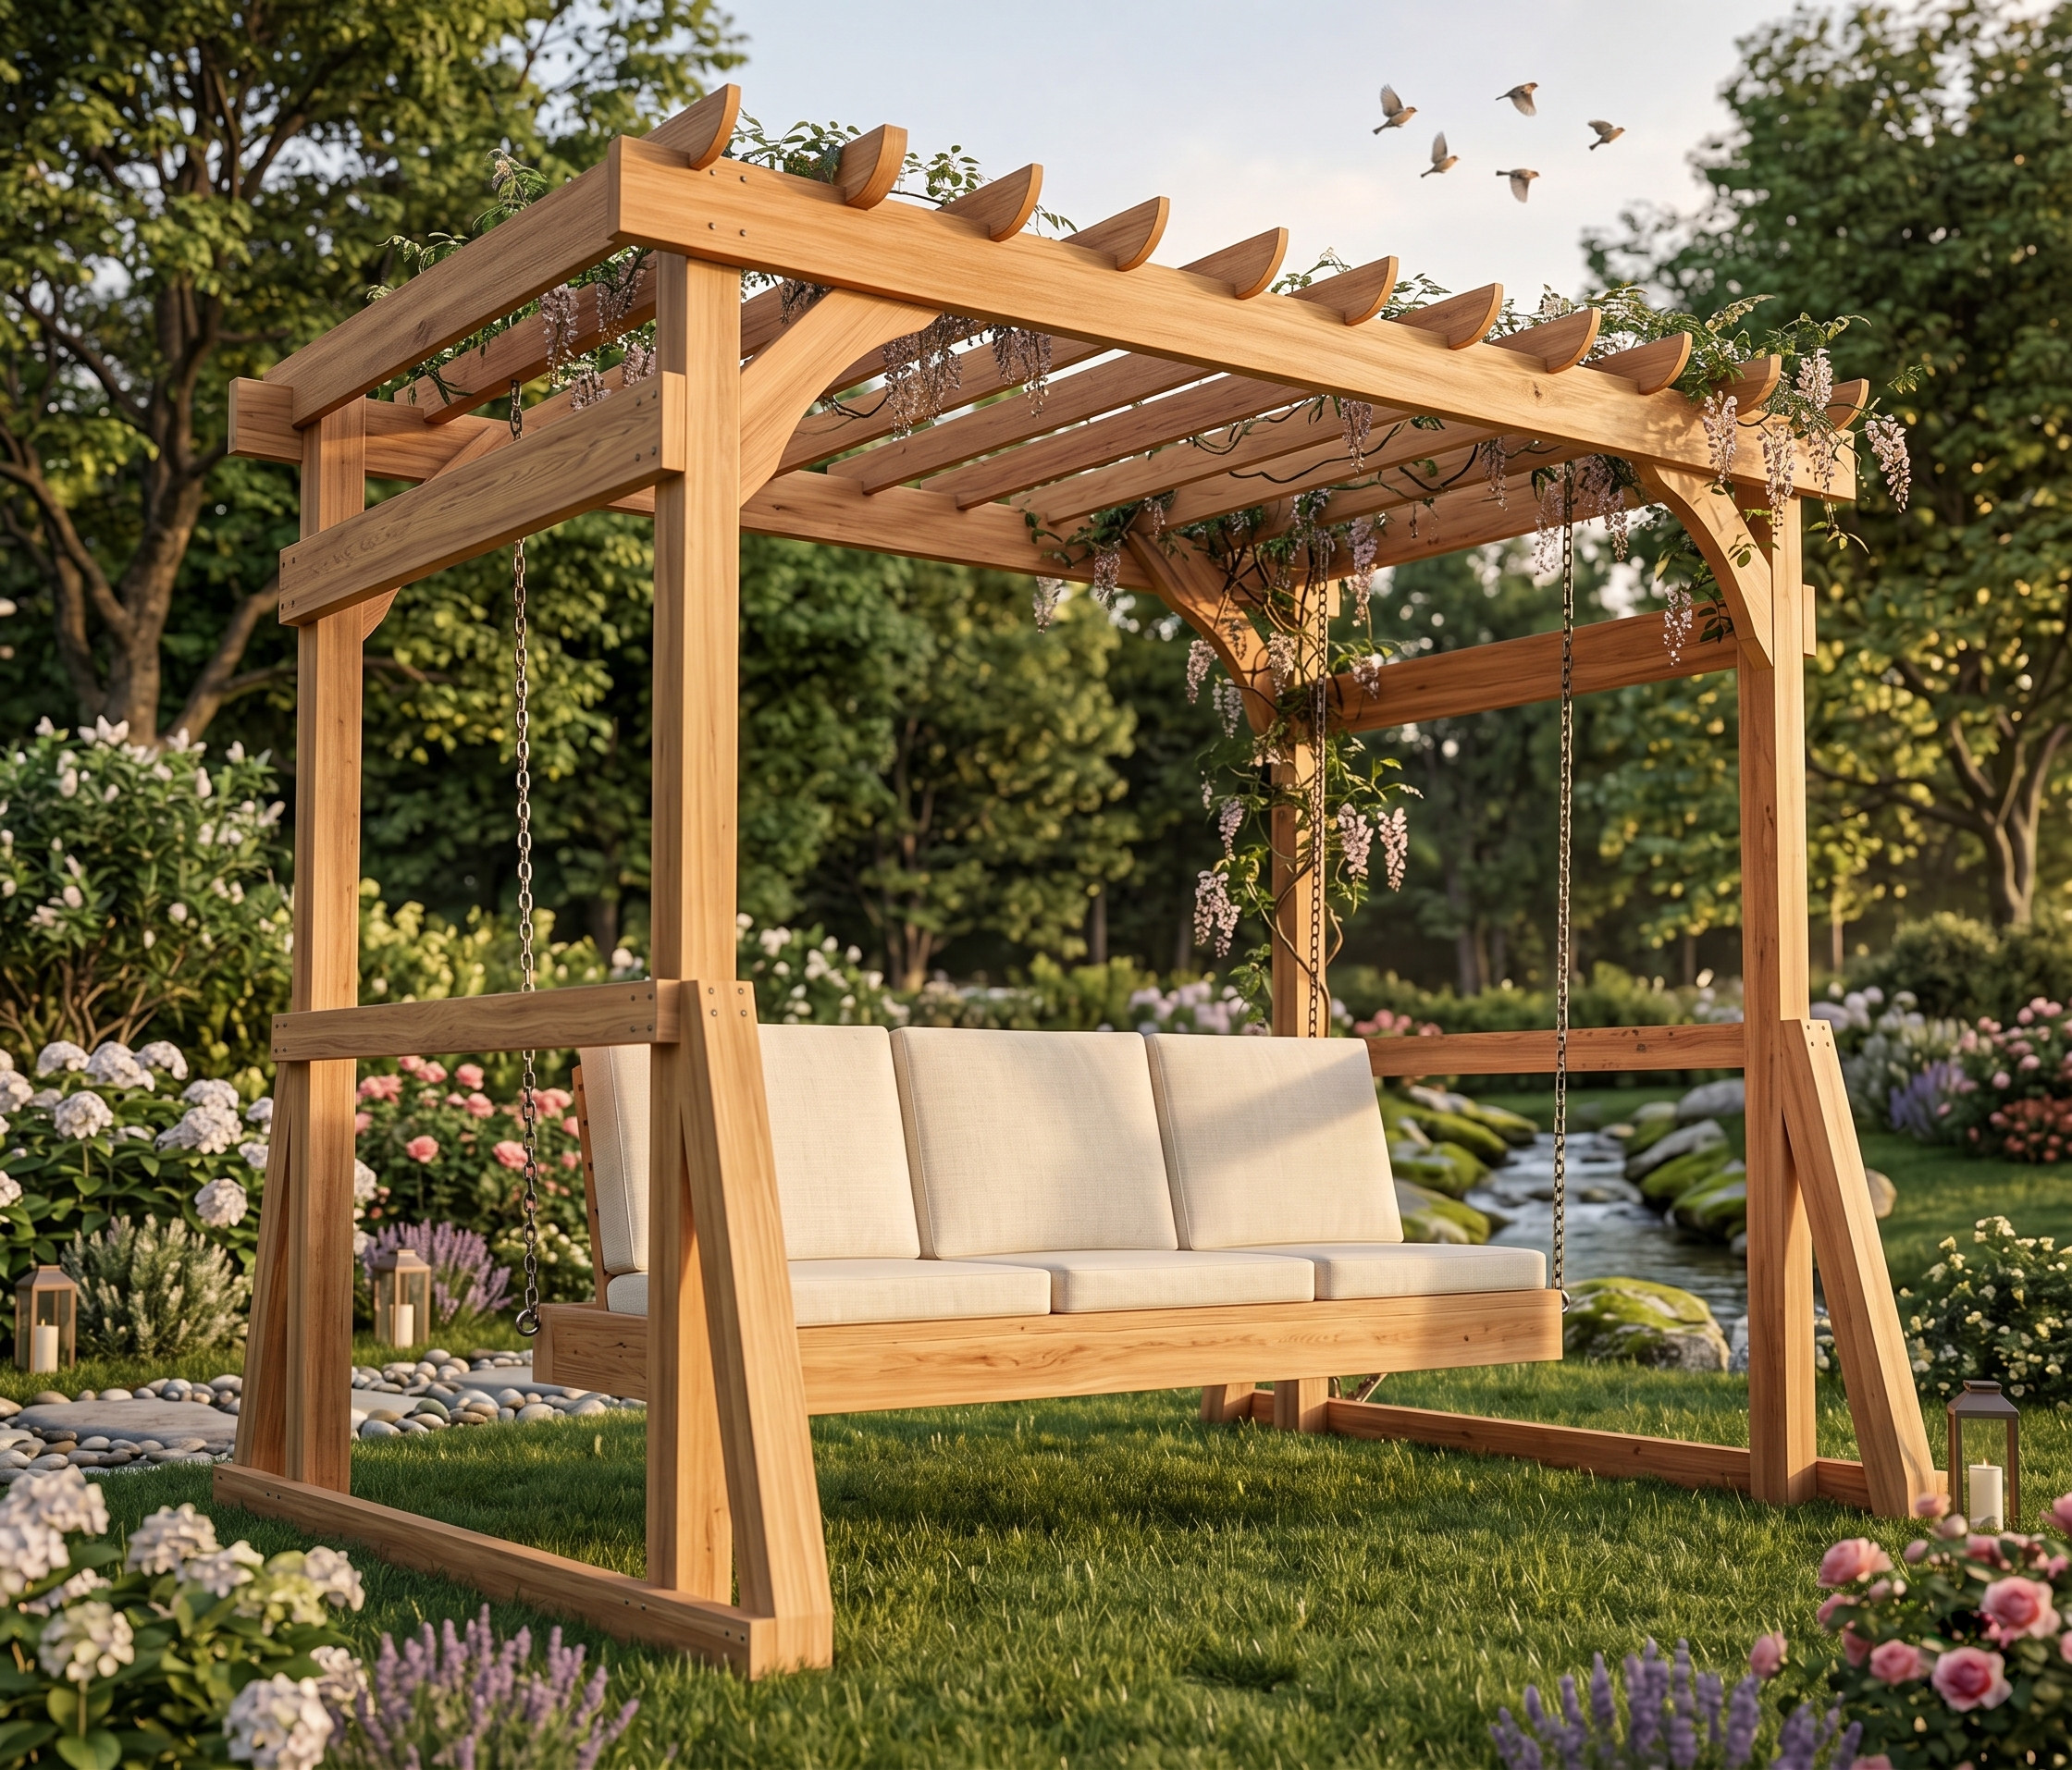
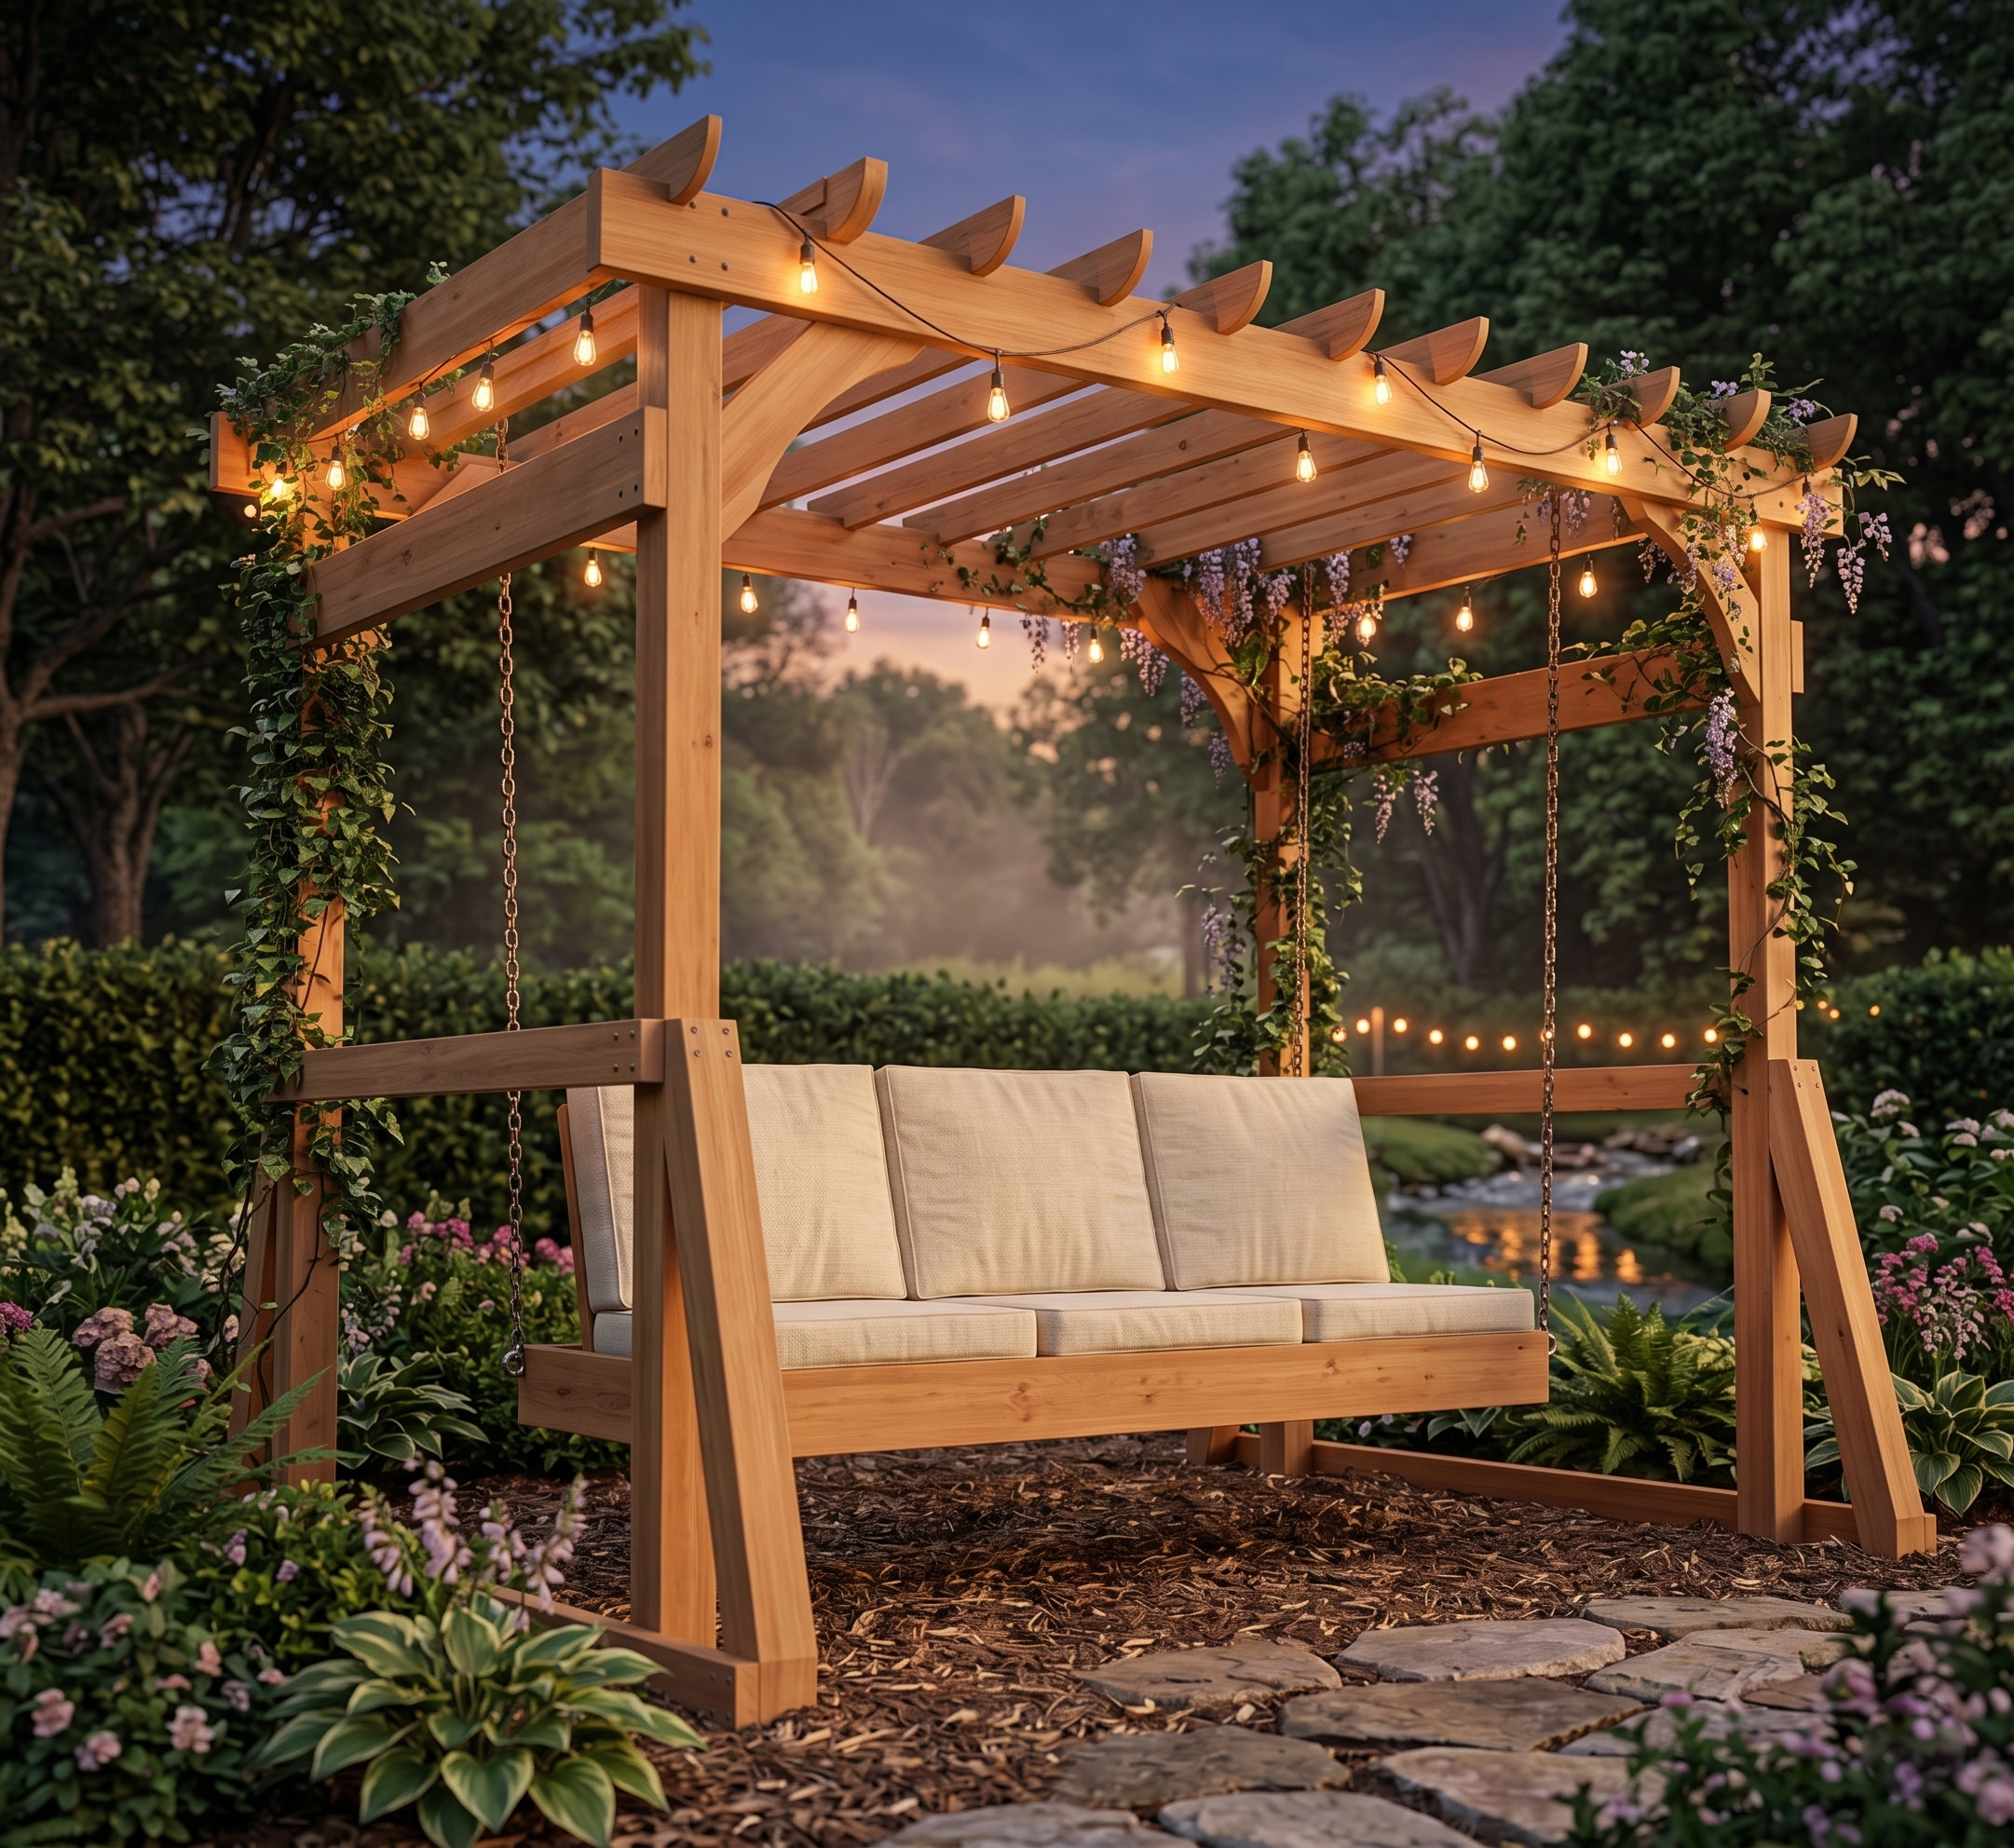
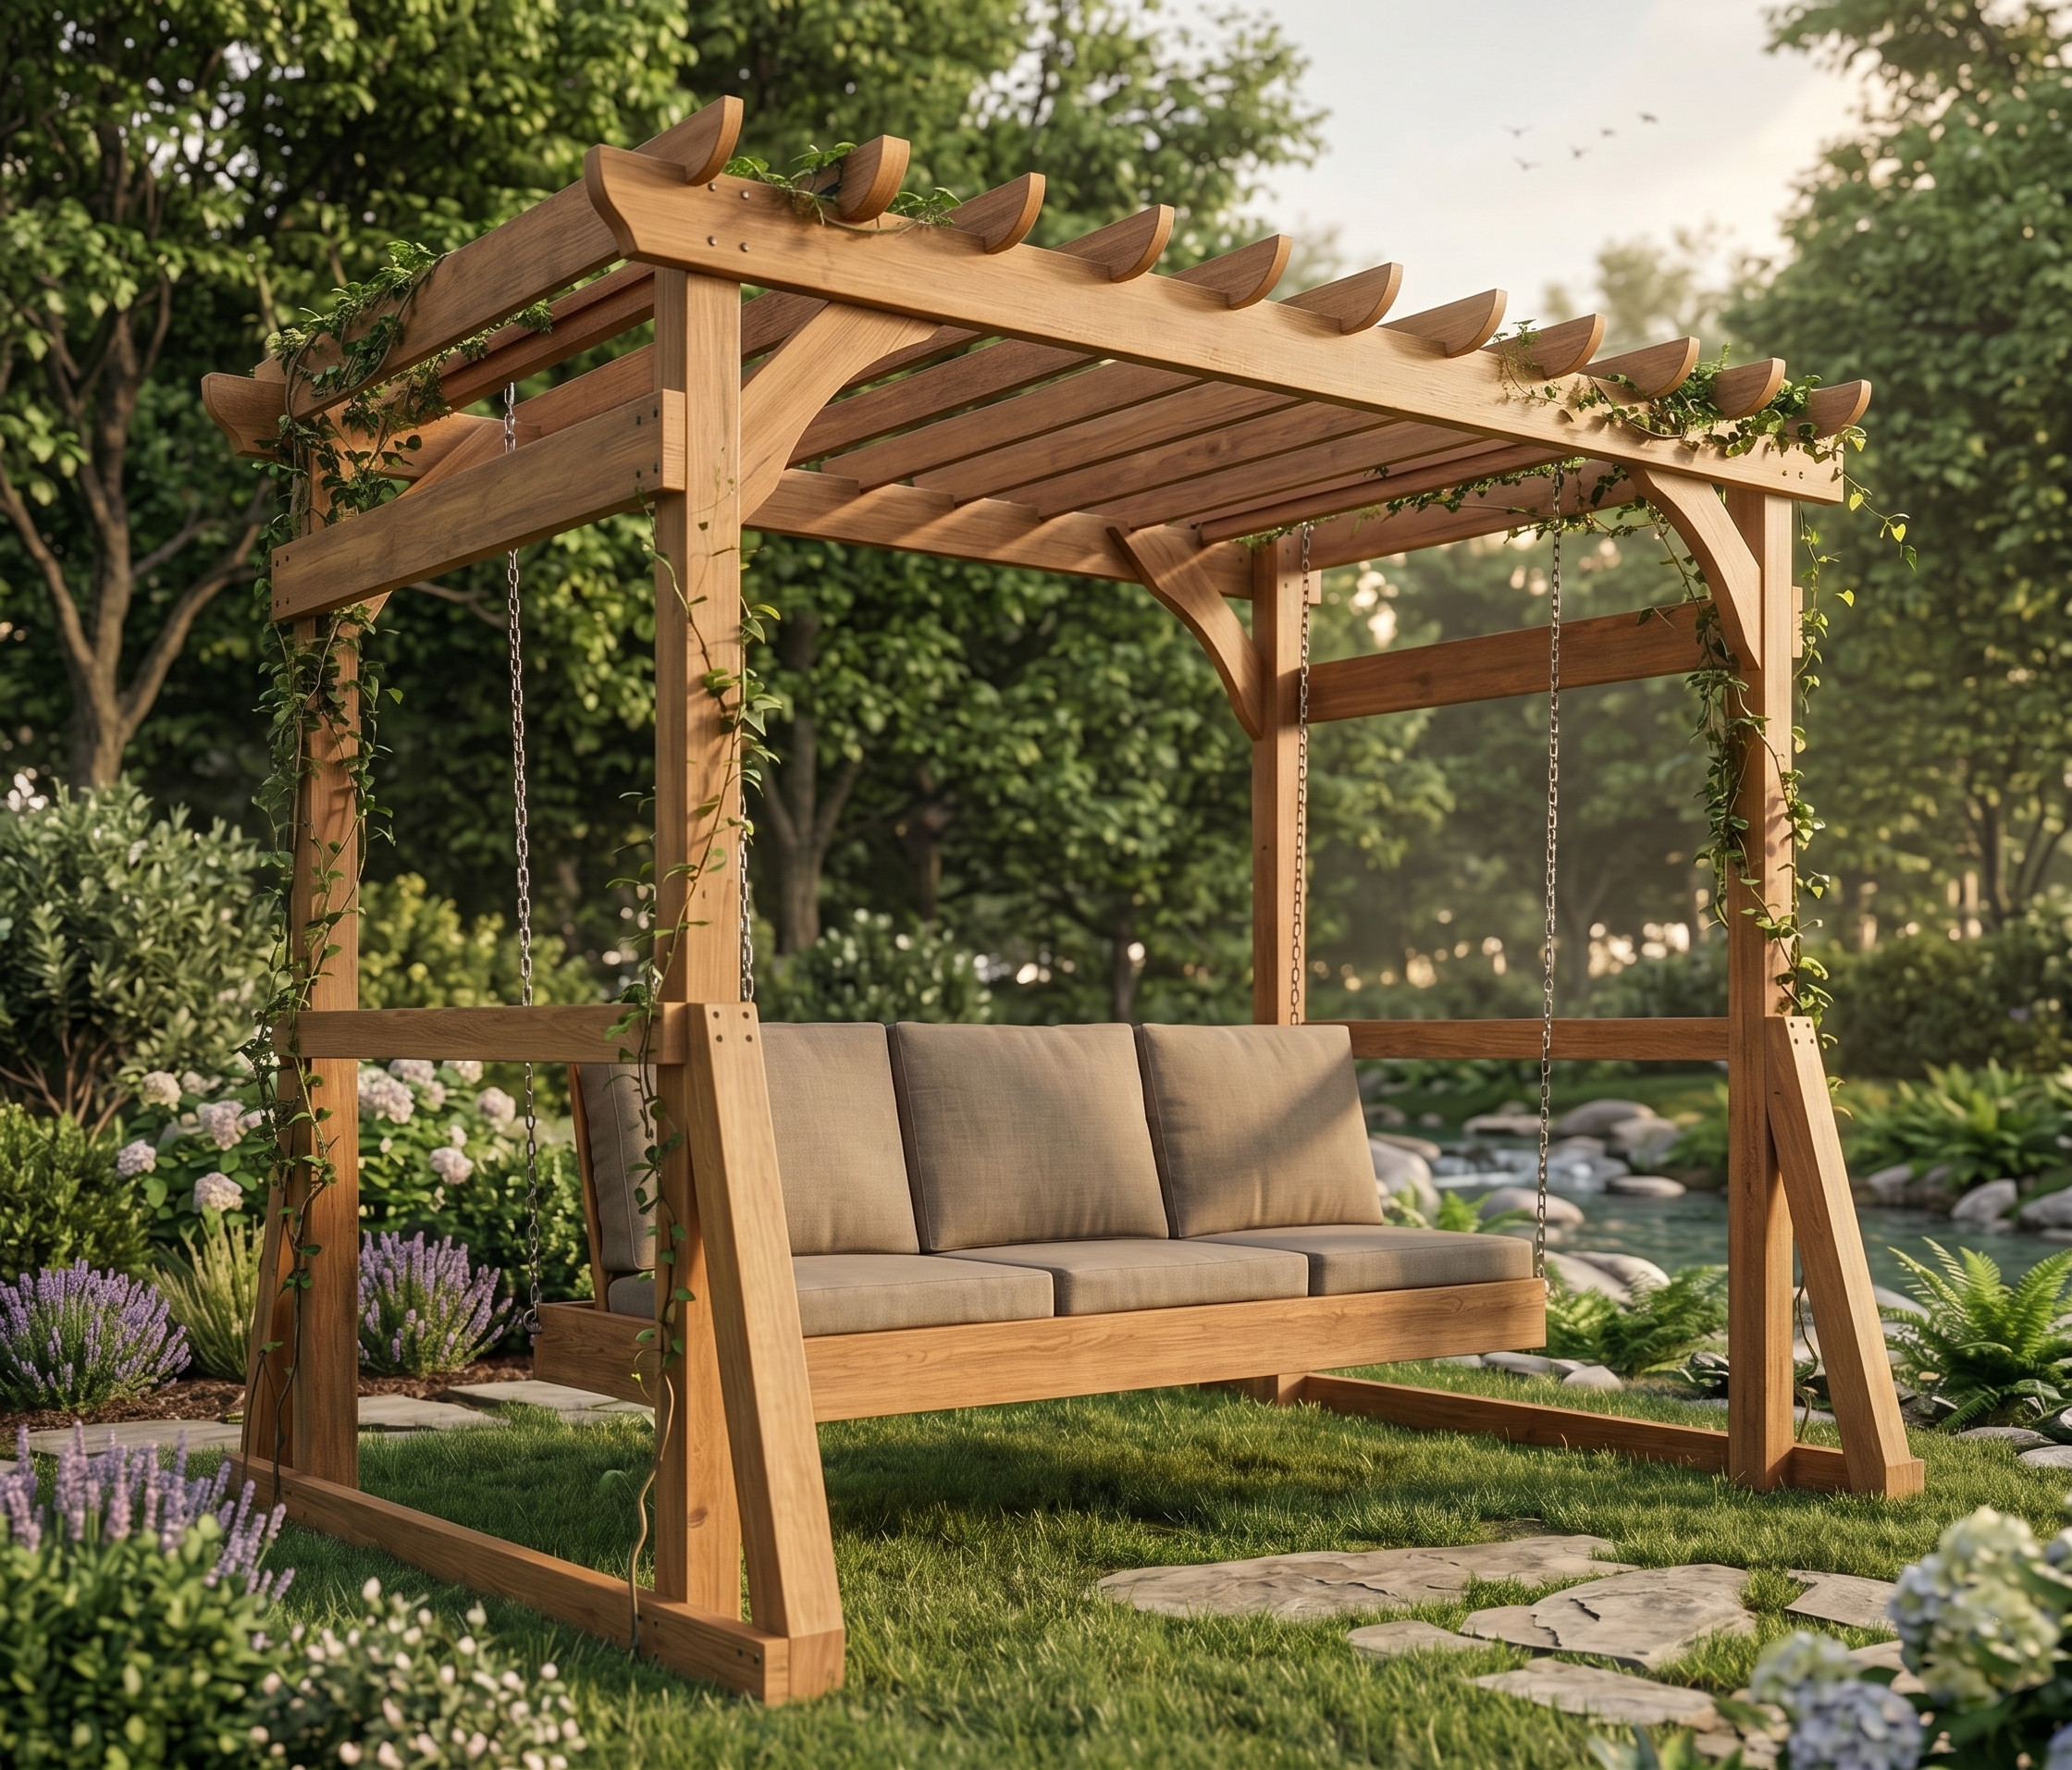
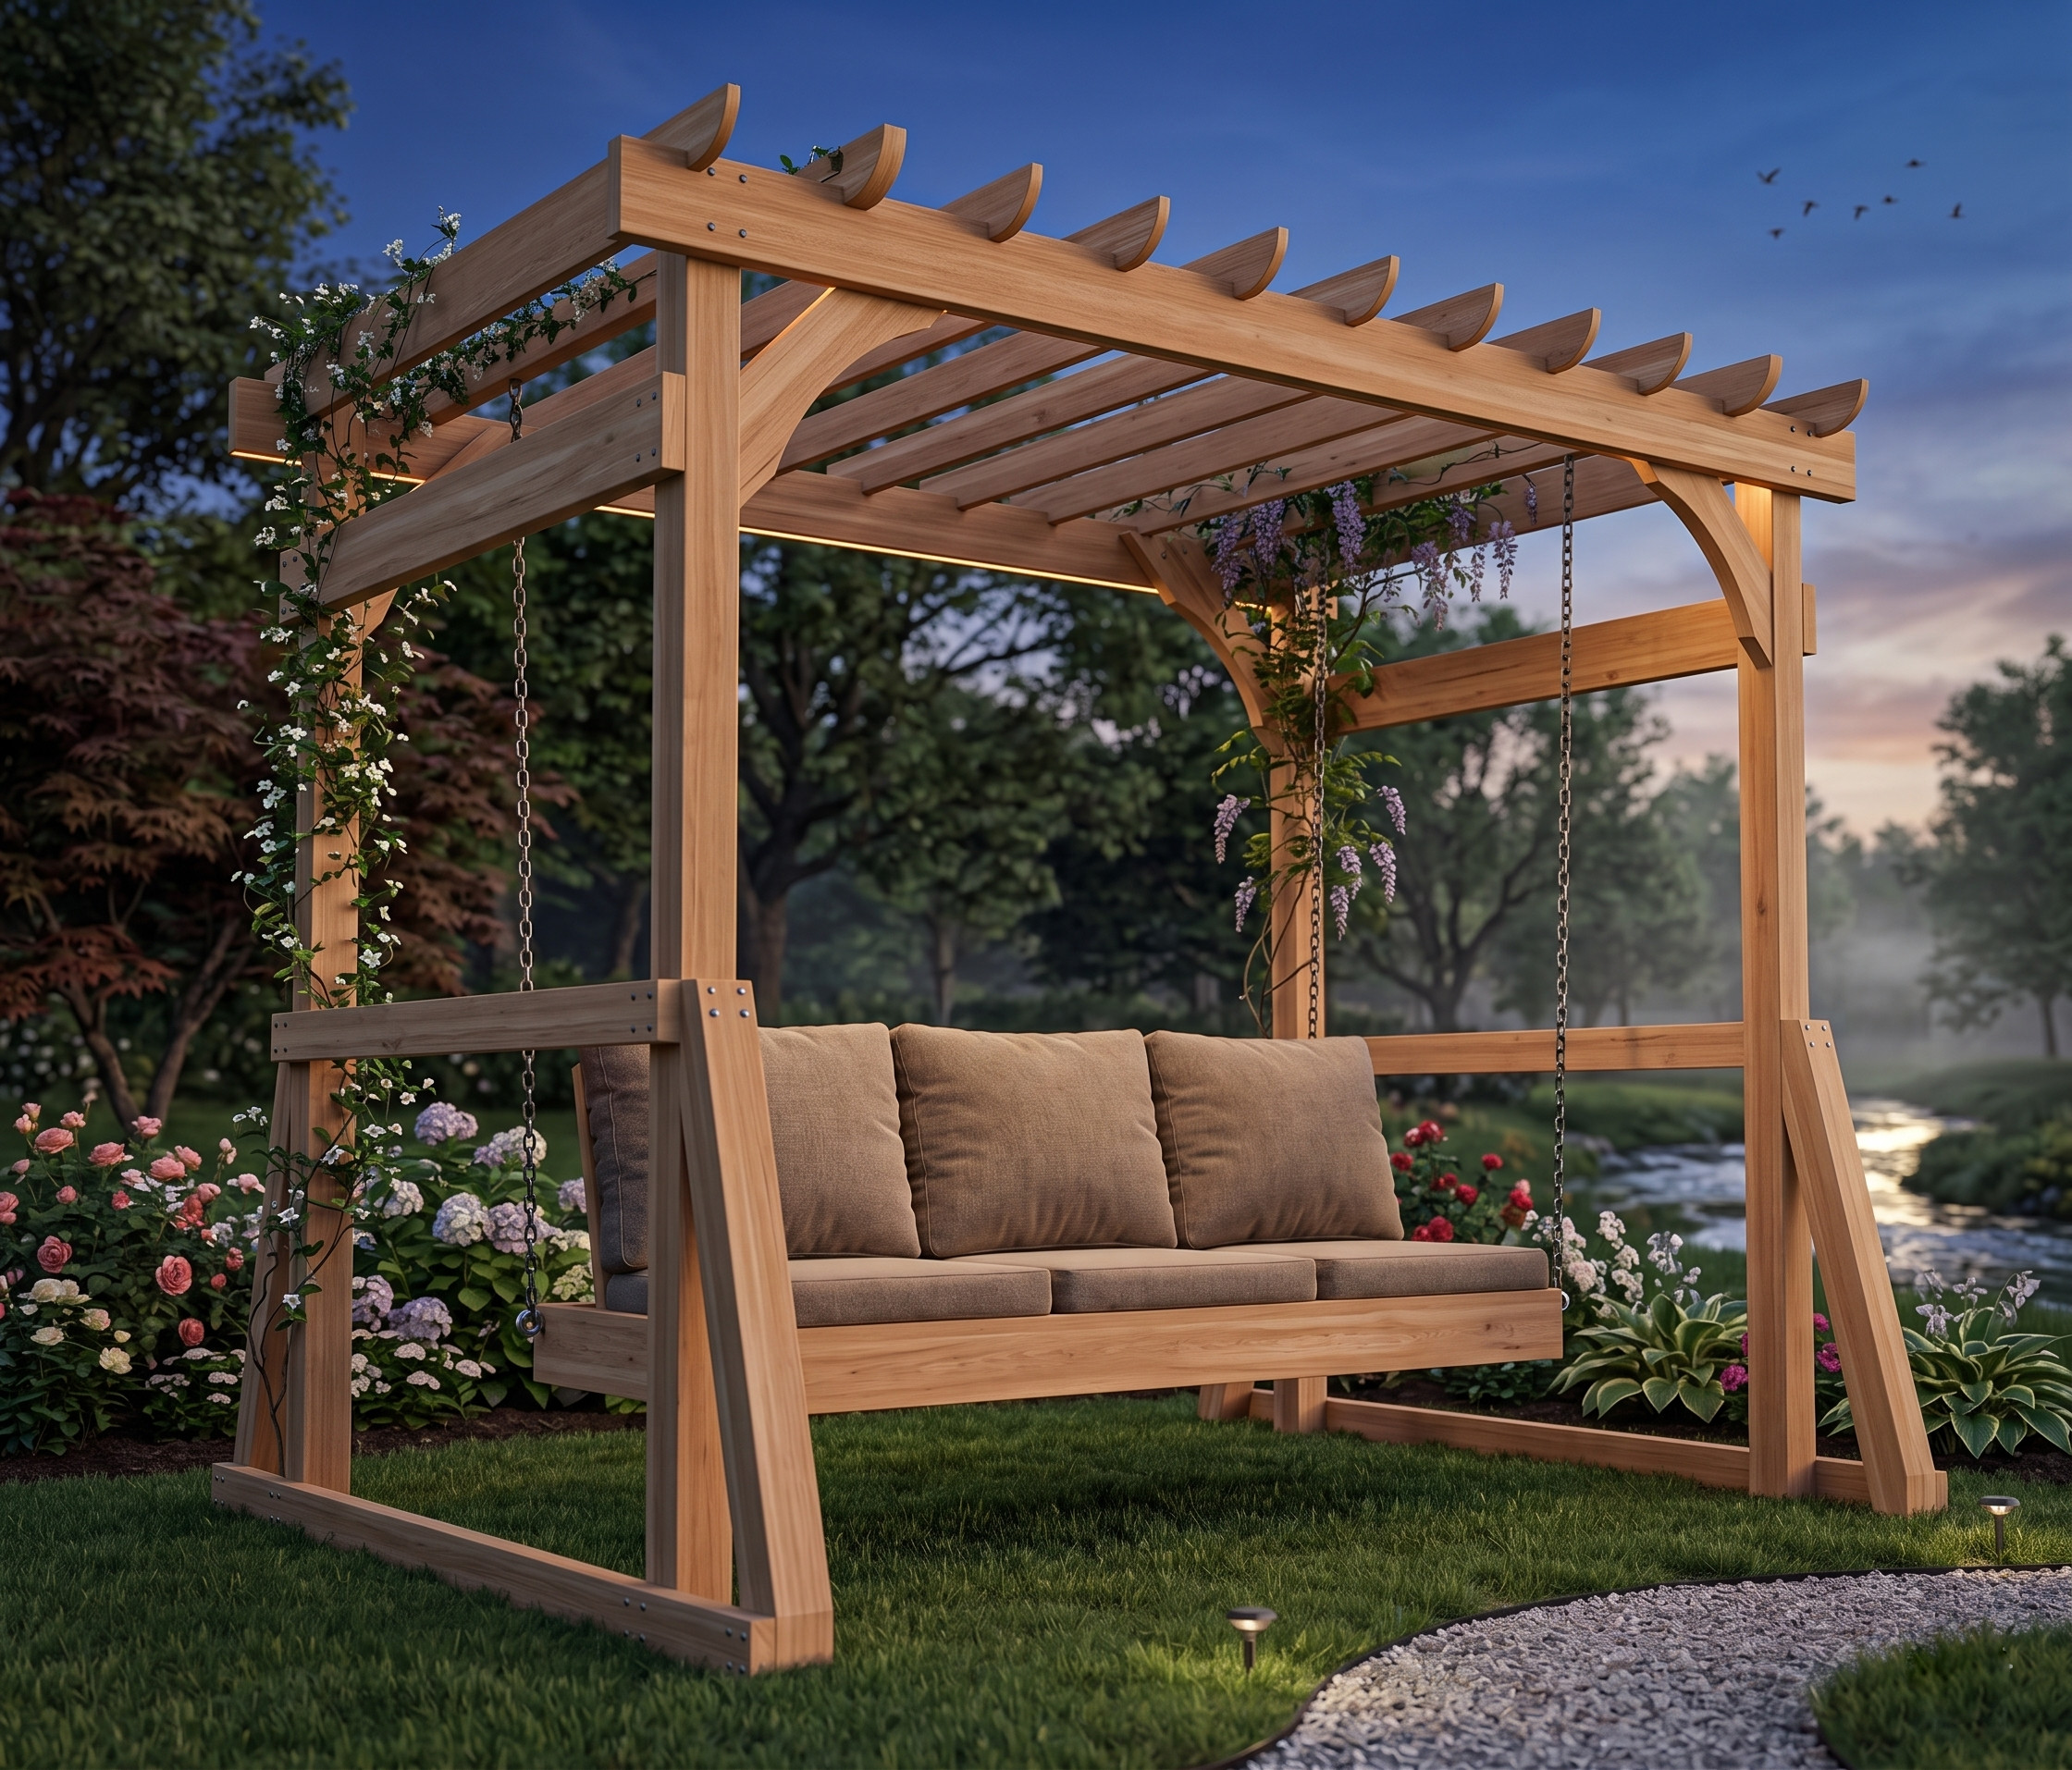
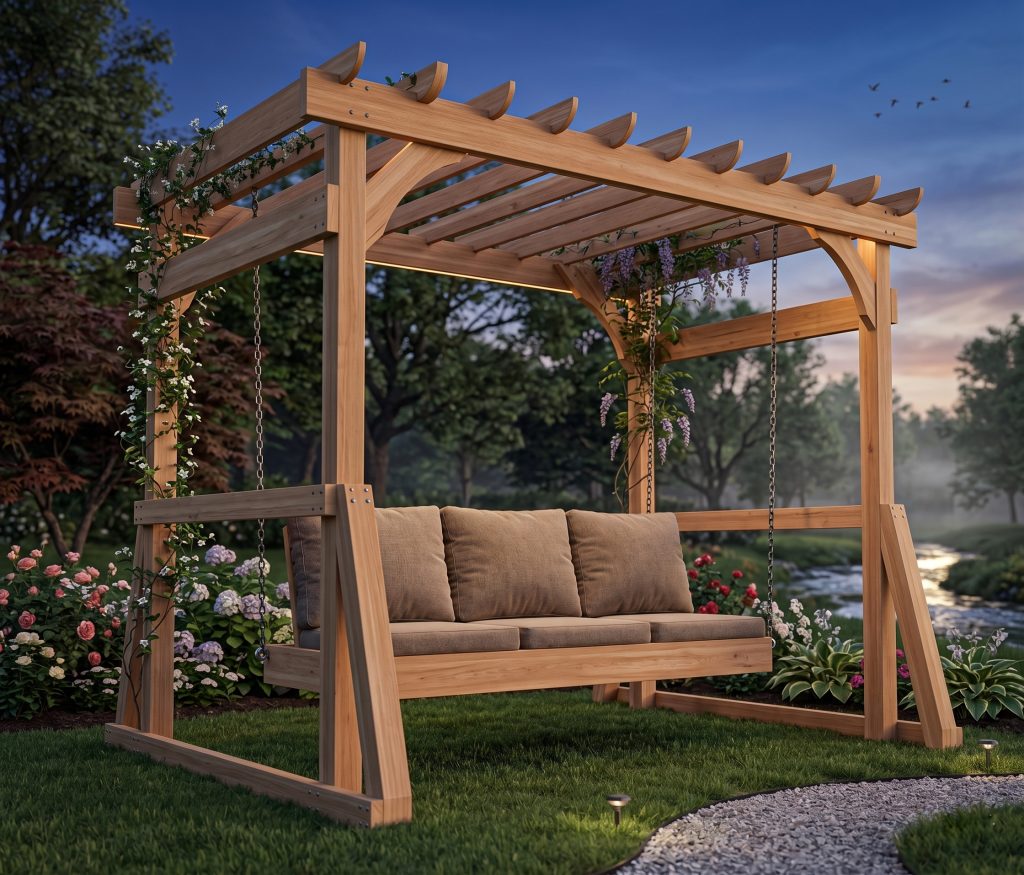
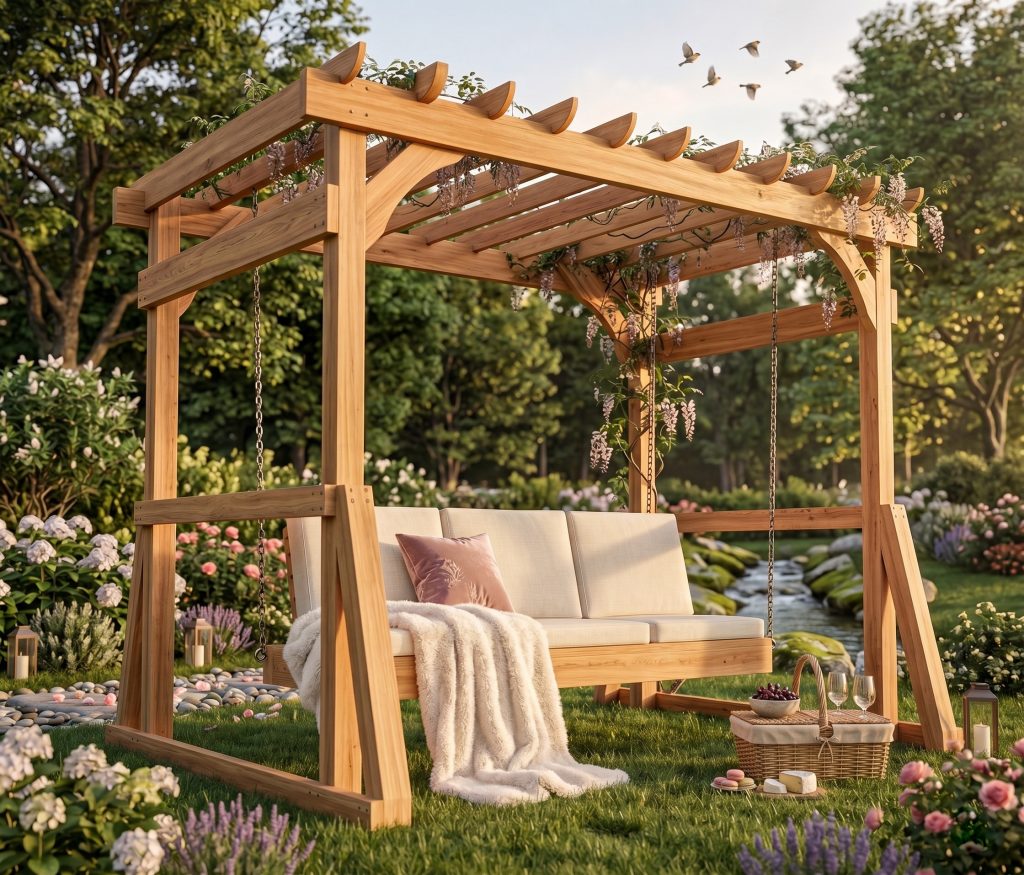
This outdoor arbor swing is one of those DIY woodworking projects that looks far more complex than it actually is. It’s an eye-catching backyard centerpiece — part functional porch swing, part architectural garden structure — and when you break it down step by step, it’s a completely achievable build for a motivated intermediate woodworker.
If you’re building a new house and need outdoor furniture, this porch swing is a perfect addition to any backyard. They provide a comfortable place to relax and enjoy the outdoors. Porch swings can also be a great focal point or conversation piece for your backyard entertaining space.
What You’ll Build — and Why It’s Worth the Weekend
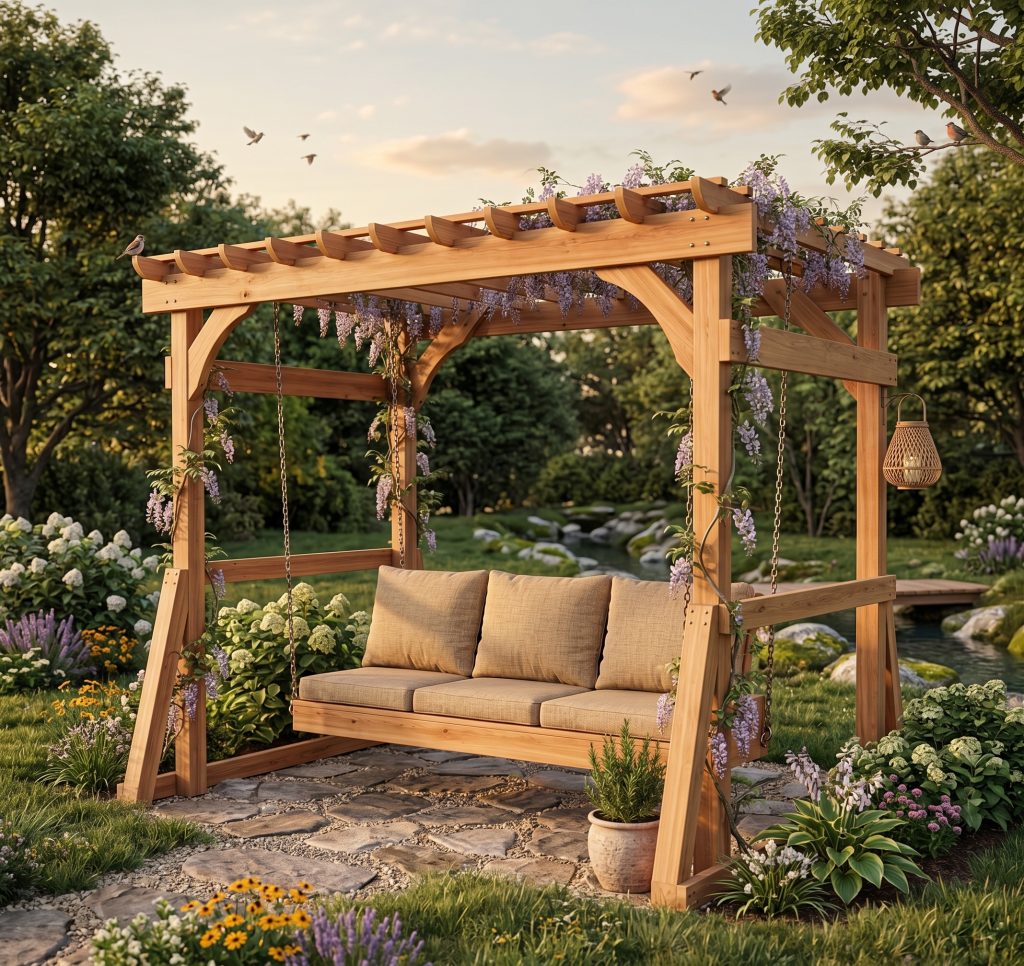
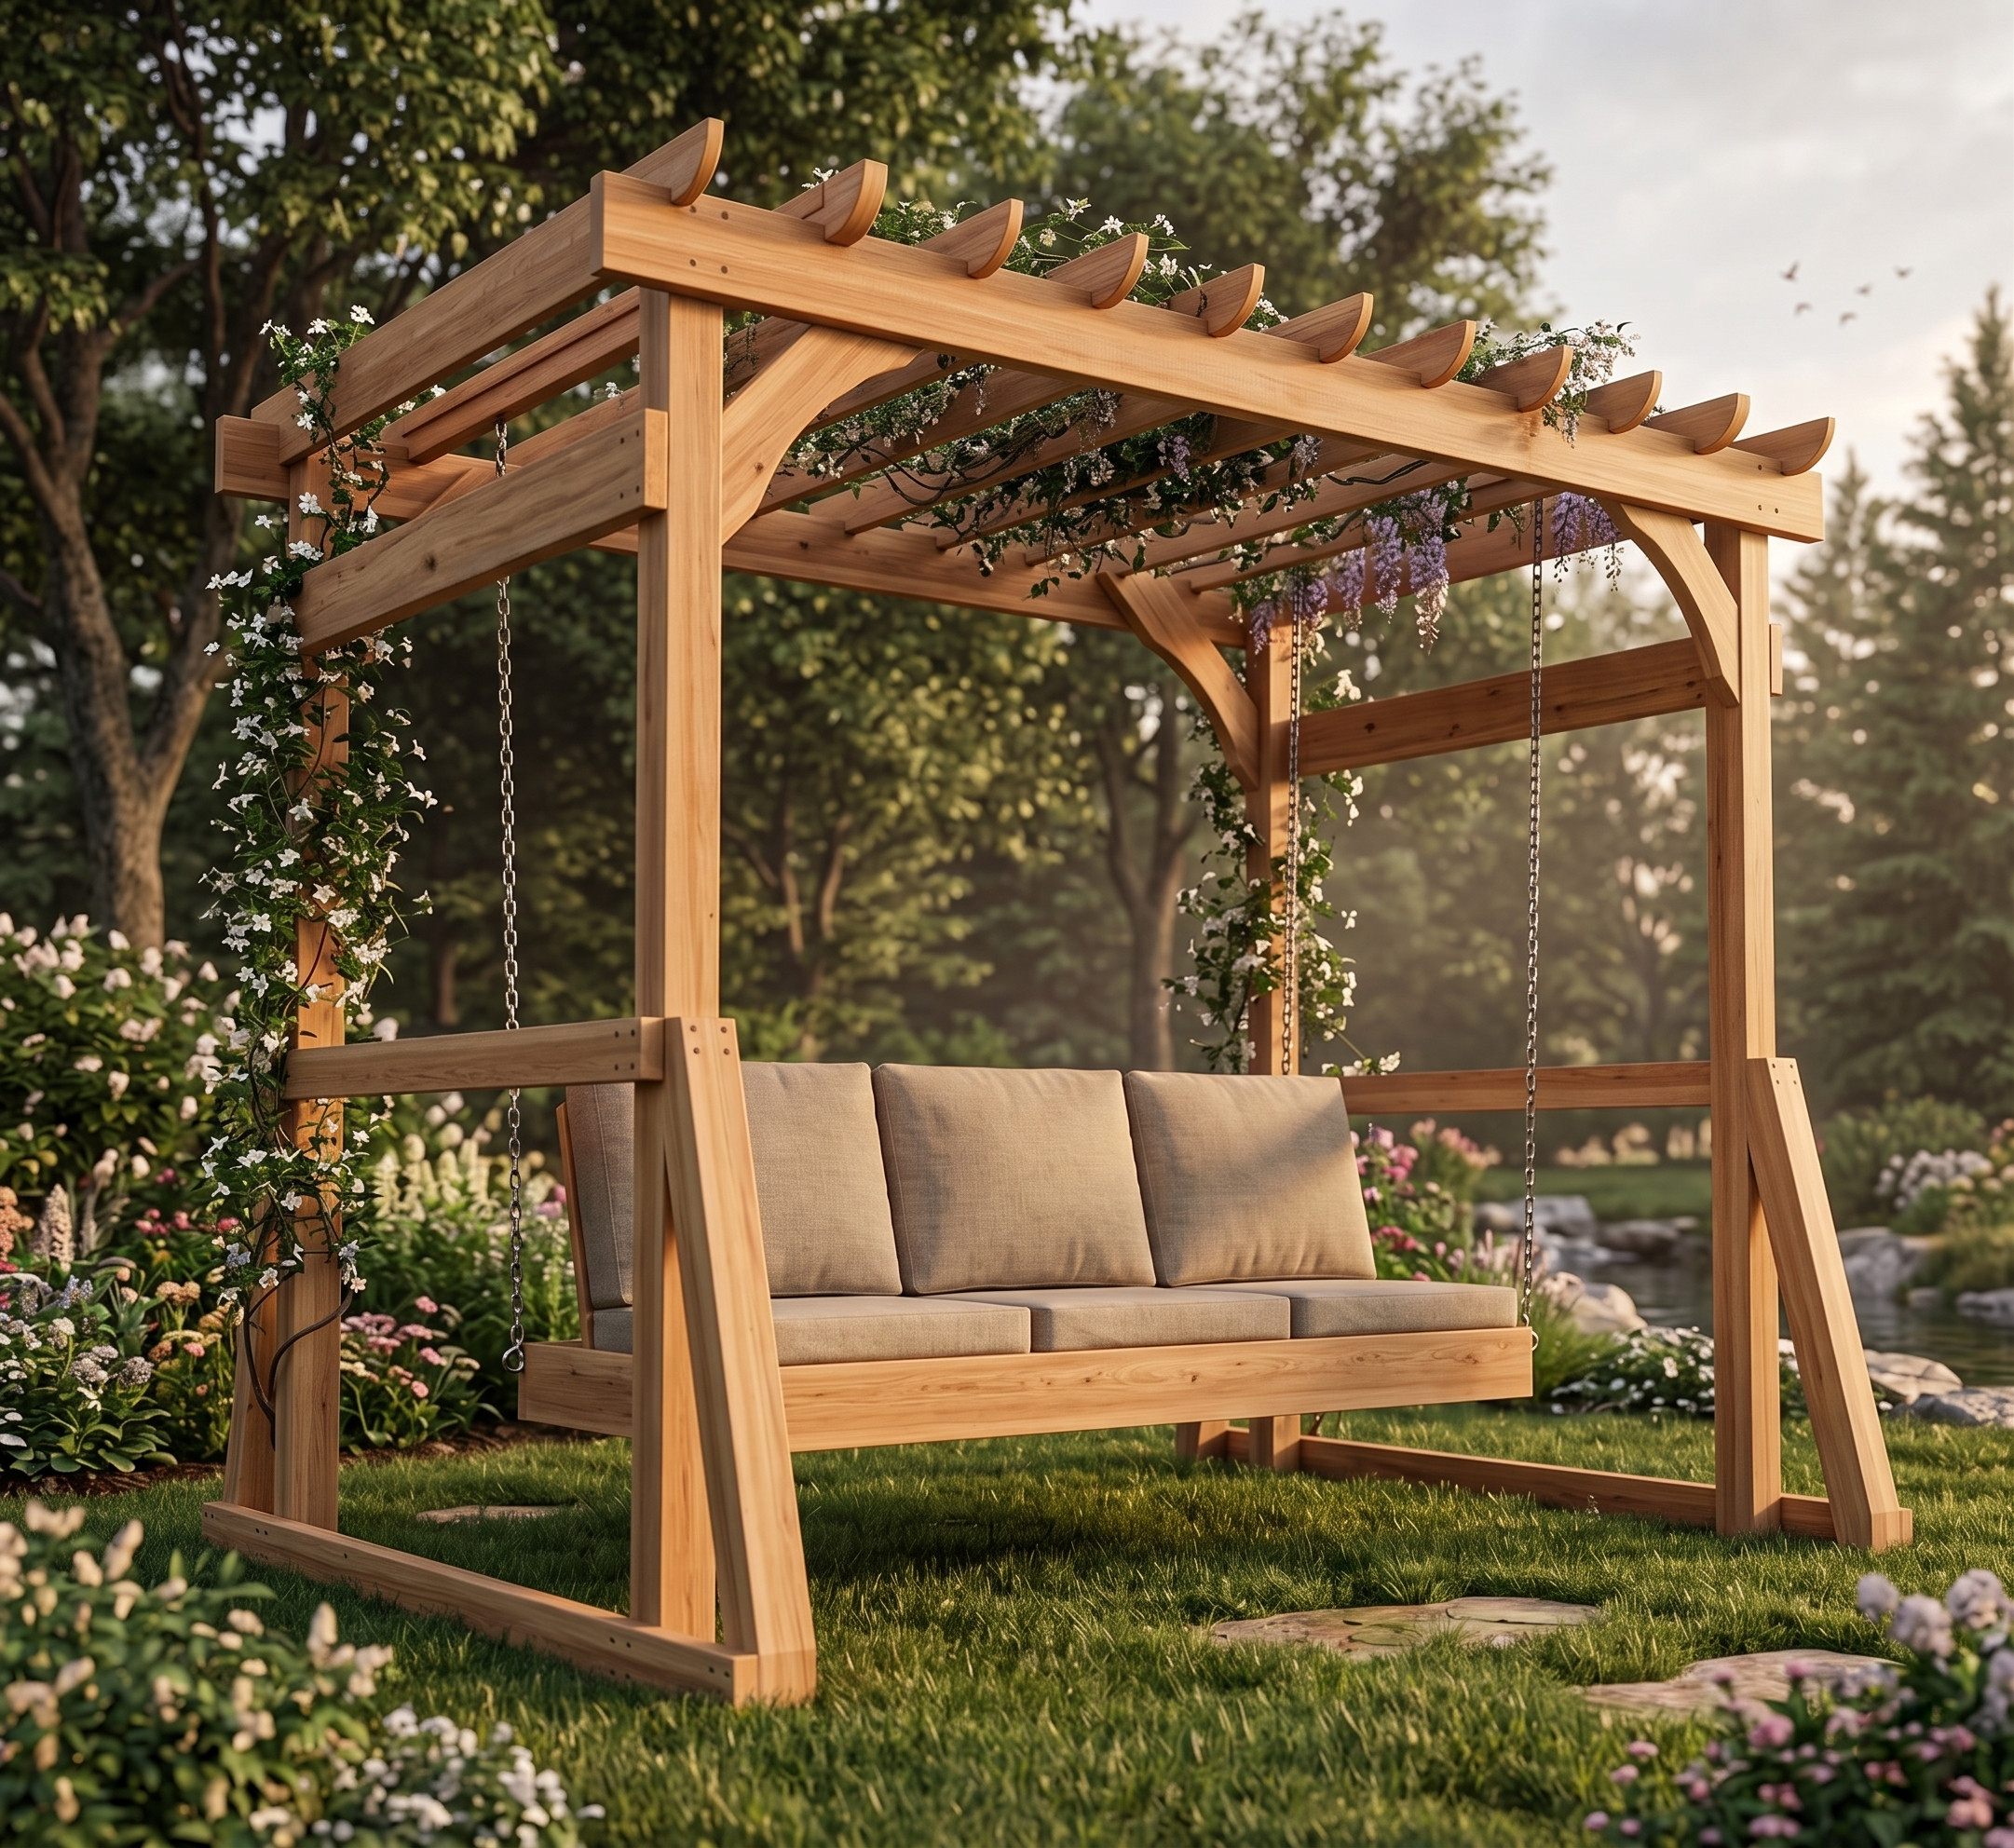
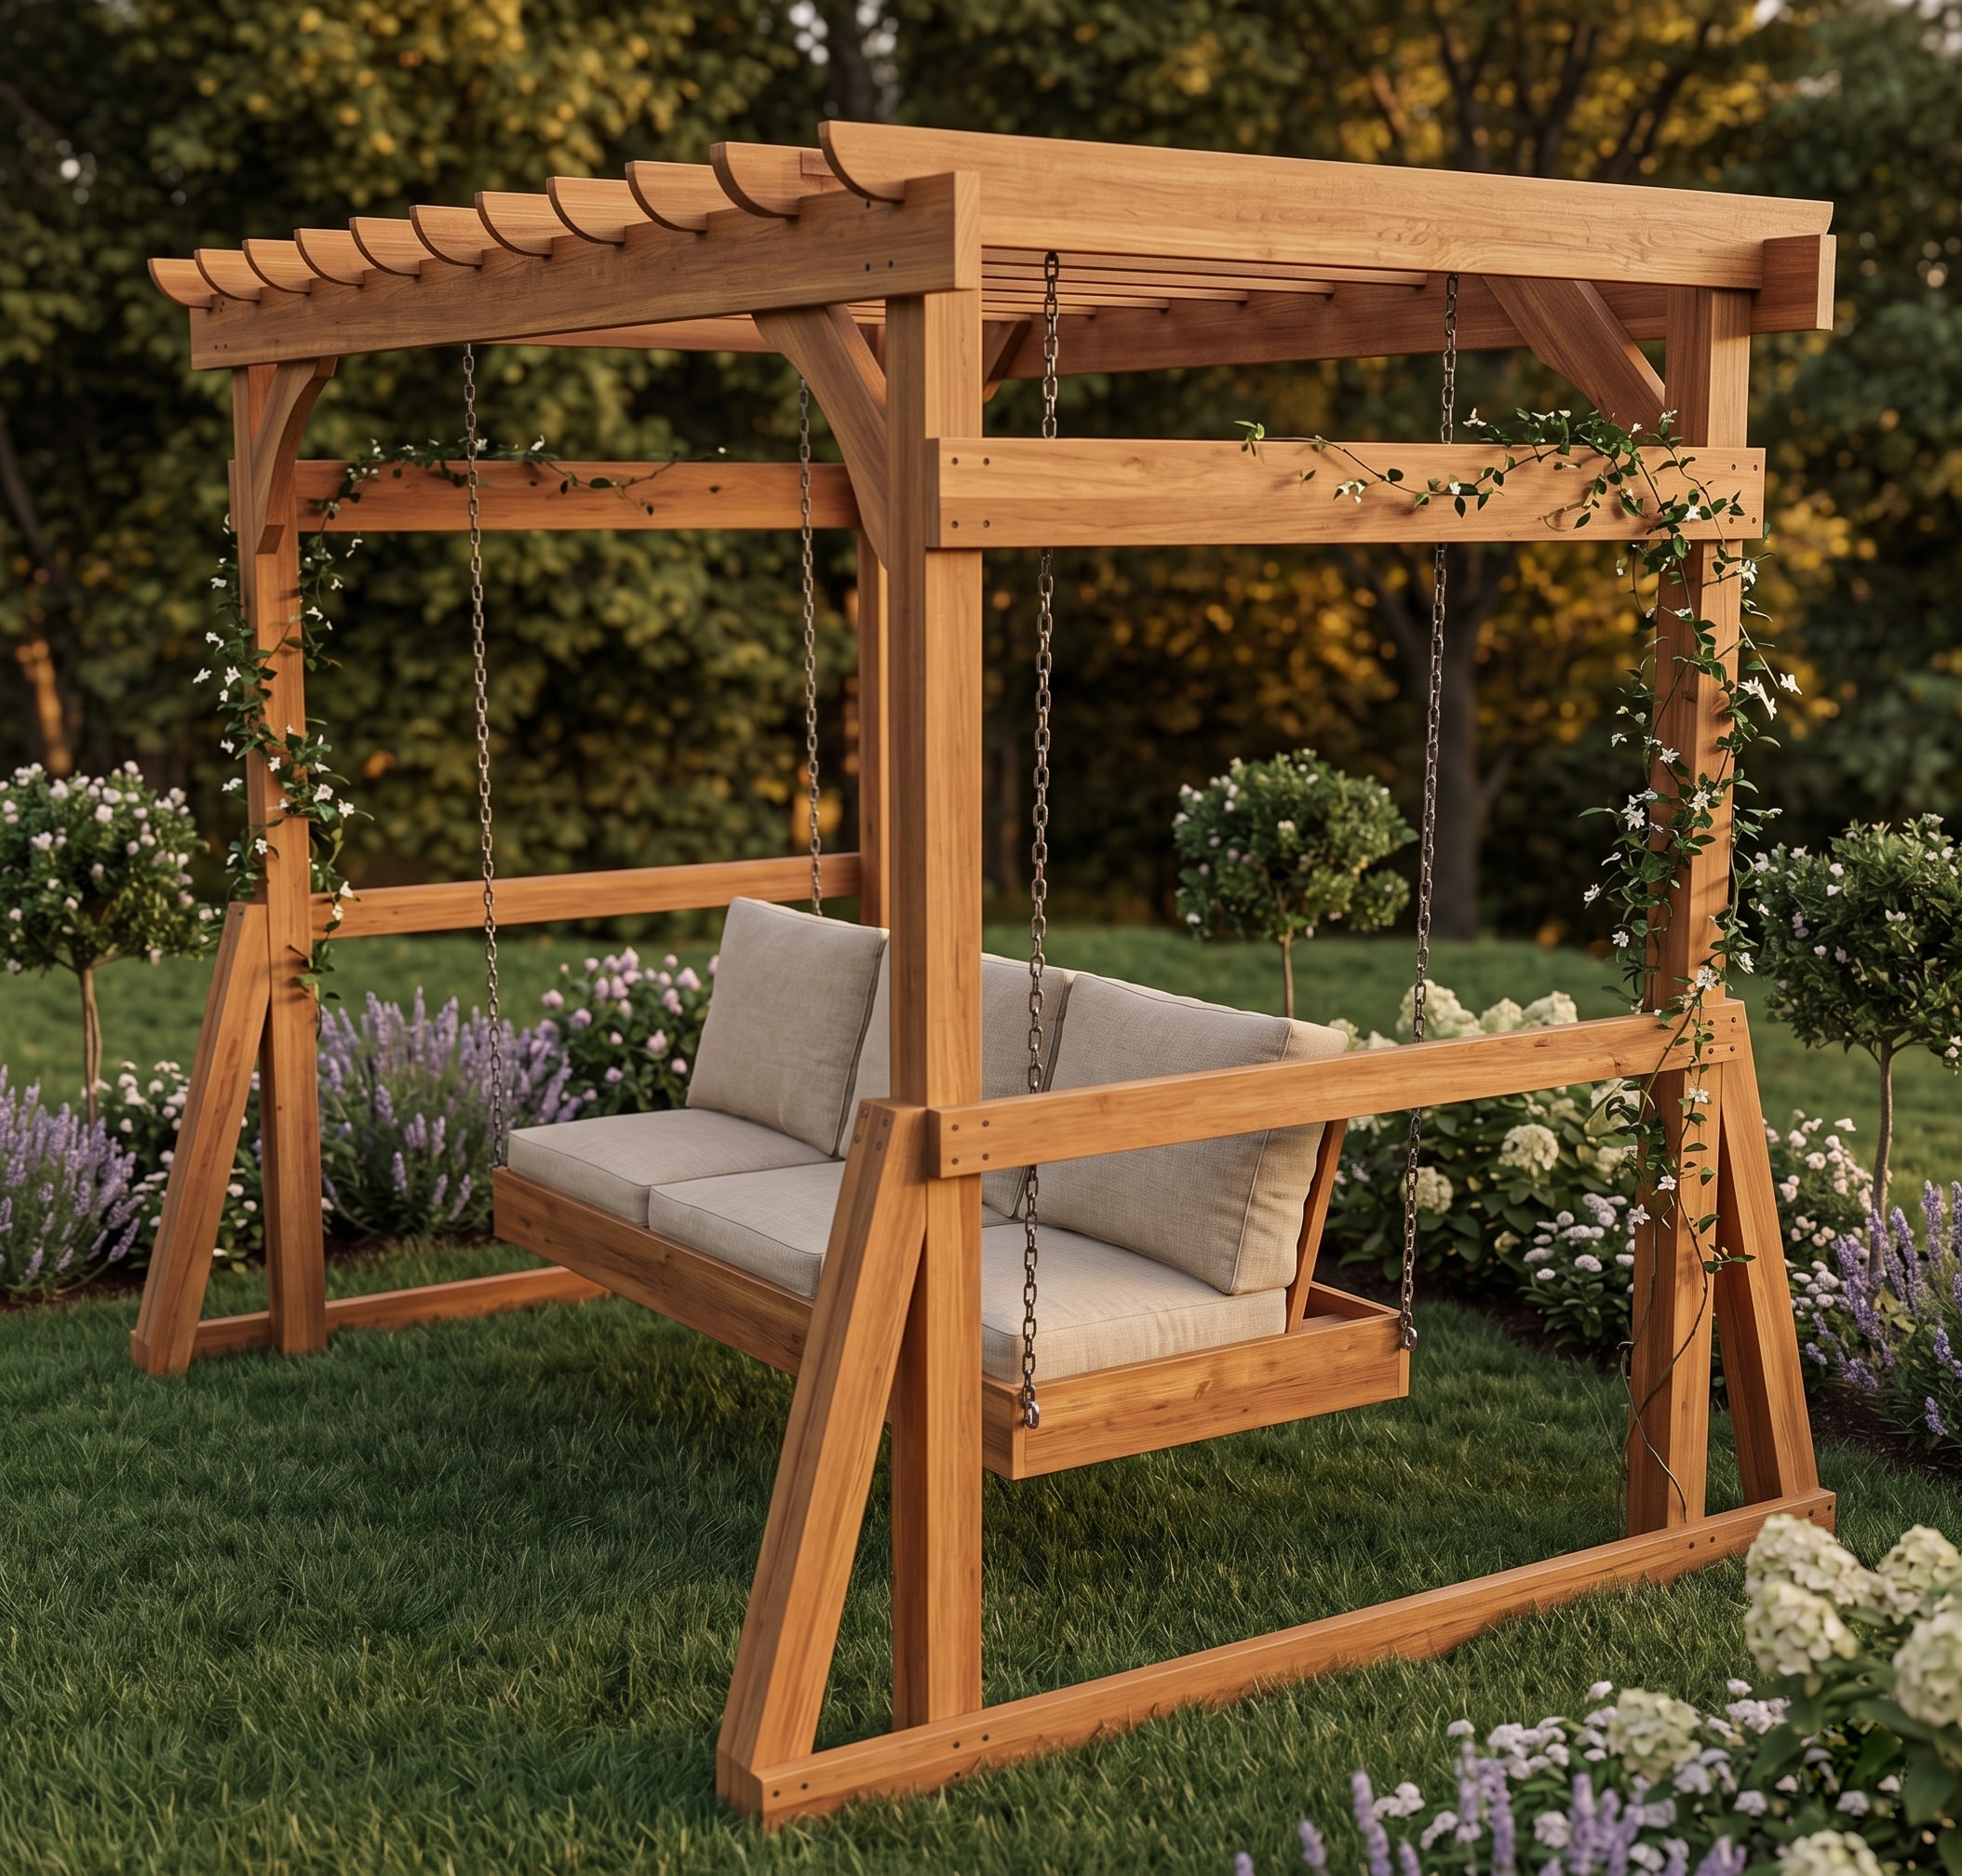
This isn’t just a swing. It’s a freestanding arbor structure with a built-in hanging bench seat, complete with a roof truss system, corner diagonal bracing for stability, and a hybrid wood-and-metal seat frame engineered to stay solid for years without sagging.
Here’s what makes this woodworking project stand out:
- Freestanding design — no posts to anchor into the ground, so you can place it anywhere on a patio, lawn, or garden
- Pressure-treated lumber construction for long-term outdoor durability against rot, insects, and moisture
- Metal-reinforced swing seat that won’t flex or sag over time the way an all-wood frame can
- Customizable roof trusses with optional decorative arched cutouts if you want to add a more refined, finished look
- Built with common tools — a miter saw, drill, Kreg jig, and jigsaw are all you need
The total build time runs around 16 hours, and materials will run you approximately $580 — a fraction of what a comparable piece would cost from a garden furniture retailer. You’ll end up with something far more substantial, and frankly more personal, than anything you’d find flat-packed in a box.
This project is best suited for woodworkers with some structural building experience — you don’t need to be a master craftsman, but comfort with cutting angles, working with metal angle iron, and assembling a multi-piece frame will serve you well here. If you’ve built a deck, a raised garden bed, or any outdoor furniture project before, you’re ready for this.
Grab the Printable PDF Plans Before You Start
Before you head to the lumber yard, do yourself a favor and download the printable PDF plans for this project.
For just $9.97, you get a complete package: a detailed cut diagram, a full material list with exact quantities, and 3D illustrated step-by-step instructions you can take right to the workshop. Everything is laid out in imperial measurements with the kind of visual clarity that makes cutting and assembly go smoothly — no guessing, no backtracking.
The step-by-step plans are also available free on this page, but the PDF is worth it for the cut diagrams alone. It’ll save you more than its cost in avoided lumber mistakes.
Let’s Build It
Alright — tools sharpened, lumber list in hand. Here’s exactly how to build this outdoor arbor swing from the ground up, starting with the corner posts and working all the way through to hanging the seat.
You also might be interested in other DIY projects that I’ve built, such as a DIY Garden Arbor with a Bench or an Outdoor Sofa with Cushions.
Time to Complete
16 hours
Total Cost
$580
Skill Level
Intermediate
Download Printable Plans in PDF
DIY Outdoor Arbor Swing Woodworking Plans
$16.97
Digital PDF Download — Get step-by-step woodworking plans to build a beautiful outdoor arbor swing. Includes a full cut list with measurements, material list, tools list, and 3D illustrated assembly diagrams. Instant download. Print at home. No shipping.
Description
Build a Stunning Outdoor Arbor Swing for Your Backyard
There’s nothing quite like a beautifully crafted arbor swing to transform your backyard or front porch into a comfortable, inviting retreat. This DIY outdoor arbor swing combines a solid freestanding arbor frame with a built-in cushioned bench swing — creating a standout piece of outdoor furniture that’s as functional as it is eye-catching.
Whether you’re adding a focal point to your backyard entertaining space or looking for a meaningful weekend woodworking project, these plans walk you through every cut, every angle, and every assembly step — so you can build with confidence from day one.
Who These Plans Are For
These woodworking plans are designed for beginner-to-intermediate woodworkers and DIY homeowners who want clear, detailed guidance without the guesswork.
These plans are a great fit if you:
- Want to build a standout backyard or porch swing from scratch
- Are comfortable with basic power tools like a drill, miter saw, and jig saw
- Prefer working from accurate, illustrated plans rather than vague online tutorials
- Are looking for a weekend project that adds real value and beauty to your outdoor space
- Want a durable, pressure-treated wood build that will last for years
What’s Included in the PDF
When you purchase, you’ll instantly receive a printable PDF woodworking plan that contains everything you need to complete this project:
- Step-by-step building instructions — 14 detailed steps from cutting the first post to hanging the swing seat
- Full cut list with measurements — every board, angle cut, and dimension listed clearly (imperial units)
- Complete material list — know exactly what to buy before you set foot in the lumber yard
- Tools required list — tape measure, drill, miter saw, Kreg jig, jig saw, Sawzall, and angle grinder
- 3D illustrations and assembly diagrams — visual references for every major build phase
- Printable PDF format — print full-size pages and take them right to your workshop
- Instant digital download — access your plans immediately after checkout
- Works on desktop, tablet, and mobile — view on any device, anywhere
Note: Measurements are in imperial units (inches). This PDF does not include SketchUp or CAD files.
Project Details
| Detail | Info |
|---|---|
| Difficulty Level | Intermediate |
| Estimated Build Time | 16 Hours |
| Estimated Project Cost | ~$580 |
| Primary Material | Pressure-treated lumber (4×4, 2×6, 2×4, 1×6, 1×4) |
| Metal Components | 1½” × 1½” metal angle for seat and backrest frame |
| Swing Hanging Method | Chain and eye bolts attached to reinforced 2×4 roof trusses |
| Foundation | Concrete blocks or bricks (arbor does not go into ground) |
| Measurement System | Imperial (inches) |
Tools You’ll Need
- Tape Measure
- Drill
- Miter Saw
- Kreg Jig (pocket hole jig)
- Jig Saw
- Sawzall (reciprocating saw)
- Angle Grinder
What You’re Building — Project Overview
This outdoor arbor swing is a freestanding structure built from pressure-treated lumber for long-term durability outdoors. Here’s a quick look at what the build involves:
- Four 4×4 corner posts (84½” tall) form the main arbor frame
- Horizontal 2×4 and 2×6 boards connect the posts on each side for lateral stability
- Lower and upper diagonal braces keep the arbor from racking or swaying
- Eleven roof trusses (a mix of 1×6, 2×4, and 1×4 boards, all cut to 72″) span the top — with two reinforced 2×4 trusses carrying the swing load, each backed by a 63″ metal angle for added strength
- The swing seat uses a welded metal angle frame (aluminum or stainless steel recommended) with 24 pieces of 1×4 wood slats for the seat and backrest surfaces
- 1×6 trim boards finish the seat perimeter for a clean, polished look
- Eye bolts are drilled at 21″ from each end of the reinforced trusses to set the swing position, and the seat hangs on chain or heavy-duty rope
The result is a durable, beautiful outdoor arbor swing that can anchor a backyard seating area for years to come.
Why Build From These Plans Instead of a Free Tutorial?
Free online tutorials for projects like this are often incomplete, skip critical steps, or leave out the exact measurements you need to cut lumber accurately. That leads to wasted wood, wasted time, and frustrating do-overs.
These plans give you:
- Accurate, tested measurements so every piece fits the way it’s supposed to
- Illustrated 3D diagrams that show you exactly how components connect — no more guessing
- A complete cut list so you can prepare all your lumber before you ever pick up a saw
- A full material list so your trip to the lumber yard is efficient and you don’t overbuy
- Step-by-step sequencing so you build in the right order and avoid common assembly mistakes
- A printable format you can mark up, bring to the workshop, or hand to a helper
Digital Download — How It Works
This is a digital product only. No physical item is shipped.
Here’s what happens after you purchase:
- You complete checkout on our secure site
- Your PDF is available for instant download — no waiting
- Open the file on any device — desktop computer, laptop, tablet, or smartphone
- Print the pages you need and take them to your workshop
The PDF is formatted for easy home printing and is fully readable on-screen without printing.
Build the Backyard Project You’ve Been Planning
If you’ve been looking for step-by-step woodworking plans to build a DIY outdoor arbor swing, this PDF gives you everything you need in one place. Clear instructions, accurate measurements, illustrated diagrams, and a complete material list — all for less than $10.
Add to cart and download your plans today.
Other Woodworking Projects

Tools for this project
Material List
- Available with the purchase of PDF plans.
Note: Lumber dimensions are listed as nominal size. See lumber sizes for actual dimensions vs nominal.
Disclosure: Some of the links on this page as well as links in “tools for this project” and “material list” sections are affiliate links.
Dimensions

Step 1 – Cut Four Corner Posts for the Arbor
When building a project for outdoors, I recommend using pressure-treated wood. Pressure-treated wood is more durable and less susceptible to decay, insect infestation, mold, and water damage. Using this type of wood will extend the life of your project for many years.
Even though pressure-treated wood is rot-resistant, it is not water-resistant. Any contact with moist soil will speed up the natural process of wood decay. So it’s important to have the arbor standing on bricks or concrete blocks and not on the ground.
Start with cutting the four corner posts of the arbor. Take 4×4 pressure-treated wood and cut four pieces to 84 1/2″ in length.

Step 2 – Cut Horizontal Side Pieces
Next, take a 2×4 board and cut two pieces to 82″ in length and two pieces to 60″ in length. Then take 2×6 and another two pieces to 60″ in length. These boards will be installed horizontally, connecting the corner posts together.

Step 3 – Trim the Lower Diagonal Brace Pieces for Stability
To make the arbor frame more stable, you need to add diagonal braces on each corner.
Take a 4×4 and cut four pieces to 39″ in length. Then trim the ends of these diagonal boards at 15 degrees, as shown in the picture.

Step 4 – Assemble the Sides of the Arbor
Place the two corner 4×4 posts on the ground parallel to each other 60″ apart. Then take the lower 82″ board and measure 11″ from both ends. Place this board over the 4×4 posts at the 11″ mark and secure it with 2 1/2″ wood screws. If your lumber is very dry, you will need to pre-drill the pilot holes to prevent it from splitting.
You could also choose to use bolts and nuts instead of wood screws. The benefit of using bolts and nuts is that you could tighten them because the wood will dry and shrink over time.
Next, attach the middle board at 34″ from the ground and the upper board at 66 1/2″. Make sure these boards are connected at 90 degrees. You could use a construction square to check the angles.
And finally, install lower diagonal pieces from the post to the bottom 2×4 board. You will need longer screws when attaching the upper end of the diagonal brace. This diagonal board should line up with the bottom horizontal piece and the middle horizontal board.
Repeat this step to build the second side panel of the arbor.

Step 5 – Connect the Two Side Panels of the Arbor
Before connecting the two side panels together, find a good location for the arbor to stand. Make sure you have concrete blocks or bricks on four corners under the posts.
The side panels will be connected together with 2×6 boards at the top. Take 2×6 and cut two pieces to 109″ in length.
Measure and mark the exact locations of four corners on the concrete/bricks. Then have someone help you to stand the two side panels on those marks. Next, measure 5″ from both ends of the 109″ piece and attach it to the post at those marks. This board should be flush with the top of the 4×4 post. See picture.
It’s essential to have the side panels leveled and the horizontal boards attached at 90 degrees. Again, you could use a construction square and a level to check the angles.

Step 6 – Install Upper Diagonal Brace Pieces
In step 4, you installed lower diagonal brace pieces to prevent the arbor from swaying back and forth. You also need to install the upper diagonal brace to avoid rocking from left to right.
Take 2×6 and cut four pieces to 26 1/4″ in length with 45-degree miter cuts on both ends. You could install these pieces the way they are or cut out an arc for esthetics.
The arc could be 15″ long. Measure 3 1/4″ from one end and then draw the 15″ long arc. Next, cut it out using a jig saw. Once the first arch is cut, use it as a template to draw the other arches. Finally, cut out the remaining pieces.
Using your Kreg Jig, drill two pocket holes on the backside of each brace board. The pocket holes will go on the end that attaches to the 4×4 post.
Measure 64″ from the ground and mark it on the post. Then attach the diagonal board at that 64″ mark. Use 2 1/2″ pocket hole screws when connecting the brace to the post and 2 1/2″ wood screws when attaching it to the horizontal upper board. Make sure the diagonal brace is positioned at 45 degrees.

Step 7 – Cut the Roof Trusses
All roof trusses are cut to the same length, but they consist of different wood sizes. You will need two 1x6s, two 2x4s, and seven 1x4s cut to 72″ in length.
Next, follow the provided dimension to cut out the notches and the curves on each truss. See picture.
The 2×4 trusses will have the swing attached to them. But 2×4 by itself is not strong enough to support the weight of the swing. To make it stronger, you will need to add a metal angel on top. Take 1 1/2″ x 1 1/2″ angle and cut two pieces to 63″ in length.
Measure 21″ from the ends of the 2×4 truss and drill a 3/8″ hole for the eye bolt to hold the swing. Transfer and drill these hole locations from the 2×4 to the metal angle. Make sure the holes match so that you could fit an eye bolt with a nut.

Step 8 – Install Roof Trusses on the Outdoor Arbor Swing
First, attach the 1×6 trusses to the 4×4 post on both sides of the arbor. Then measure 9 1/2″ and attach the 2×4 truss. The remaining 1×4 trusses need to be spread out evenly between the 2×4 trusses, about 9″ apart.
Now place the metal angle over the 2×4 truss and install the eye bolts with washers and nuts.

Step 9 – Build Metal Frame for the Seat
When building a frame for the seat, you could use only wood or a combination of wood and metal. Having the main structure out of metal will make the bench stronger and will prevent it from sagging over time. You might want to use aluminum or stainless steel angles to make it as light as possible.
Take 1 1/2″ x 1 1/2″ metal angle and cut two pieces to 76 1/2″ in length and two pieces to 29 3/4″ in length. The two long pieces will need to have ears for the rope/chain to connect. Using your Sawzall with a metal blade, cut 2 1/2″ off the bottom section of the angle on both ends. These 2 1/2″ ears will extrude out on four sides of the seat for the chain to connect. Drill a 1/2″ hole in the ears. Then using an angle grinder, smooth out the ears so there are no sharp edges.
The metal angles will need to be connected with bolts and nuts. Overlap the metal angles to where they need to connect and drill the holes slightly larger than the bolt size. Then connect the seat frame together with bolts and nuts.

Step 10 – Built the Backrest Frame
The backrest frame is also made from four metal angle pieces. Cut two pieces to 71 1/4″ in length and two pieces to 19 1/2″ in length. Trim the bottom ends of the shorter pieces to 15-degrees, as shown in the picture. Then drill the holes for the bolts. The lower part of the backrest needs to be attached 1 1/2″ higher for the 1x4s to fit through (see step 12).

Step 11 – Connect the Backrest to the Seat Frame
Measure 8 1/4 from the back of the seat frame. Then place the backrest at that 8 1/4″ mark. Tilt the backrest frame back about 15 degrees and clamp it so it does not move. Then drill the holes through the side of the angle into the bottom of the backrest. Secure the backrest to the seat frame with bolts and nuts. The backrest should not tilt further back than 15 degrees. If it does, you might need to add a diagonal 2×4 brace to keep it at 15 degrees.

Step 12 – Cut and Install 1×4 Wood Pieces to the Seat
Once the metal frame is assembled, fill in the seat and backrest with wooden boards. Take 1×4 and cut twelve pieces to 29 3/4″ in length. Then slide in under the backrest and attach to the metal frame.
Next, cut twelve more pieces of 1×4 to 17 1/2″ in length. Attach the pieces to the backrest frame.

Step 13 – Attach the Wood Trim Around the Seat Swing
Now take 1×6 and cut two pieces to 73″ in length and two pieces to 29 3/4″ in length for the trim. Then attach the trim boards around the seat to the metal.

Step 14 – Install Chain and Hang the Seat
To hang the swing, you could use a chain or a heavy-duty rope. Cut, and then install the chain to the eye bolt hanging from the 2×4 roof truss. Then connect the chain to the seat metal ear. Place the cushions and pillows on the seat, and you’re done with an Outdoor Arbor Swing.

Reviews
There are no reviews yet.