

Typically bar stools come with thin legs, but I decided to make this DIY wooden Bar Stool with legs from trimmed 4×4 lumber. This bar stool looks bulky, but it’s a perfect fit for a dining table that I made several months ago.

Wooden Bar Stool PDF
$7.00
This PDF download includes Cut Diagrams, a List of Supplies, and 3D illustrations with detailed steps to build the project. Measurements are in imperial and not metric. Does NOT include SketchUp/CAD files.
The plans are embedded on the webpage for free, but if you would like to support the website, you can pay a small fee to purchase the printable PDFs.
Thank you for your support!
Other Woodworking Projects
-

DIY Pergola and Porch Swing Bench Woodworking Plans PDF
$18.97 Add to cart Buy Now -
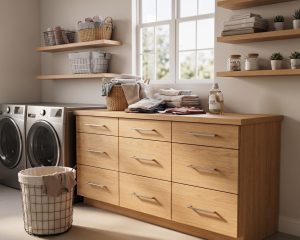
DIY Frameless Base Cabinet 21″ Wide with Three Drawers Slab Style
$12.97 Add to cart Buy Now -
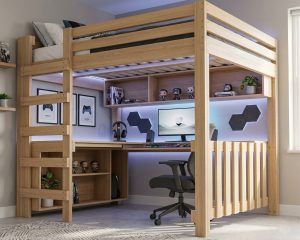
DIY Queen Size Loft Bed with Desk Plans
$18.97 Add to cart Buy Now -
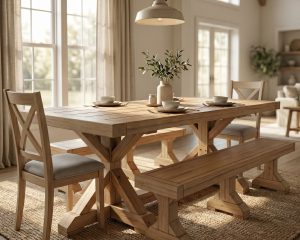
DIY Farmhouse Dining Set Woodworking Plans
$24.97 Add to cart Buy Now
Time to Complete
6 hours
Total Cost
$15
Skill Level
Intermediate
Tools for this project
Material List
- 4x4x8′ (x1)
- 2x6x8′ (x1)
- Wood Glue
- 2 1/2″ Pocket Hole Screws
Note: Lumber dimensions are listed as nominal size. See lumber sizes for actual dimensions vs nominal.
Disclosure: Some of the links on this page as well as links in “tools for this project” and “material list” sections are affiliate links.
Dimensions

Step 1 – Cut 4×4 Boards for the Legs
Take 4×4 board and cut into four pieces to 22 1/2″ in length. These will be the legs for the bar stool.

Step 2 – Make a 5° Cut on One Side of Each Leg
Next, measure and mark 2″ from the top of the leg. Then from the 2″ mark cut the 4×4 board at 5° angle all the way down using a table saw. I made a jig out of 2×6 to help me make this 5° cut. See photo. Make this 5° cut on all 4×4 pieces.


Step 3 – Make a Second 5° Cut on One Side of Each Leg
Rotate the 4×4 board 90° and again, from the 2″ mark, make a 5° cut all the way down. Now you should have two sides with 5° cuts and the other two untouched.


Step 4 – Cut Upper Let to 5°
Next, cut the upper 2″ section of the leg to 5° as shown on the picture. Again you’ll have two sides of the leg cut and two sides straight/untouched.


Step 5 – Make a Bevel Cut on Upper and Lower Section of the Leg
Make a jig from 2×6 piece of by cutting 45° grove in the middle. Then take the straight side of the leg and place it inside the grove. On the upper section of the leg, measure and mark 1 1/2″ from the center of the ridge. Then set your miter saw to 5° bevel and make a cut. Next, measure 21″ from the top of the straight side of the leg and make a 5° bevel cut as shown on the picture.


Step 6 – Cut 2×6 Boards for the Seat
Take 2×6 and cut three pieces to 14″ in length. Rip off 1/4″ on both sides of the middle section, and on the inside of both edge sections, see picture. For the area where legs go, cut out 3 1/4″ x 3 1/4″ squares on four sides. Then drill pocket holes as shown on the picture for 2 1/2″ pocket Hole Screws. Apply wood glue in all the seams, then clamp and screw boards together.


Step 7 – Attach the Legs to the Seat
Now attach the legs with 2 1/2″ pocket hole screws and wood glue. You will need to use pivoting bit tip holder to get those screws in because of space constraints.


Step 8 – Install Leg Support
From the remaining piece of 2×6, cut 1 1/2 x 1 1/2″ strips of wood. Then measure the distance from the leg to leg at the seat and cut to that exact measurement at 9° on each end. Drill pocket holes on the backside. Use wood glue and 2 1/2″ pocket hole screws to attach these boards.


Step 9 – Install Footrest
Similar to step 8, measure and cut 1 1/2 x 1 1/2″ footrest at 9° on both ends. Two of the footrest will be higher than the other two, so measure accordingly before making the cut. Drill pocket holes on the bottom of each footrest and attach them using 2 1/2″ pocket hole screws and wood glue.


Step 10 – Sand and Stain
The last step is to sand the bar stool 220 grit paper, then apply pre-stain before staining. Once the stain dries, apply polyurethane. You’re done with a DIY wooden bar stool.
