

Dining room storage is really important to keep the room clean and clutter-free. It gives you room to store excess kitchen equipment. For most of us, a dining area is part of an open plan that could be part of the kitchen. If you have a corner in your kitchen or dining room it might be a perfect fit for a corner bench. I’ve created plans just for that. This DIY corner storage bench design is an incredibly efficient use of space, especially in smaller rooms. It has a lot of storage space to keep you organized and clutter-free.
I’ve built this corner bench for my mother-in-law and the design is made for that specific space. But if you have a larger or smaller area, you could always modify the overall dimensions of these plans and build it to your needs.
I’ve also designed a DIY dining table that fits perfectly with this corner bench. The legs are designed so that a person could easily slide in and out without hitting the legs. I made the table corners at 45 degrees so that it gives more room for a person to sit in the corner.
You also might be interested in a DIY breakfast table and a DIY kitchen table with curved legs that I’ve built for my house.


Corner Storage Bench PDF
$7.00
This PDF download includes Cut Diagrams, a List of Supplies, and 3D illustrations with detailed steps to build the project. Measurements are in imperial and not metric. Does NOT include SketchUp/CAD files.
The plans are embedded on the webpage for free, but if you would like to support the website, you can pay a small fee to purchase the printable PDFs.
Thank you for your support!
Additional information
| Length of the Bench | 65" and 49" Long, 96" and 36" Long |
|---|
Other Woodworking Projects
-
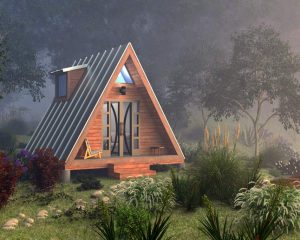
A-Frame House Woodworking Plans PDF – DIY Tiny Cabin Build Guide
$45.97 Add to cart Buy Now -
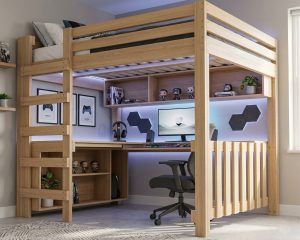
DIY Queen Size Loft Bed with Desk Plans
$18.97 Add to cart Buy Now -
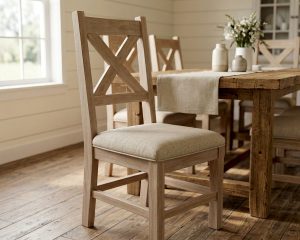
DIY Farmhouse Chair Woodworking Plans PDF
$14.97 Add to cart Buy Now -
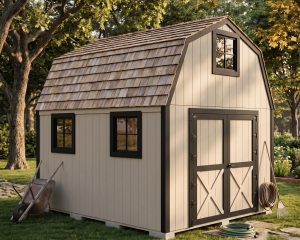
Two-Story 10×12 Barn Style Shed with Loft PDF
$26.97 Add to cart Buy Now
Tools for this project
Material List
- 4’x8′ – 3/4″ Plywood (x1)
- 2x4x8′ (x5)
- 1x4x8′ (x16)
- Hinges (x4)
- 1 1/4″ Pocket hole screws
- 2 1/2″ Pocket Hole Screws
- Finish Nails
- Wood Glue
Note: Lumber dimensions are listed as nominal size. See lumber sizes for actual dimensions vs nominal.
Disclosure: Some of the links on this page as well as links in “tools for this project” and “material list” sections are affiliate links.
Dimensions

Step 1 – Cut and Assemble Back Frame
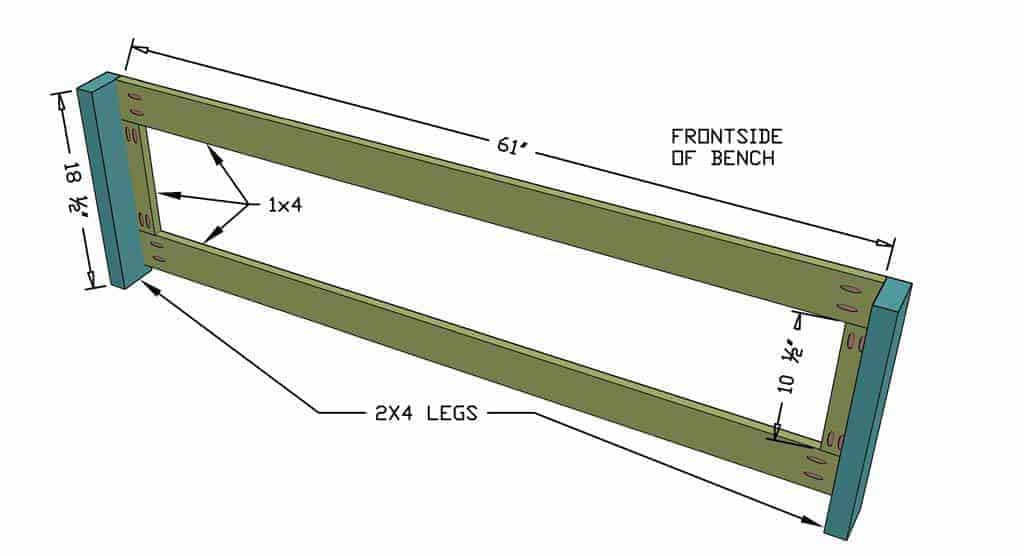
Since there are two benches, we will start with a longer bench. To build the shorter bench the steps are exactly the same but with shorter dimensions. First, start with building the backside frame of the bench. Take 2×4 and using a miter saw cut two 61″ long pieces and two 18 1/2″. All vertical legs are going to be built from 2x4s. Drill pocket holes as shown on the picture and then attach 61″ long 2×4 supports to legs using 2 1/2″ pocket hole screws. Make sure that the bottom 2×4 support sits 1″ from the ground.


Step 2 – Cut and Assemble Front Frame
For this step, work on the front frame of the bench. Similar to step 1, take 2×4 and cut two pieces to 18 1/2″ in length. Then take 1×4 and cut two pieces to 61″ in length. Drill two pocket holes on each side of the 61″ boards. Now take these horizontal supports and attach them to 18 1/2″ vertical legs using 1 1/4″ pocket hole screws. Similar to the backside make sure that the bottom support is 1″ above ground. Also, take 1×4 and cut one piece to 10 1/2″ in length and rip it in half so that its 1 3/4″ wide. Drill pocket holes as shown on the picture and attach it on each side between the upper and lower horizontal frame support.

Step 3 – Attach Front and Back Frames Together
Now take the front side and backside of the bench and attach them together using 1×4 that is 8 1/2″ long. Again the bottom piece is 1″ above ground.


Step 4 – Fasten Bottom and Back Plywood
Flip the bench upside down. Measure and cut bottom plywood that’s 61″ long and 13 1/4″ wide, also cut the backside plywood that’s 61″ long and 10 1/2″ wide using. Then attach these plywood boards to the frame using 1 1/4″ pocket hole screws. Since the basic frame is done it’s a good idea to paint the frame now to make it easier later, especially if you’re making this bench from two different colors.


Step 5 – Chamfer Boards and Paint
Next, take 1×4 and cut 23 pieces that are 14 1/2″ in length. Then using a table saw chamfer both sides of the board at 45°. After all of the pieces are cut and chamfered, its time to paint it. It’s a good idea to paint the boards separately before attaching them to the frame to make the job much cleaner.


Step 6 – Nail Chamfered Boards to Frame
After the paint dries up, take the chamfered boards and place them inside one by one and attach it with 1 1/4″ Brad Nails with a nail gun. The boards on the side of the bench will need to be trimmed slightly to fit.

Step 7 – Notch for Hinges and Attach Dividers
Now place dividers inside the bench storage. This will also prevent the top from bending down after time. Cut two plywood board to 16 3/4″ x 10 1/2″ and insert inside attaching with 1 1/4″ pocket hole screws. Then the upper 2×4 support in the back will have hinges attached. If you attach them directly to the 2×4 board the hinges will be raised up and the top cover will not sit flat on the bench. So using a skill saw notch upper 2×4 support about 1/4″ deep so that hinge will go inside and prevent the top board to sit higher.


Step 8 – Cut and Assemble the Top
There are two different ways to make the top cover. I chose to use 1×4 boards but I could have also just cut once plywood piece and place it on top. But per these plans cut five 1×4 boards to 65″ in length. One of the boards in the center will be ripped to 2″ wide. Attach these boards together using 1 1/4″ pocket hole screws and wood glue.

Step 9 – Attach Hinges to Top Seat
Place the hinge in the notch and screw it into 2×4 support. Attach the hinge to the top cover.


Step 10 – Build Second Bench, Repeat Steps 1 – 9
You’re done with the long DIY storage bench. To build this as a corner storage bench you’ll need to build the other smaller bench. Follow the same steps 1 thru 9 but now with dimensions that apply for smaller bench. I figured that having two benches will be better because not everyone needs a corner bench to these dimensions. But since they are separate benches it could always be sold separately in the future.
